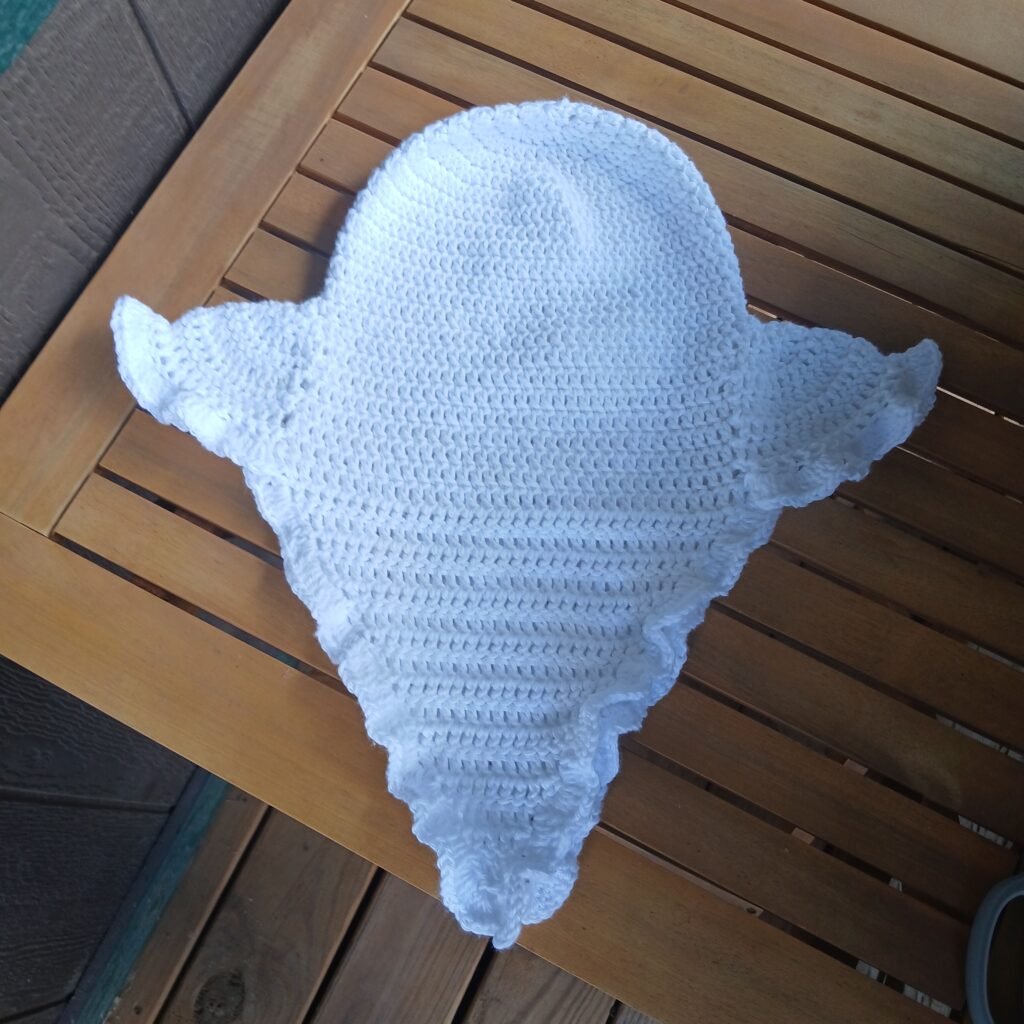
Looking for a fun and spooky project to decorate your home this Halloween? This easy crochet ghost hanging pattern is the perfect DIY to add some handmade charm to your space. Whether you hang it on your front porch, patio, or even inside as wall decor, this little ghost makes a cute and simple decoration that’s great for beginners and seasoned crocheters alike. If you’ve been wanting to try a quick Halloween crochet pattern that works up fast and looks adorable, this ghost is a must-make!

I hope you have fun making this little crochet ghost hanging! It’s a quick project that adds a playful touch to your Halloween decorations, whether you hang it on the porch or inside your home. If you enjoyed this pattern, feel free to pin it for later or share it with a friend who loves handmade holiday décor. And if you’re in the mood for more festive projects, I’ve got plenty of other crochet Halloween ideas you can explore next!
I hope you enjoy making this Scrubby as much as I did! I would love to see how yours turned out so please tag me on any of my socials!
If you prefer a PDF pattern to download, you can find it here on my Etsy and Ravelry!
Here’s what you’ll need for today’s project:
- Weight 4 cotton yarn in the colors white and black (I used 2 rolls of Hobby Lobby’s ‘I love this cotton’ in white and some scrap black)
- 4.5mm hook
- Scissors
- Tapestry needle
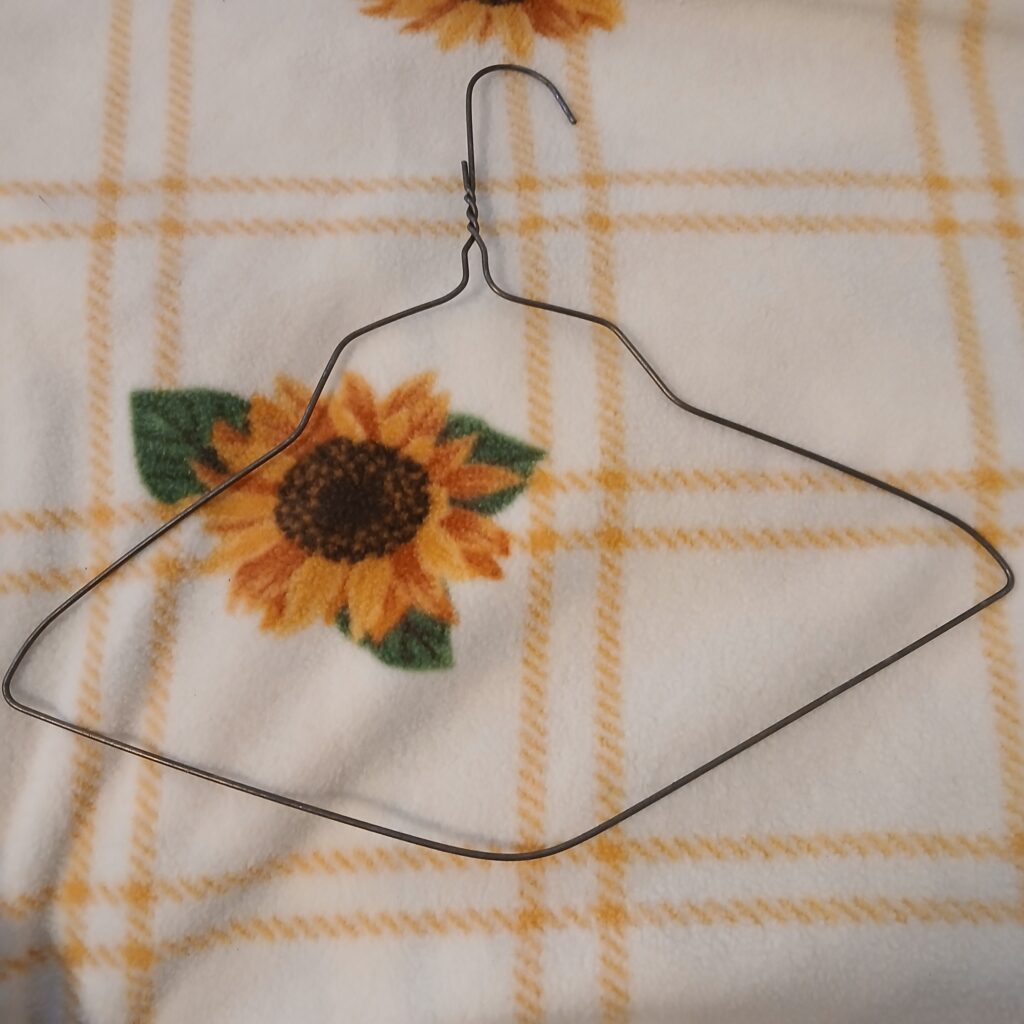
- Wire hanger
- Wire cutters
Stitches you’ll need to know for this project:
- CH – Chain
- SLST – Slip Stitch
- DC – Double Crochet
- INC – Increase
- DC2TOG – Double Crochet Two Together
- DC3TOG – Double Crochet Three Together
- ST – Stitch
Let’s Begin!
Body:
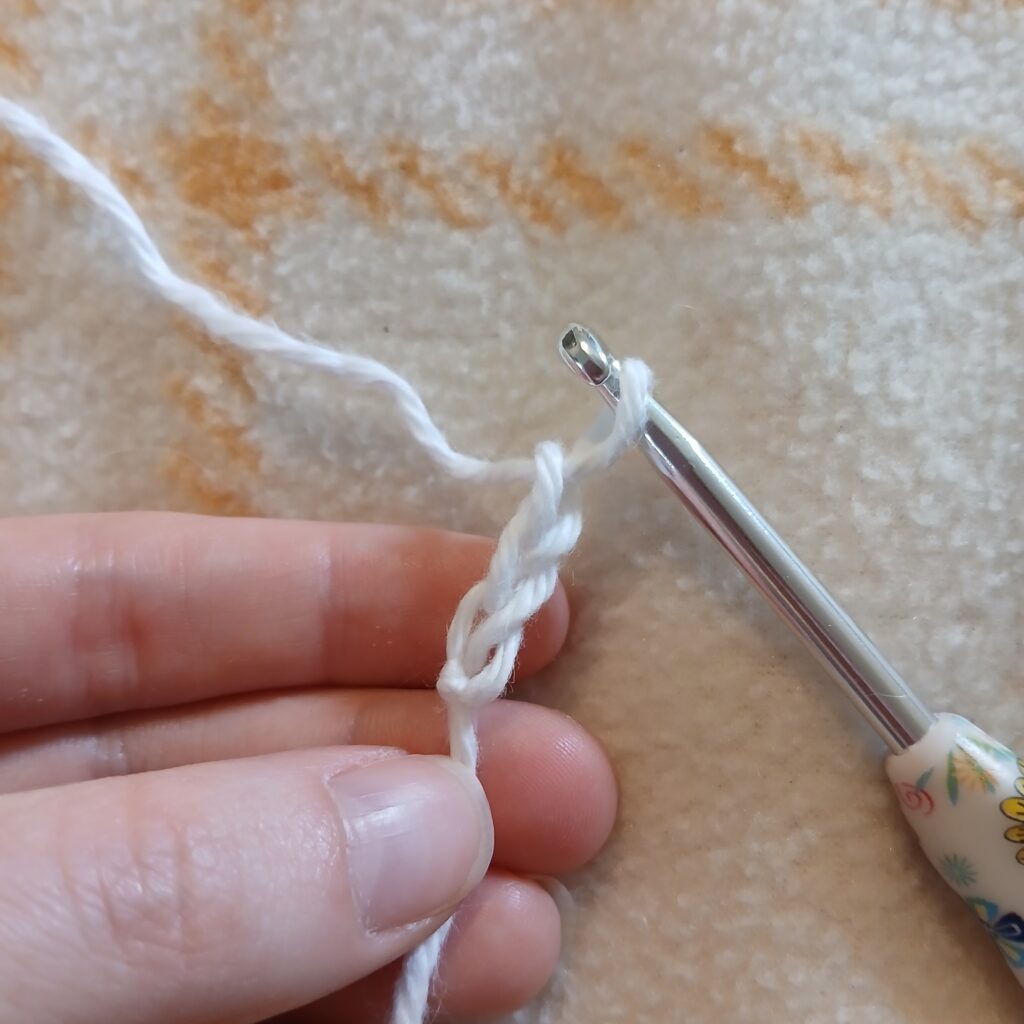
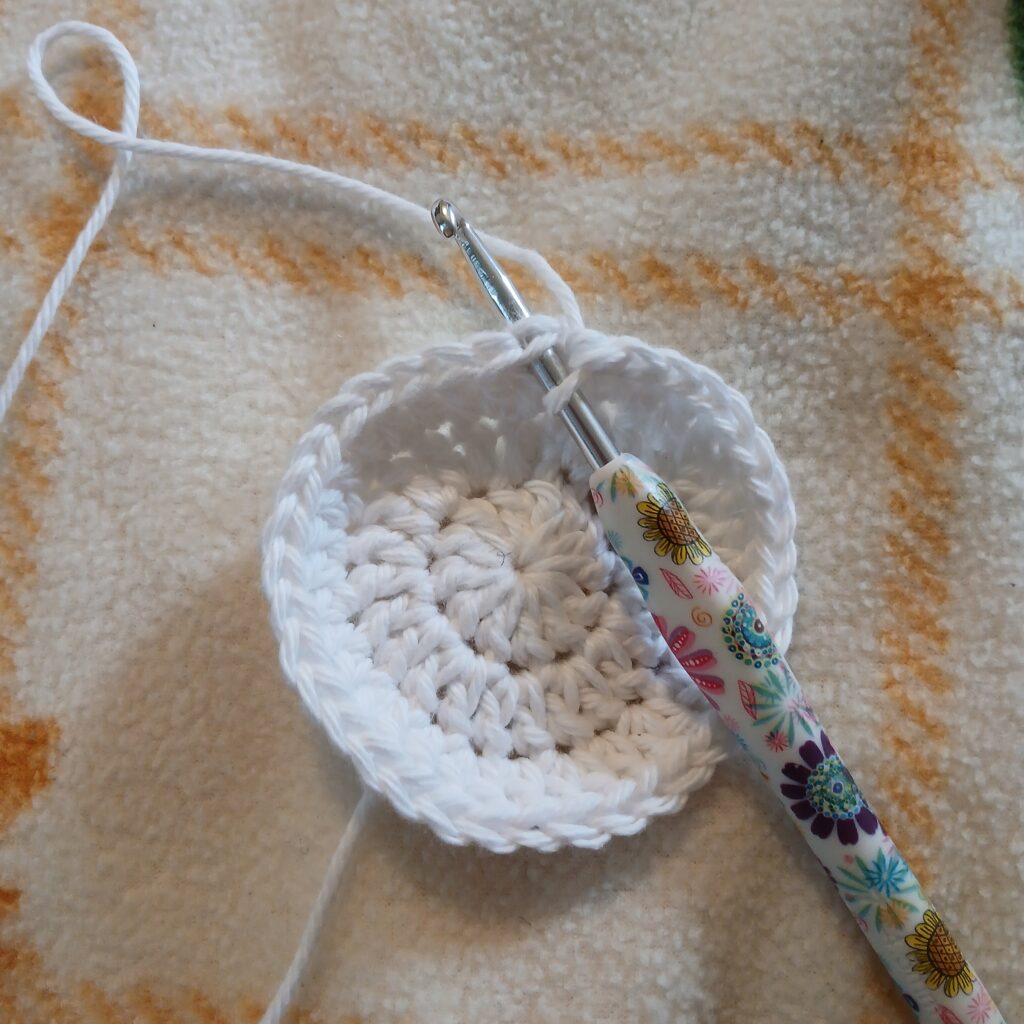
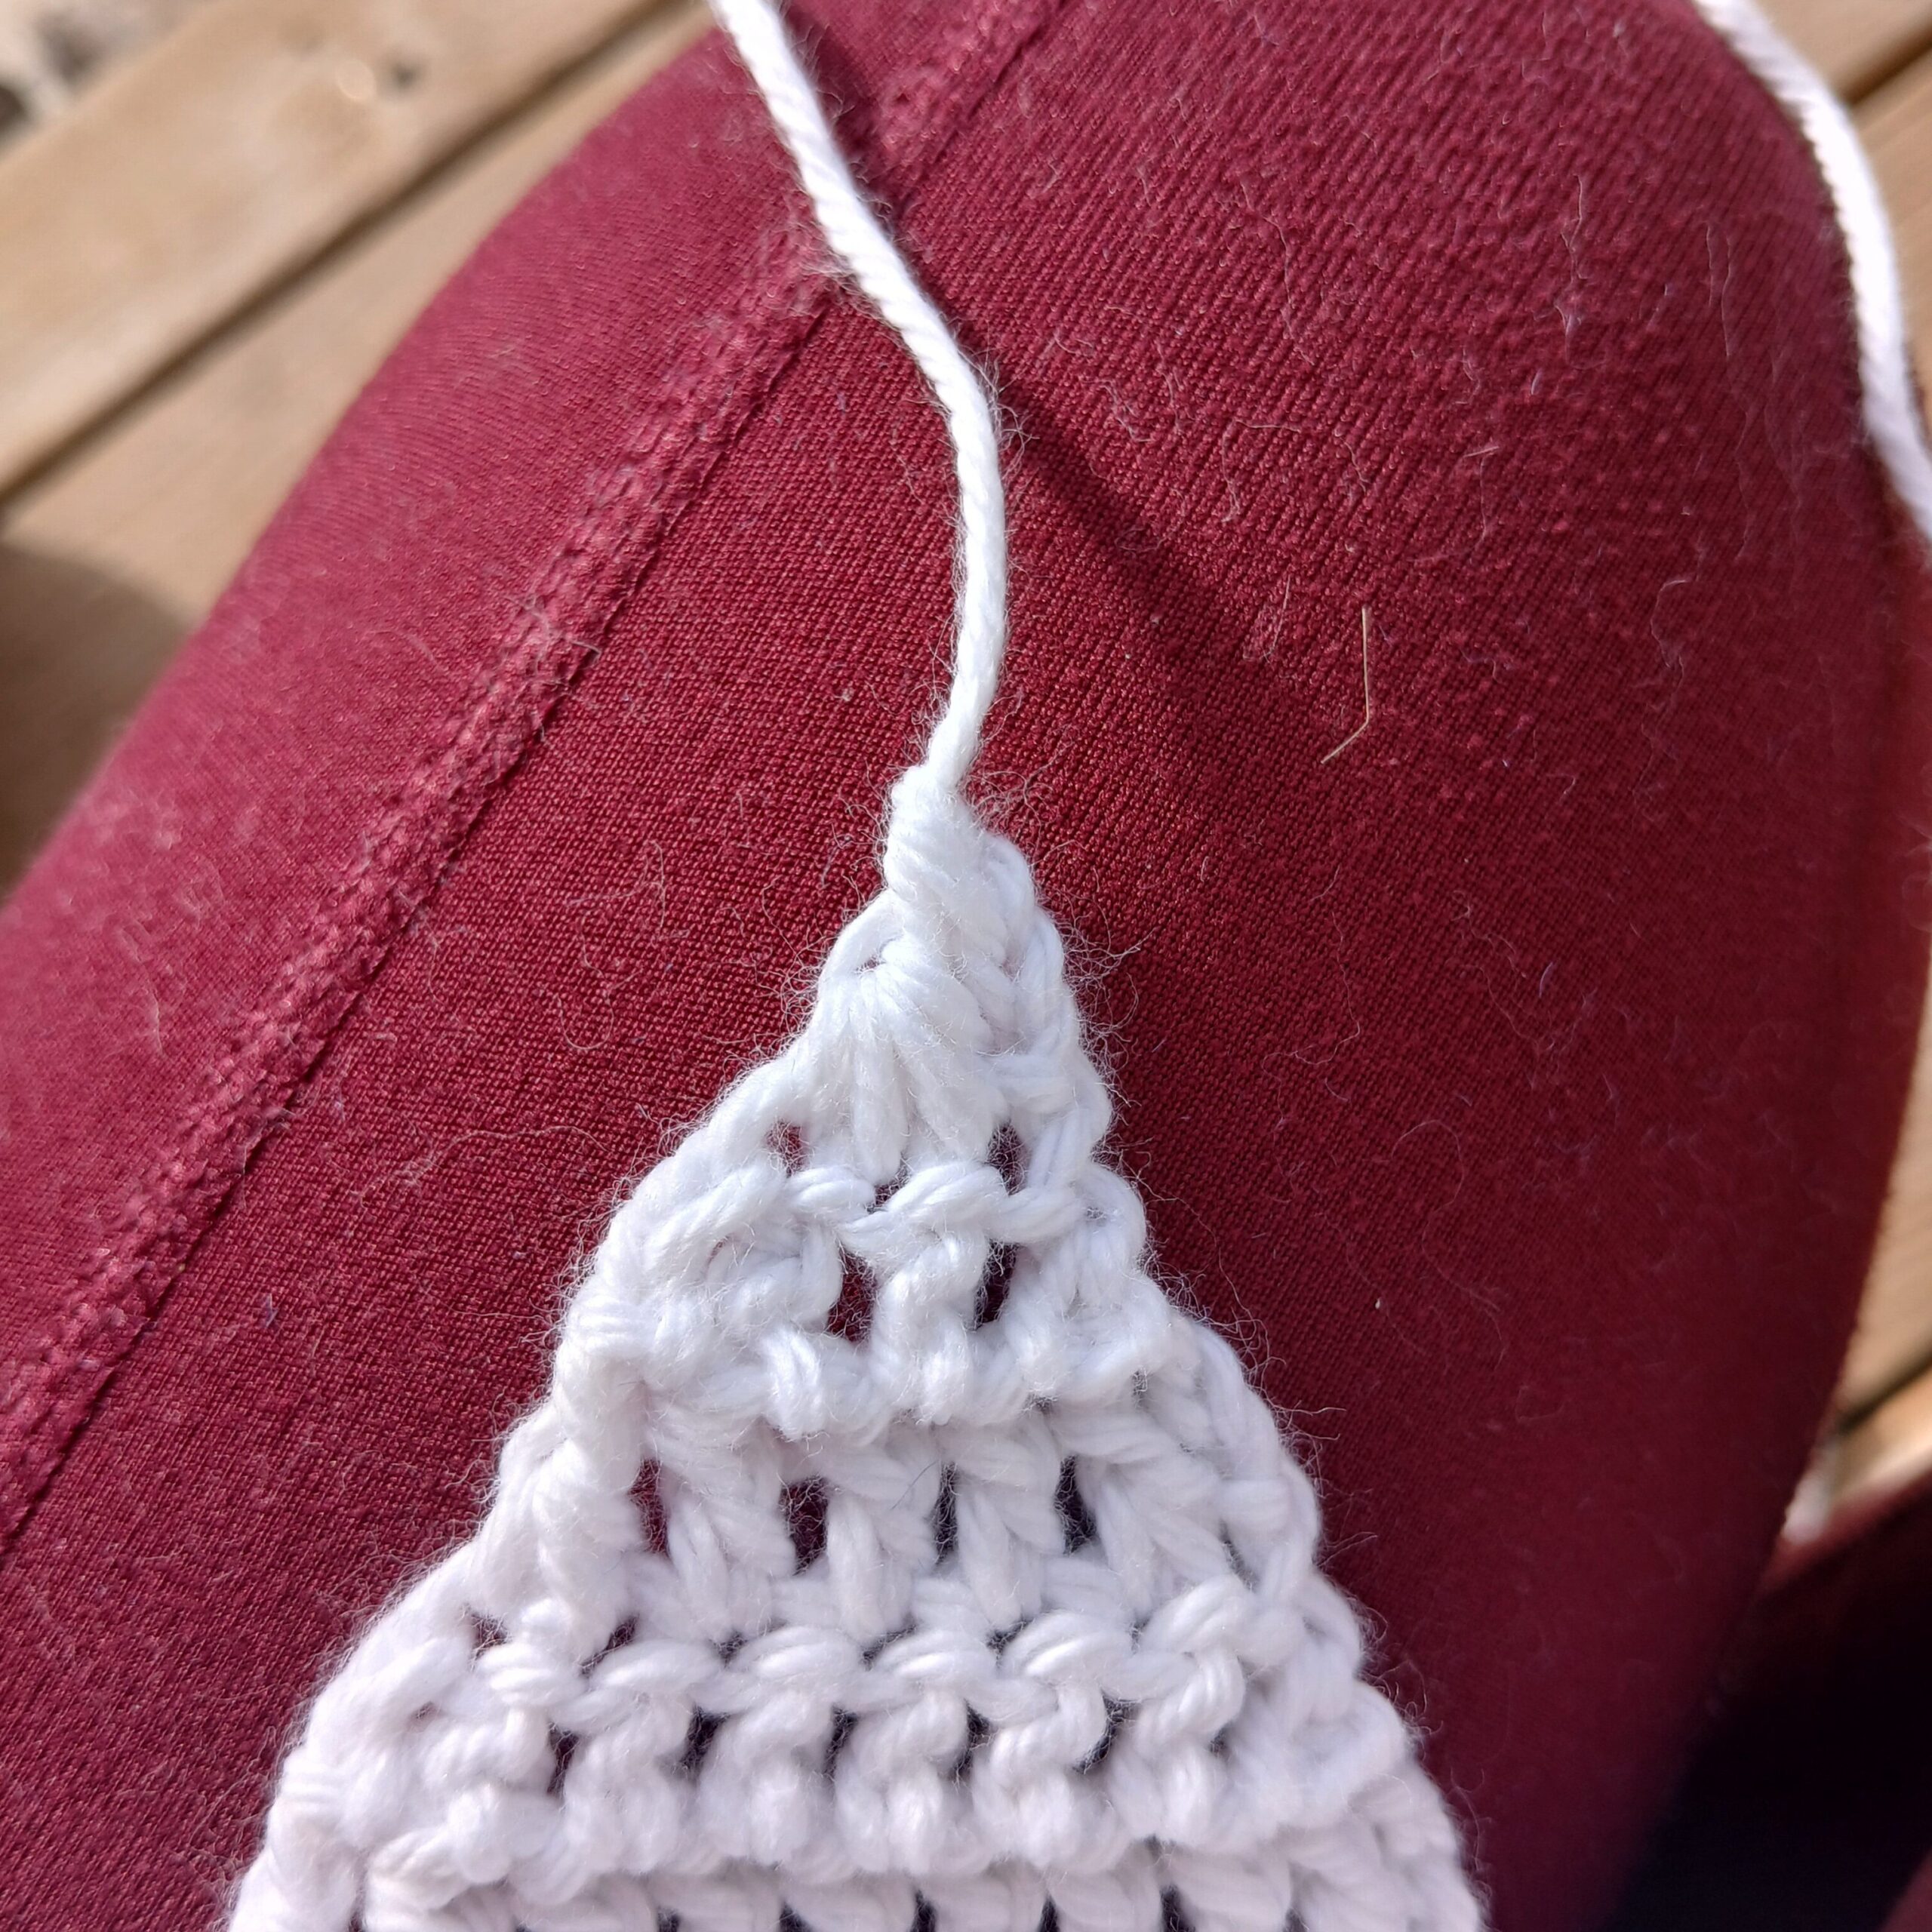
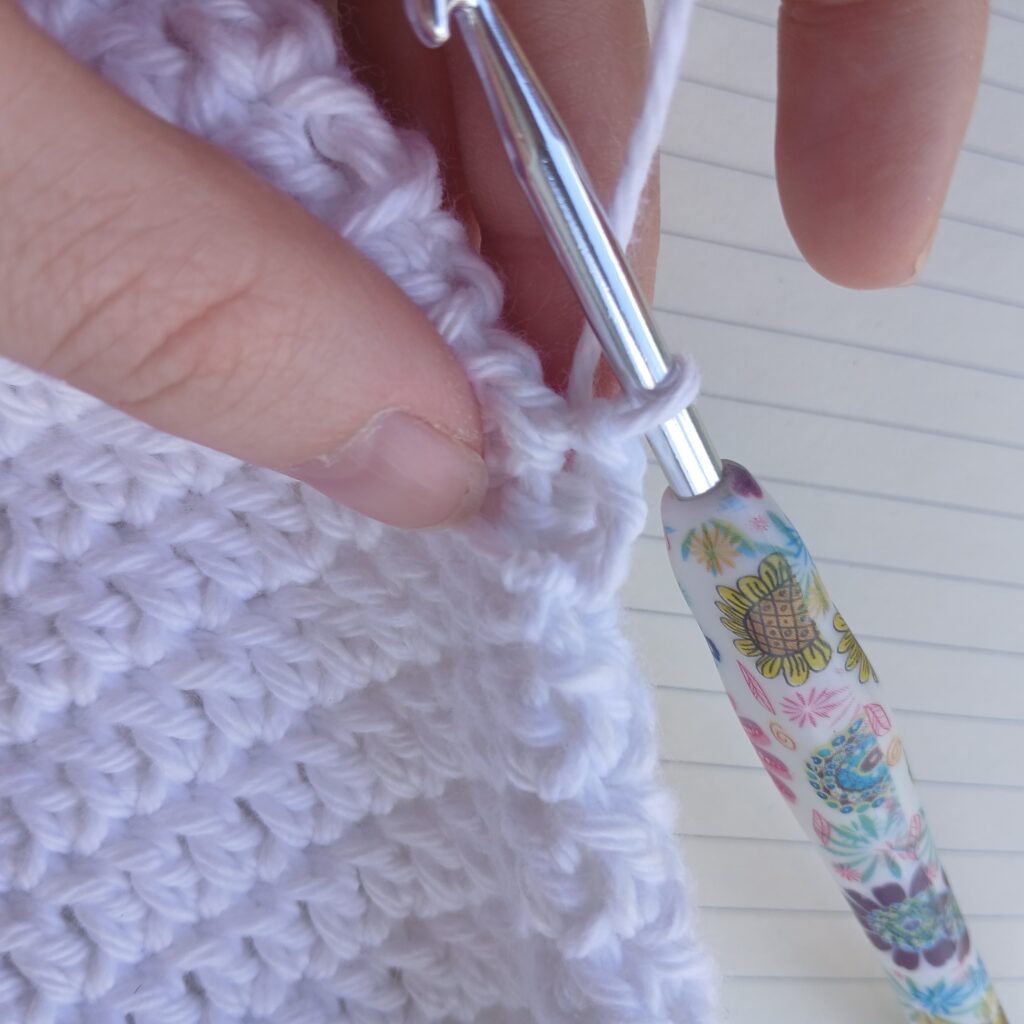
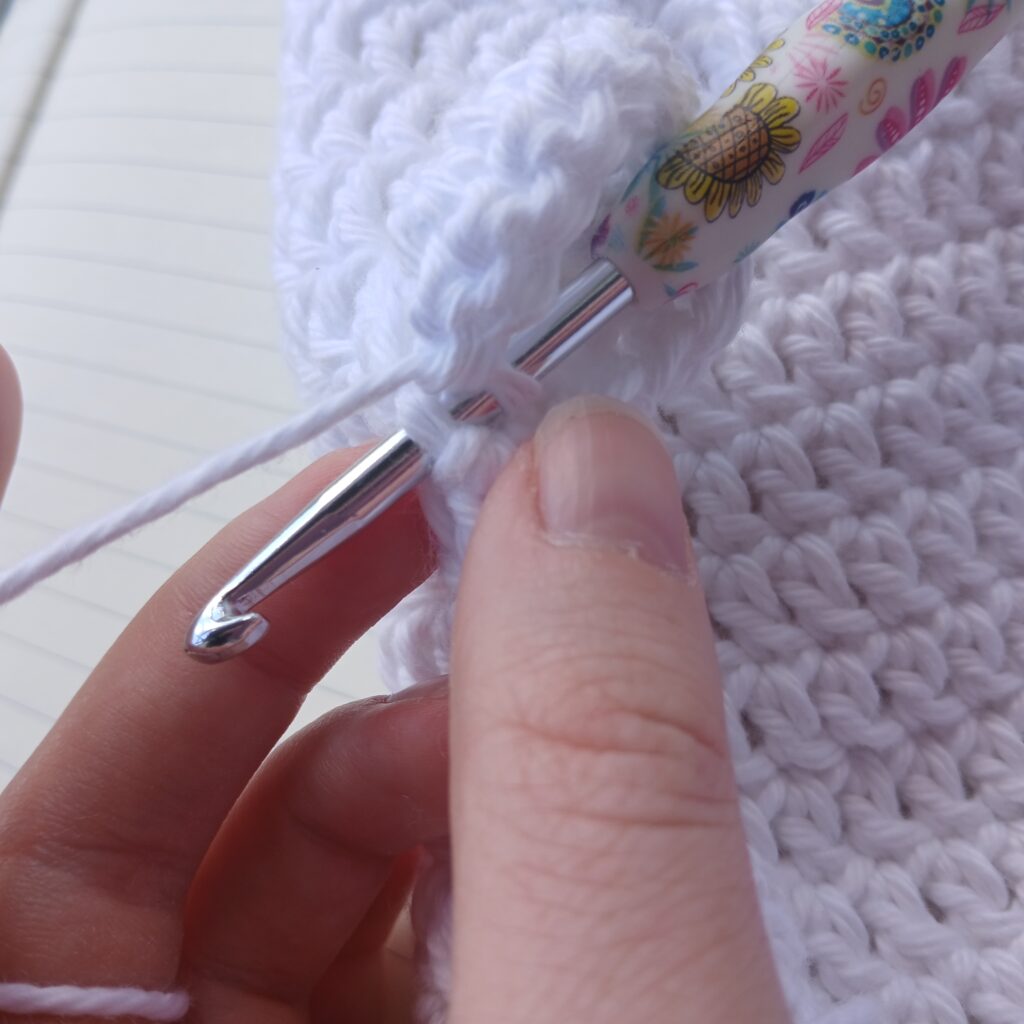
To start the head of the ghost you are going to chain 3.
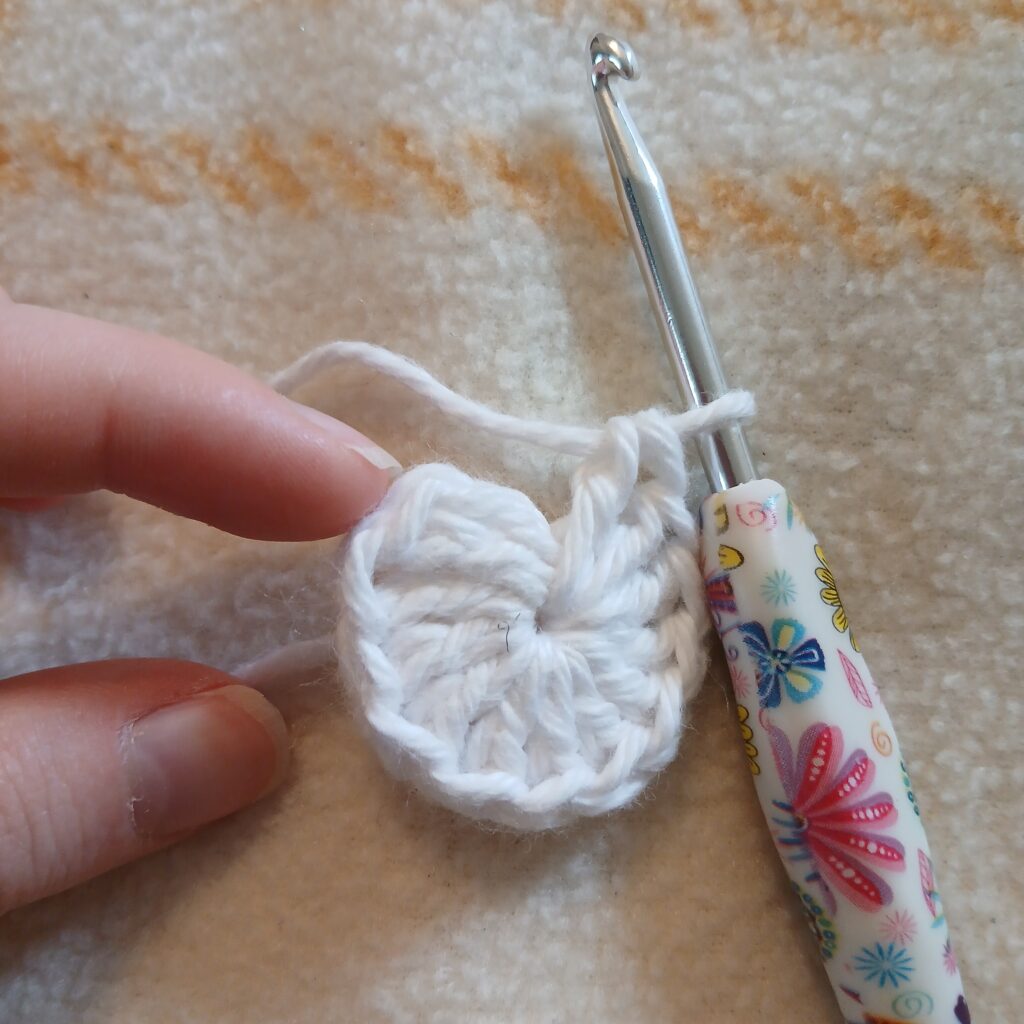
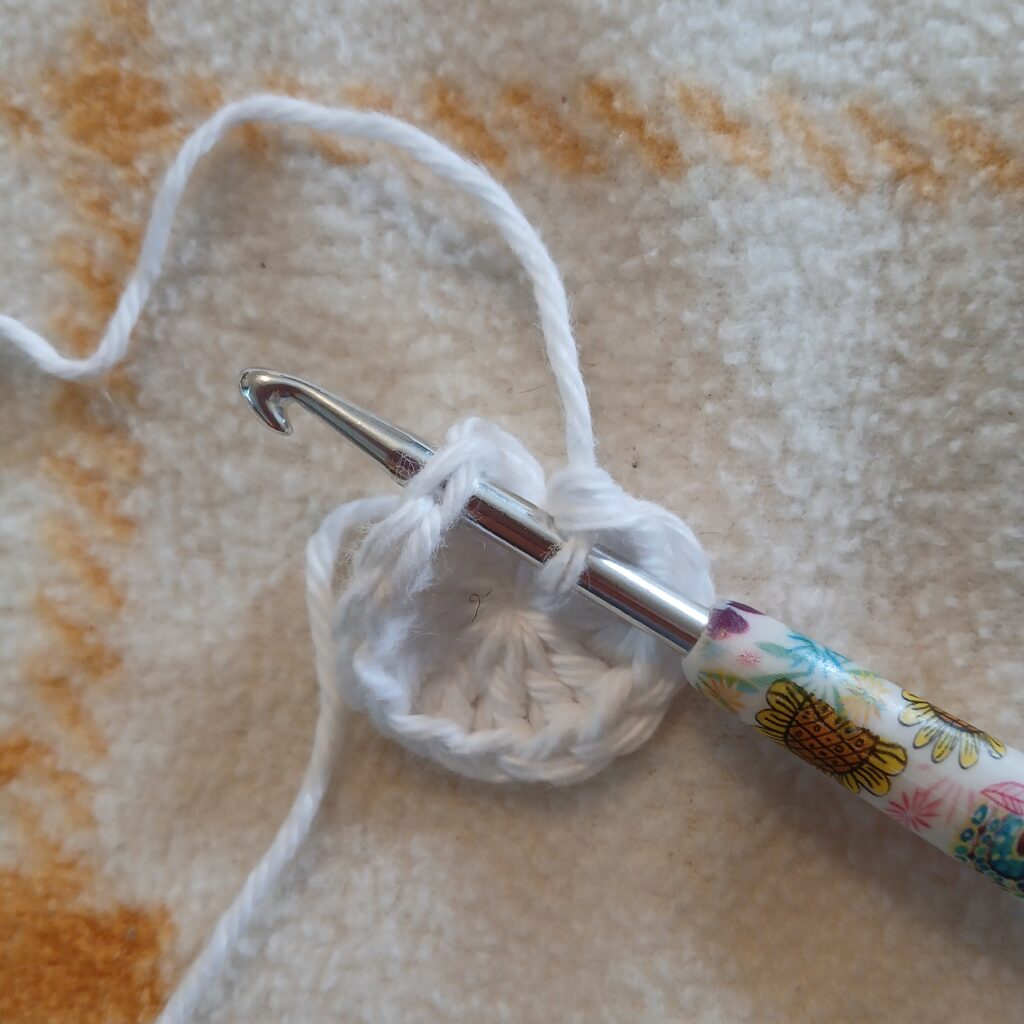
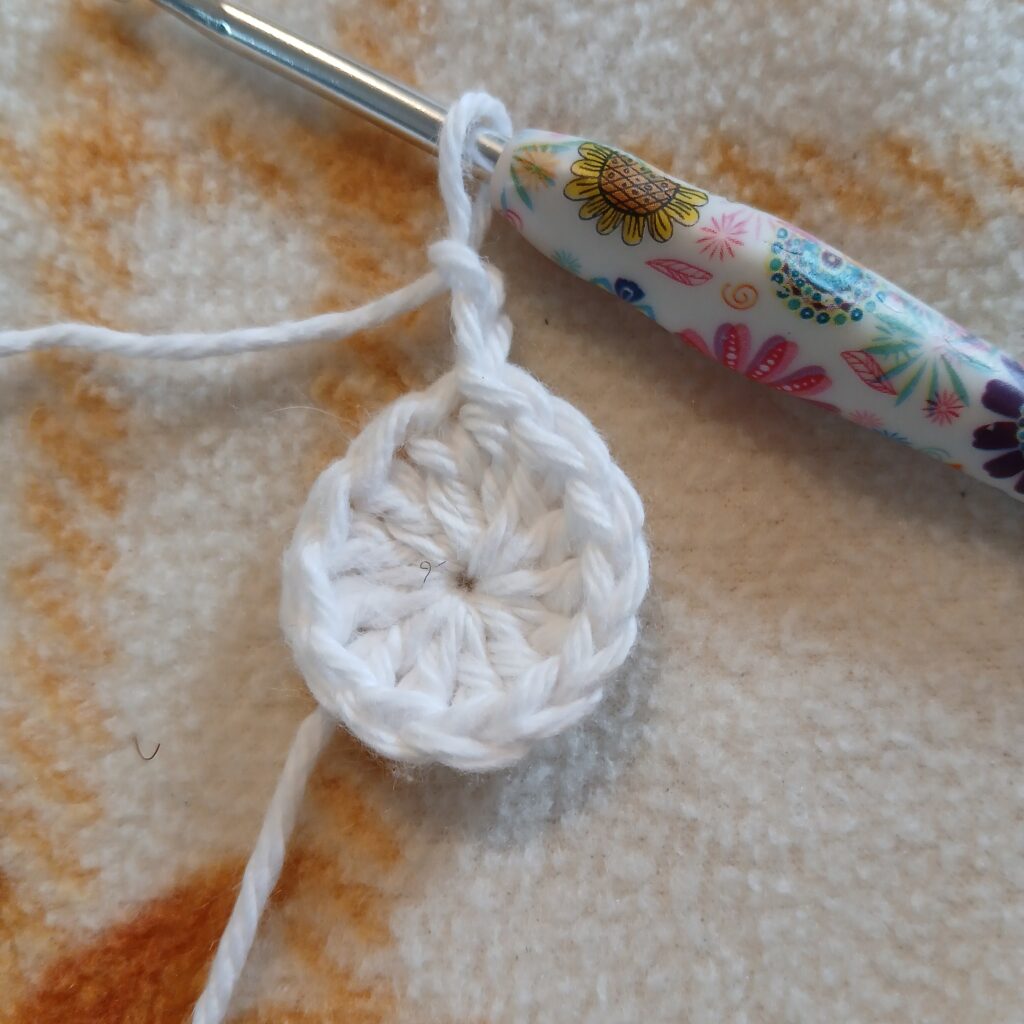
R1: Place 12 dc in the 3rd ch from your hook, slst and ch 2. (12)


R2: Place 2 dc in each st, slst and ch 2. (24)
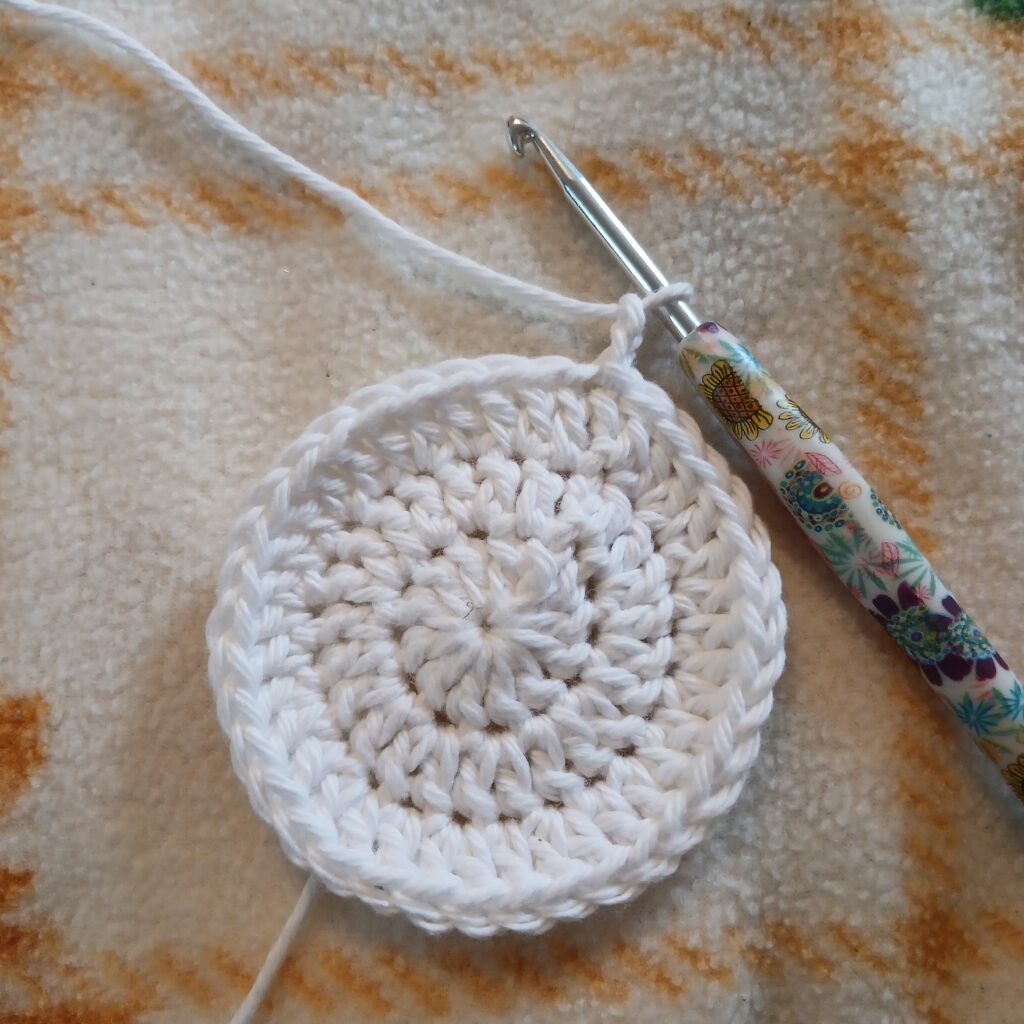
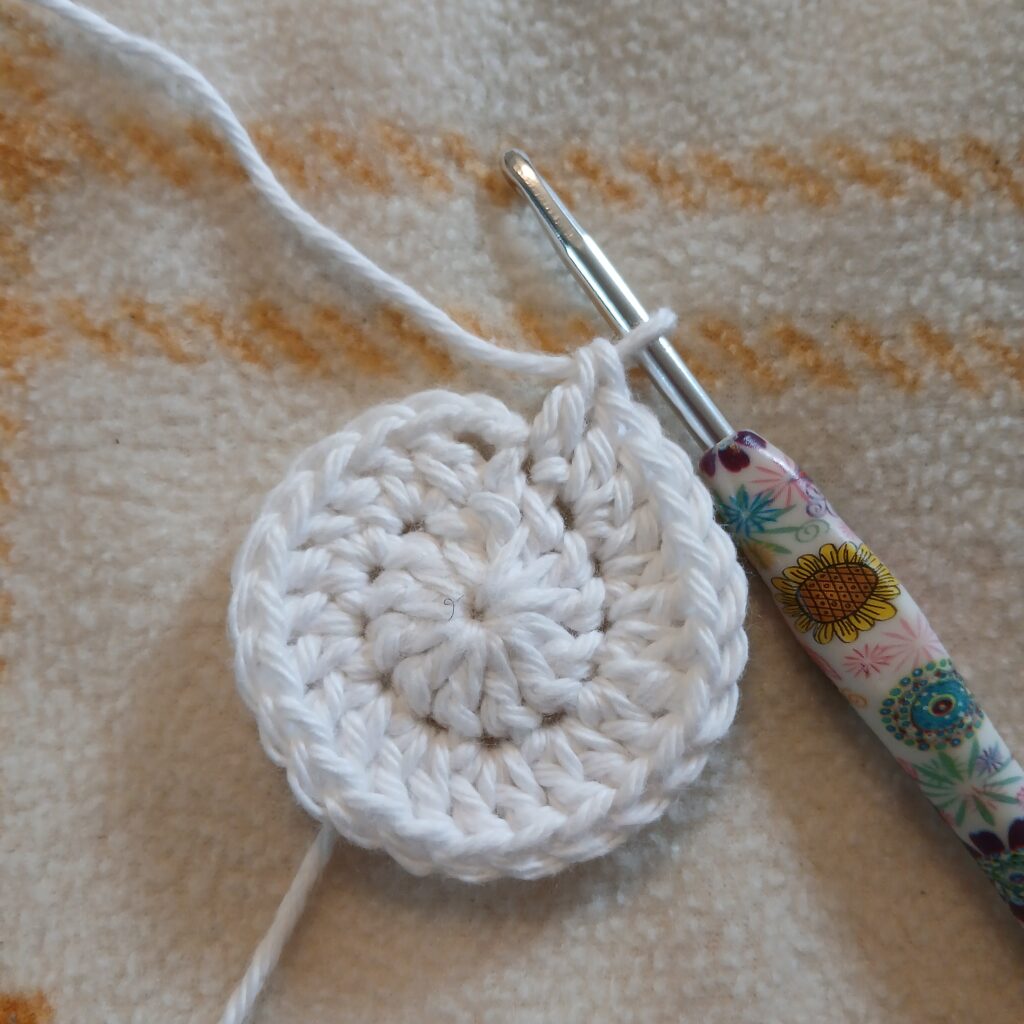
R3: *dc, inc in next* Repeat ** until you reach the end, slst and ch 2. (36)
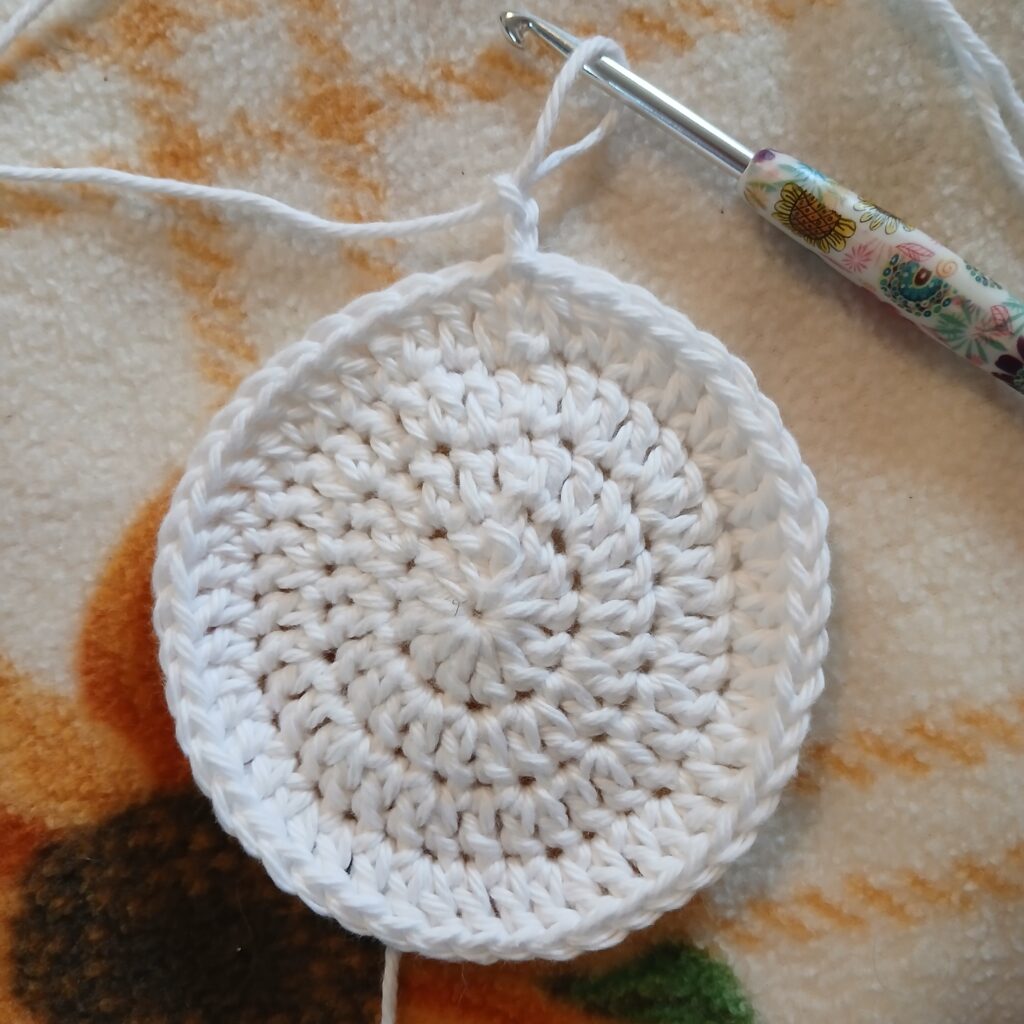
R4: *dc 2, inc in the next* Repeat ** until you reach the end. Slst and ch 2. (48)
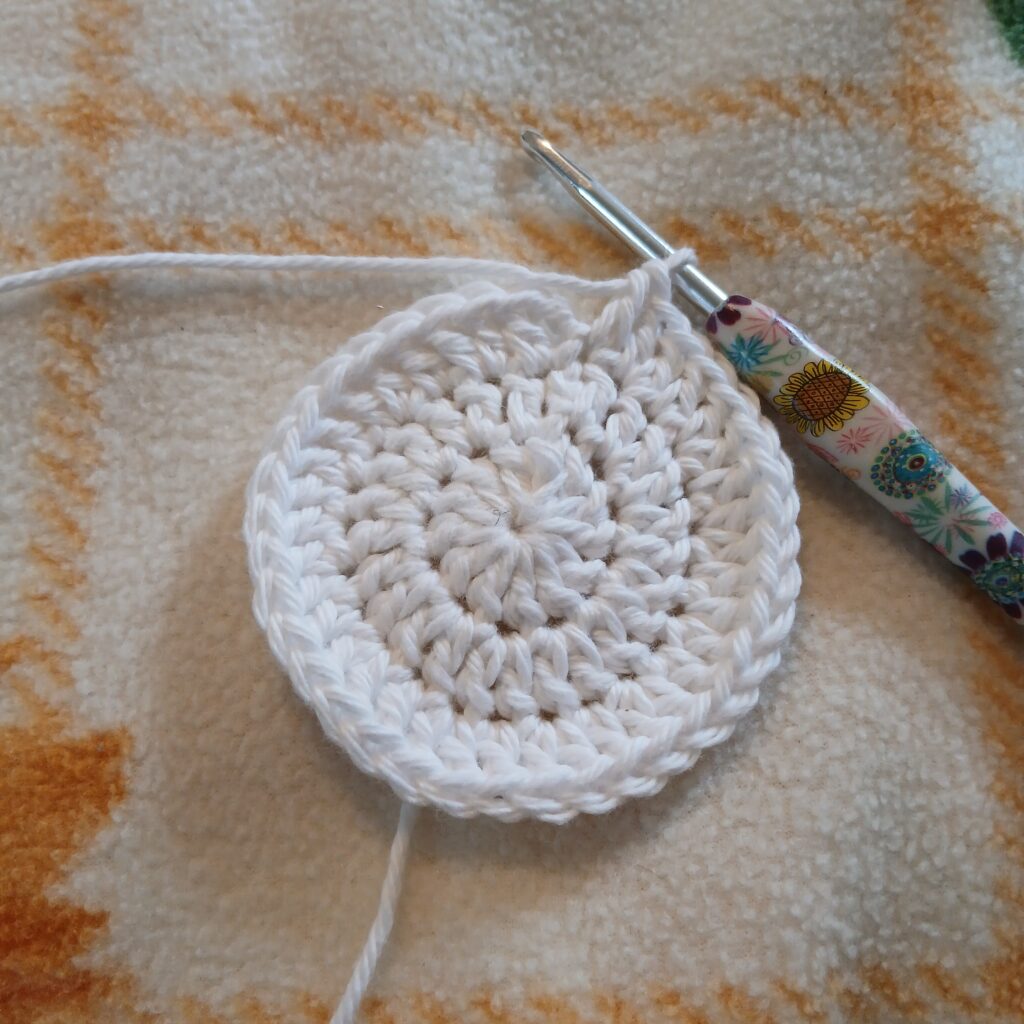
R5: *dc 3, inc in the next* Repeat ** until you reach the end. Slst and ch 2. (60)
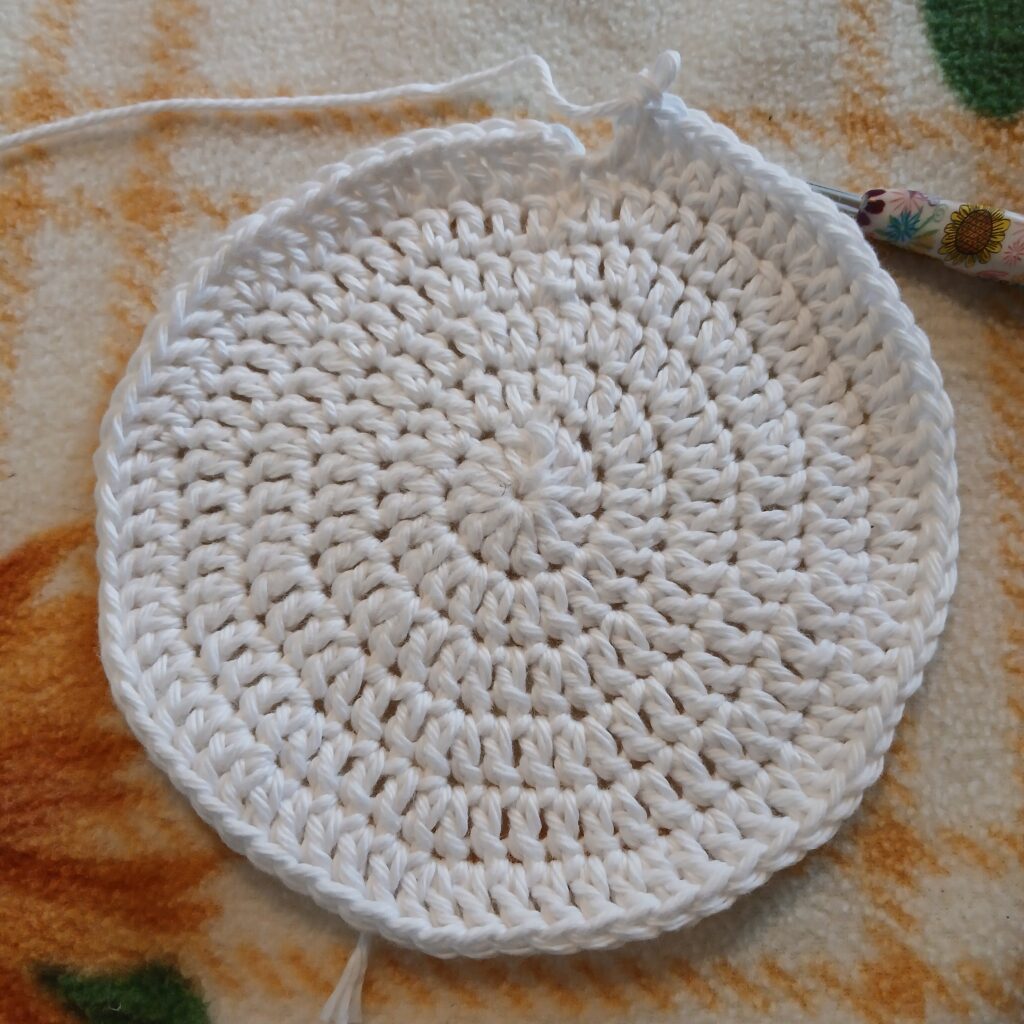
R6: *dc 4, inc in the next* Repeat ** until you reach the end. Slst and ch 2. (72)
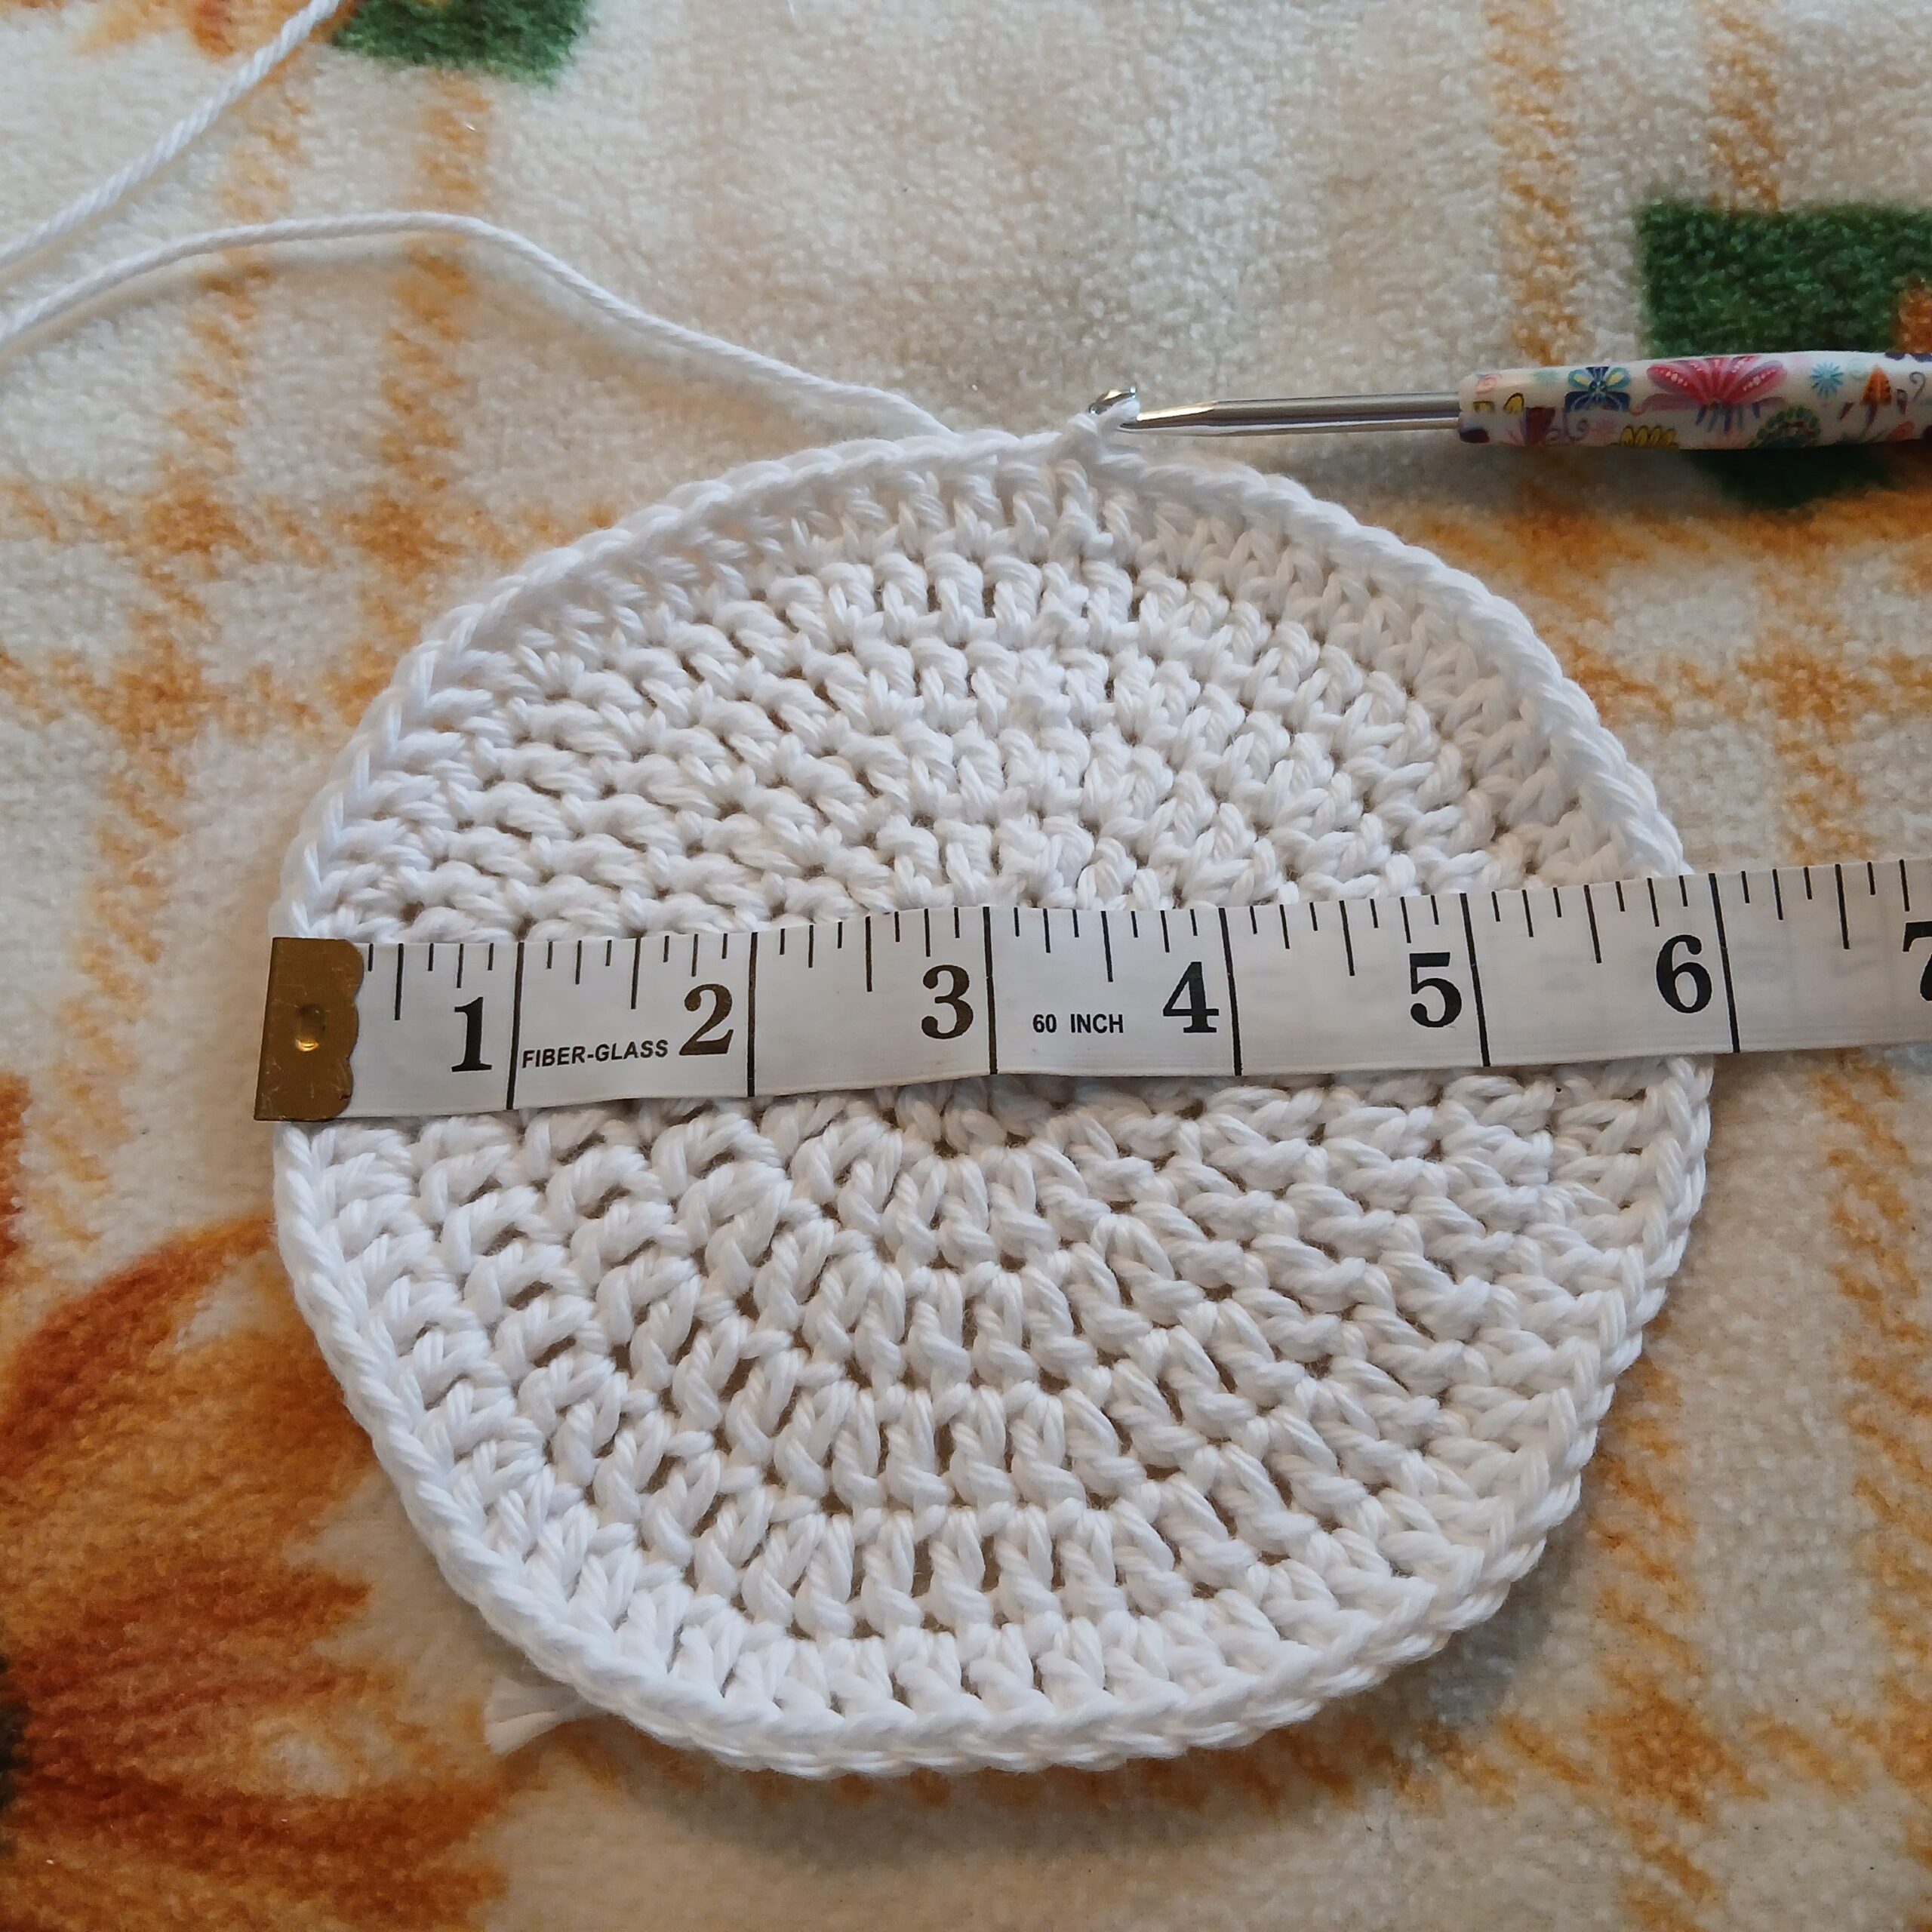
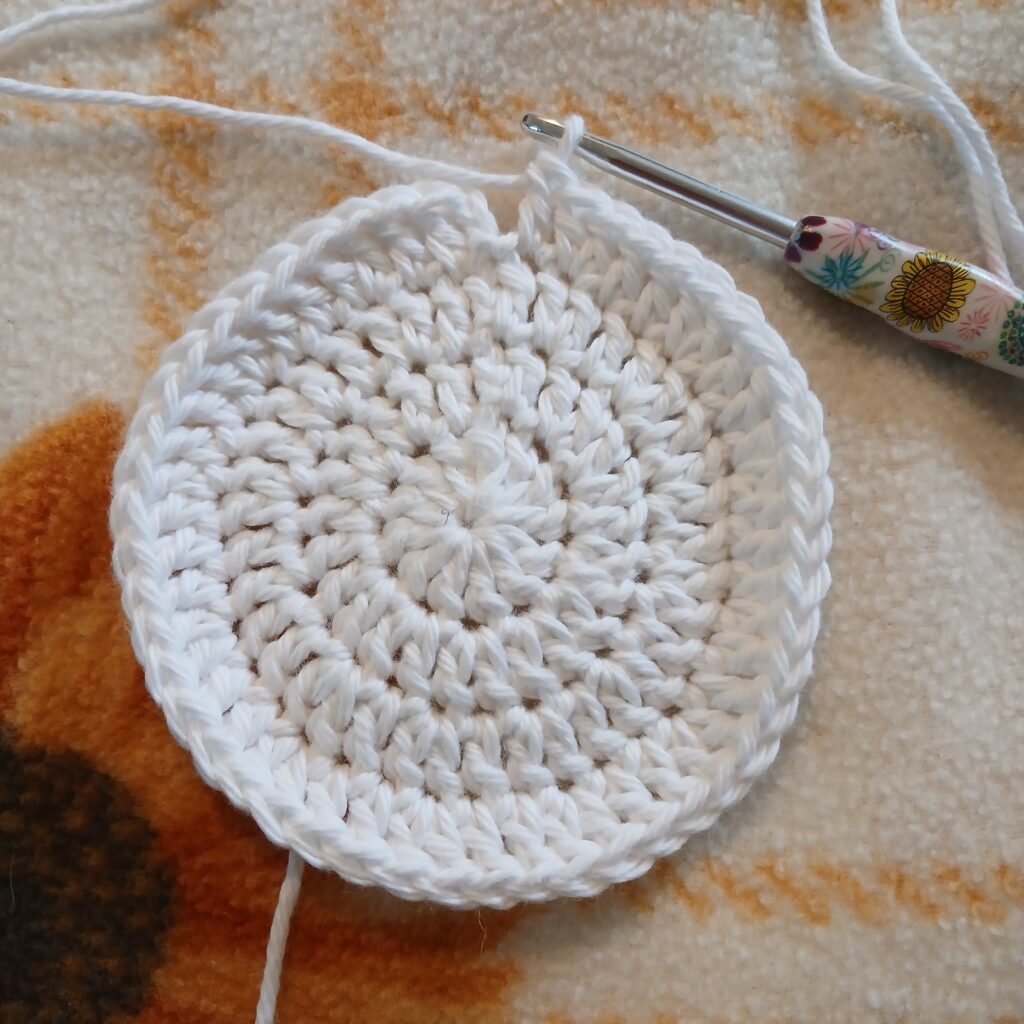
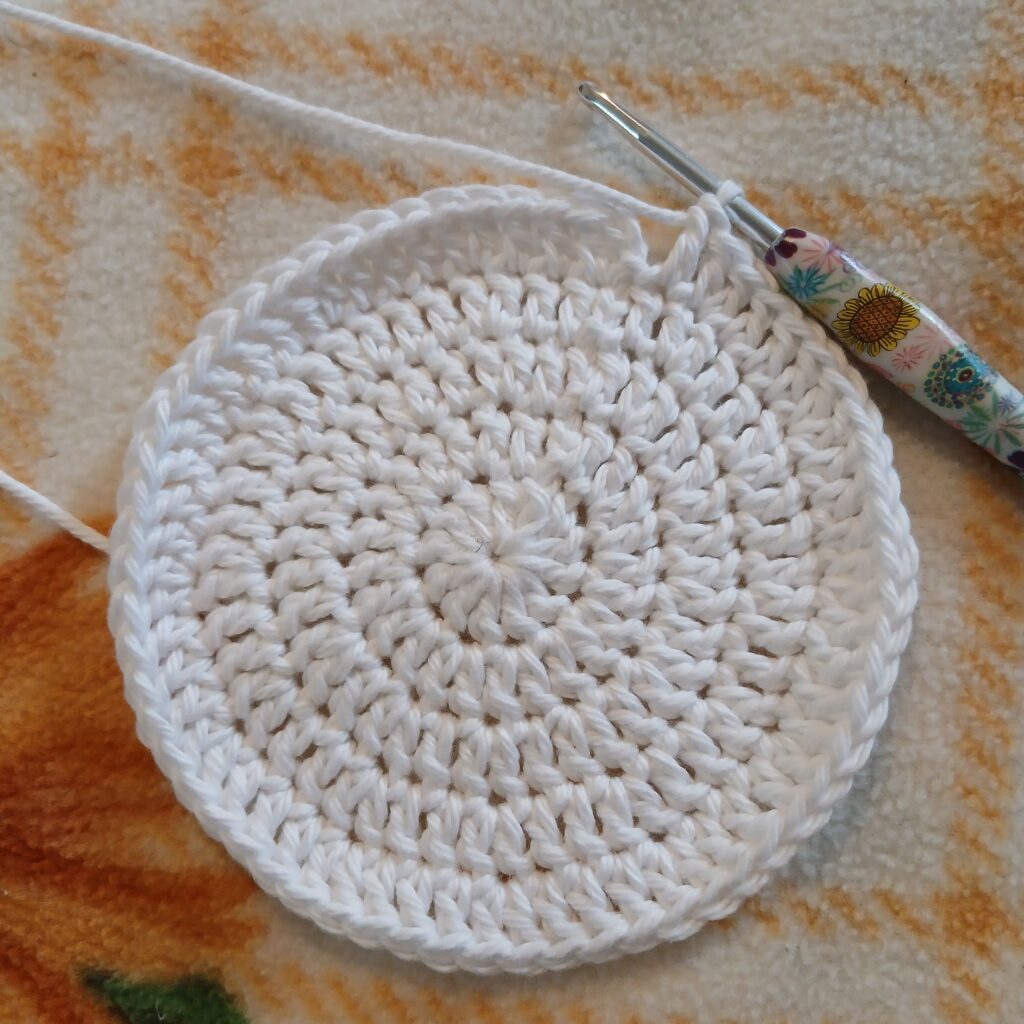
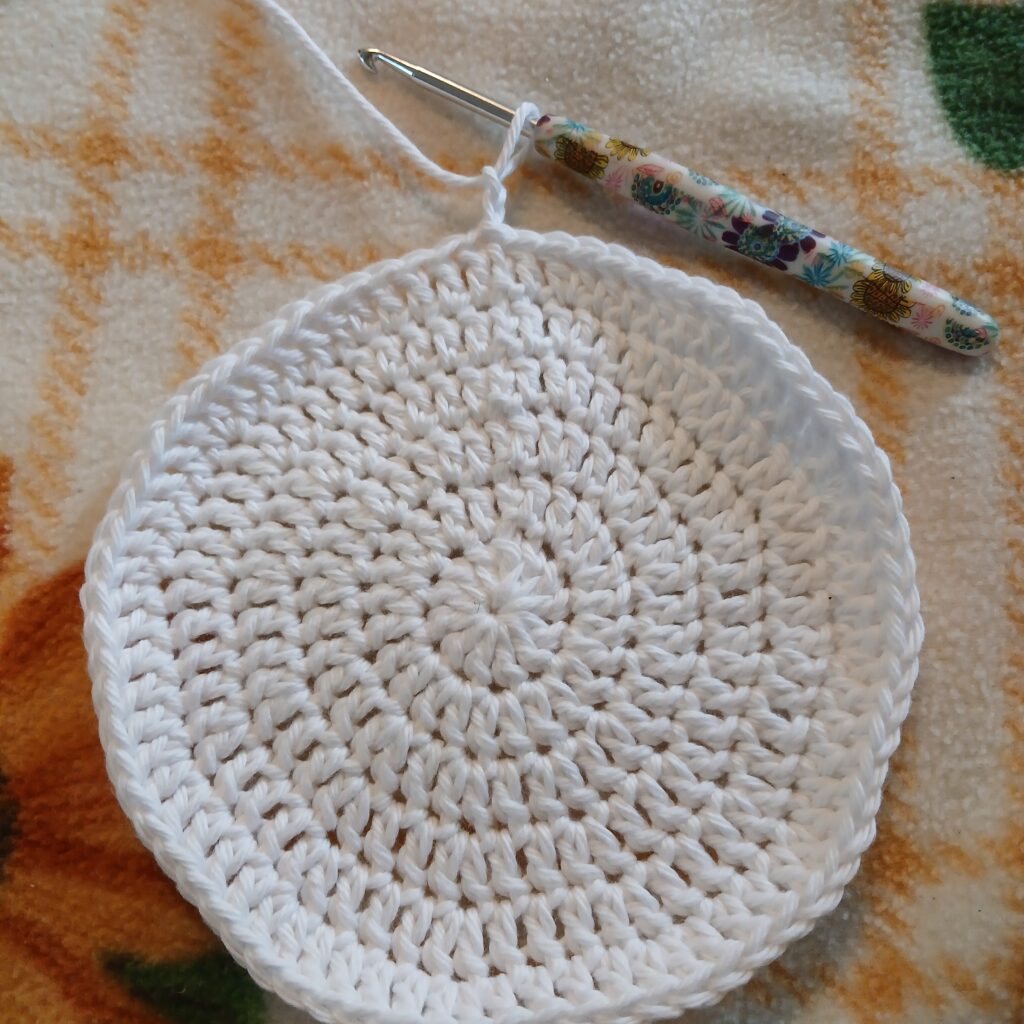
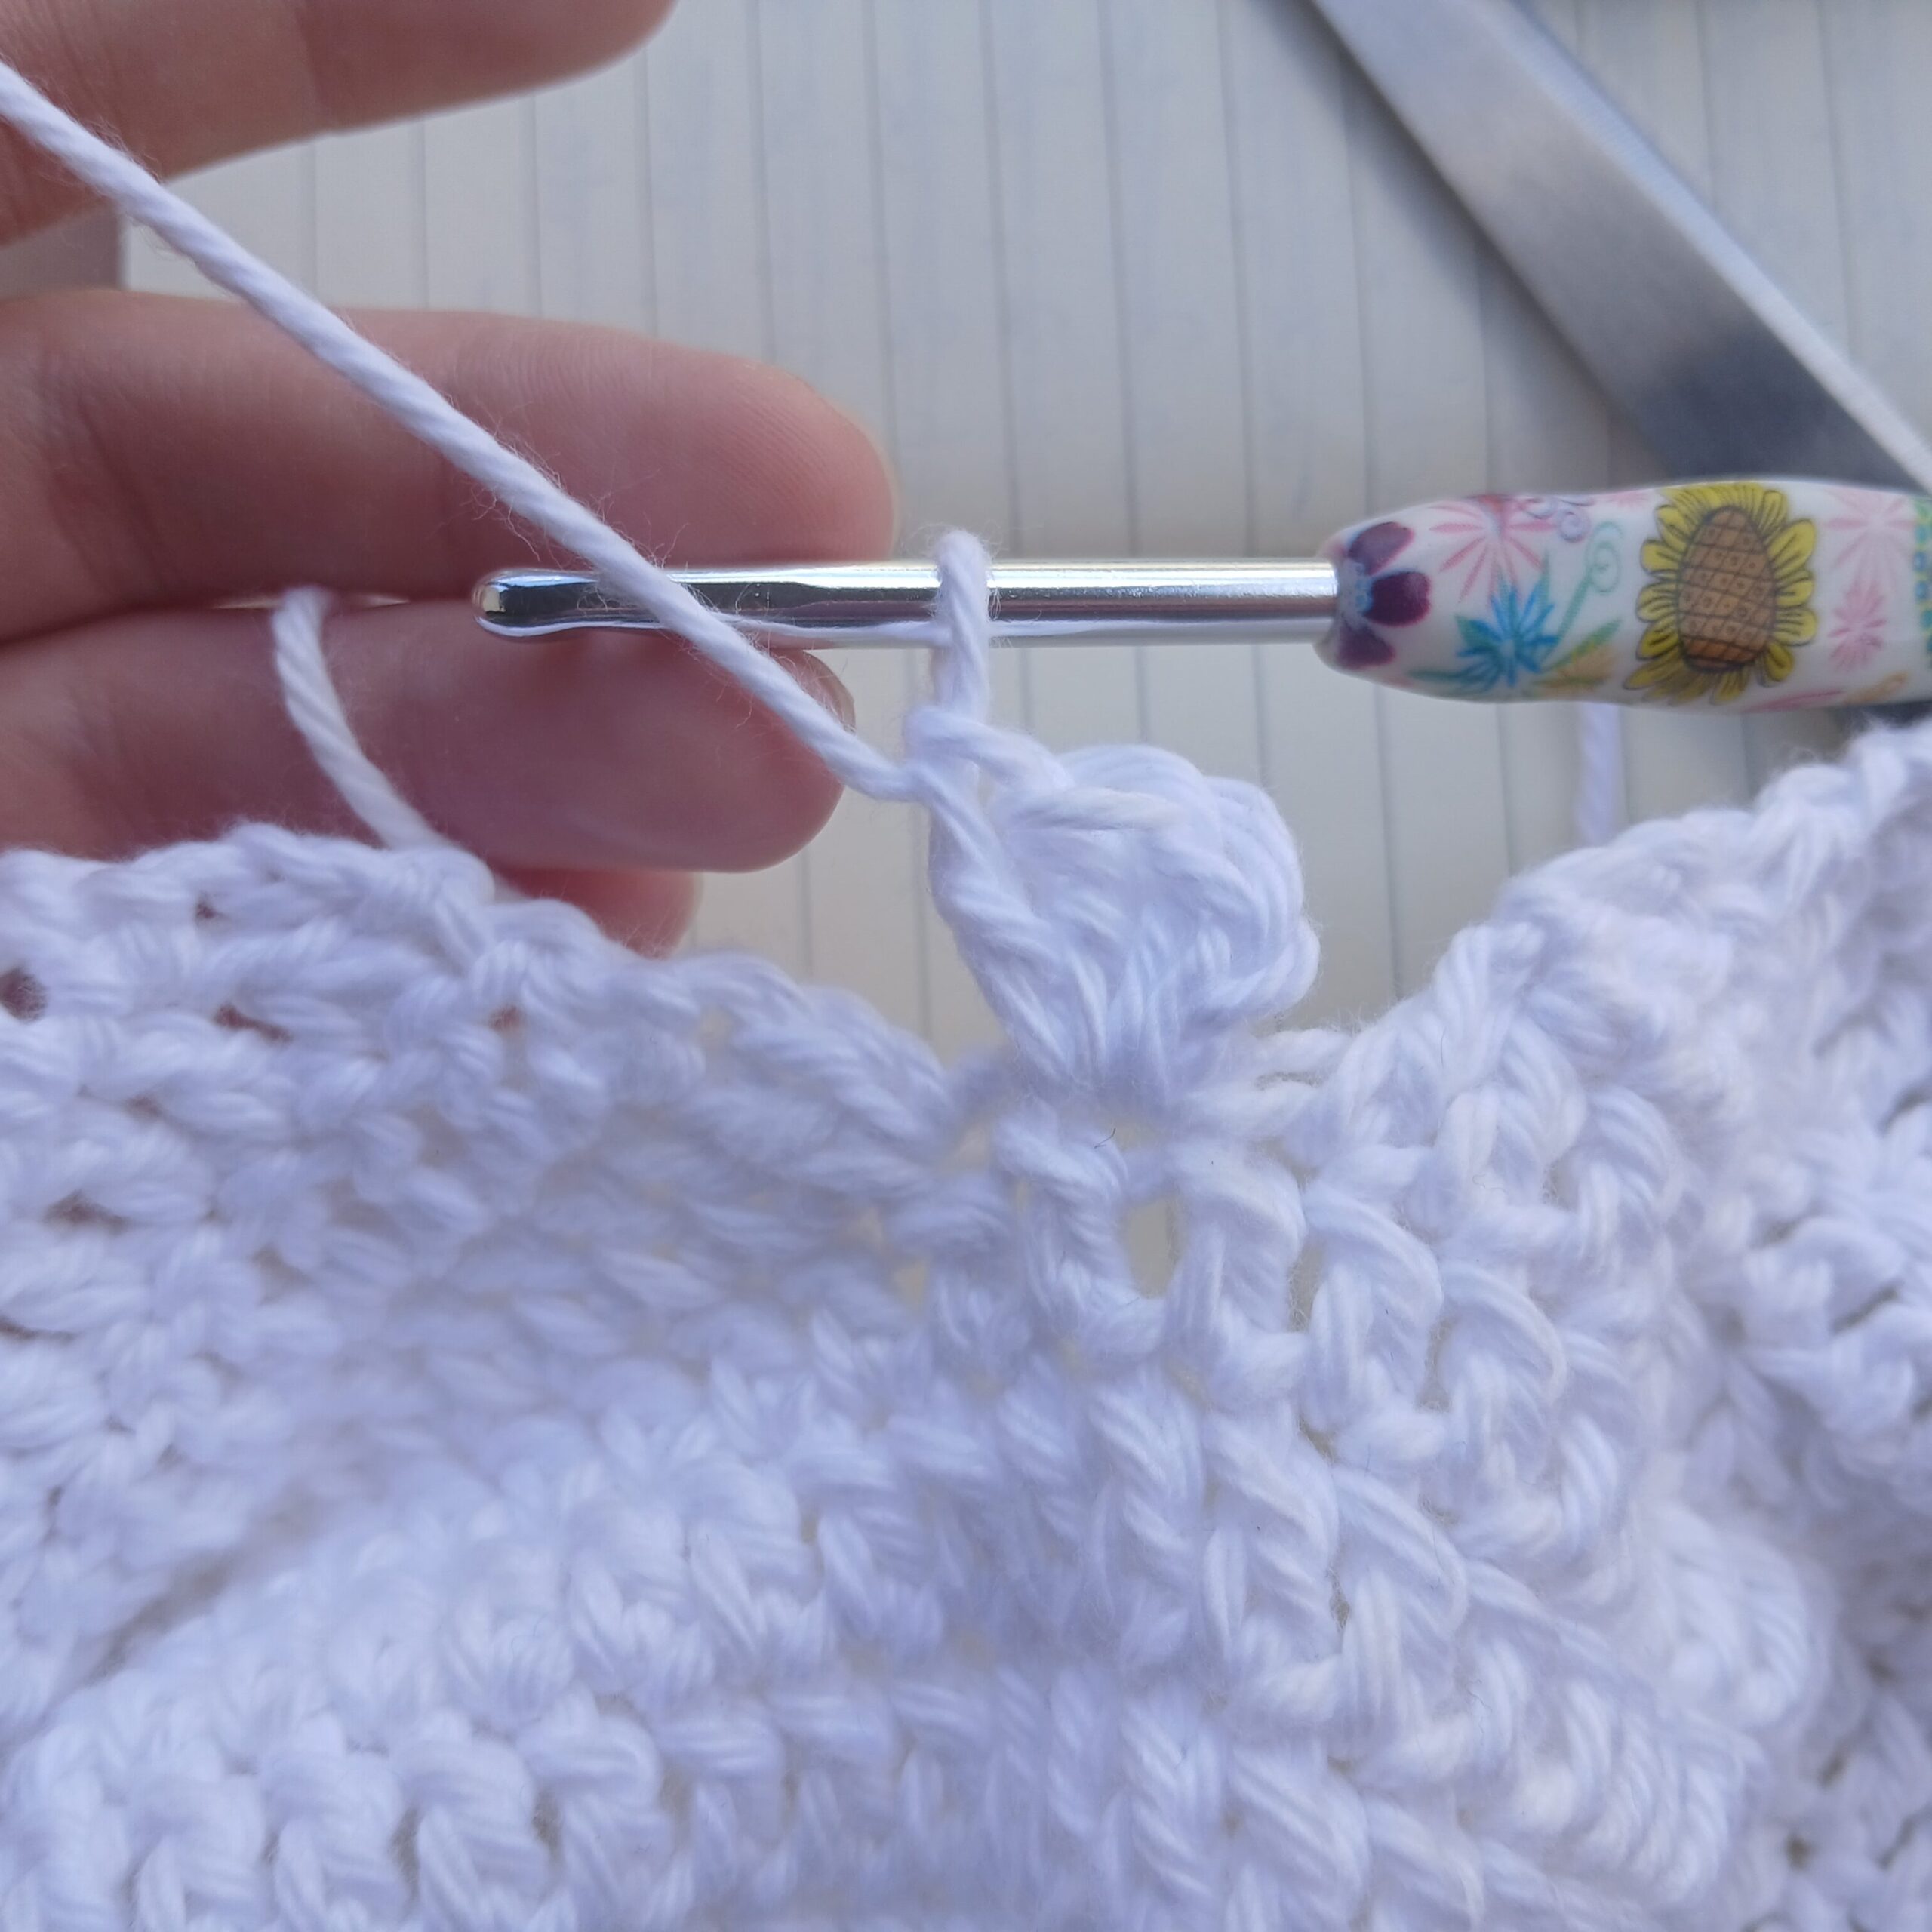
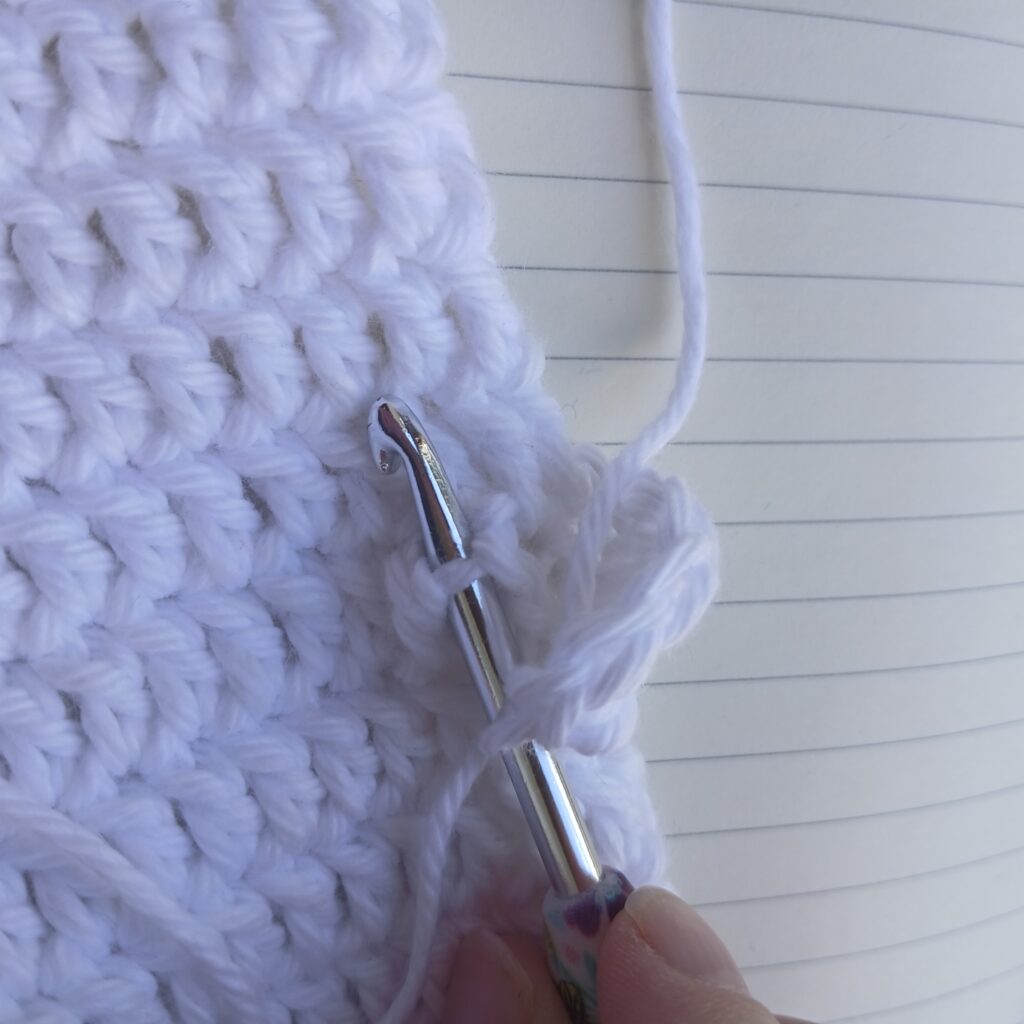
The head of your ghost should measure close to 6 inches, it’s not a big deal if it ends up a little bigger/smaller. For the next 15 row you’re going to place a dc in each stitch.
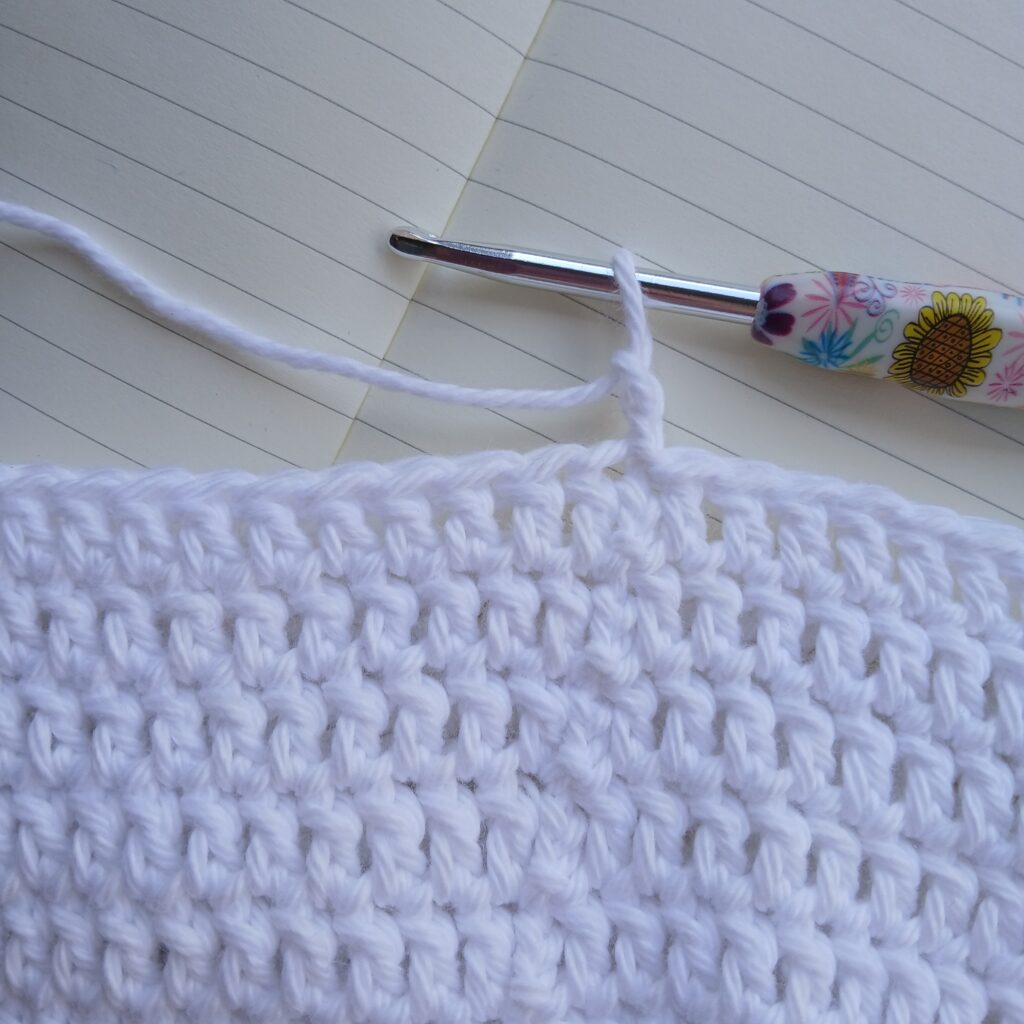
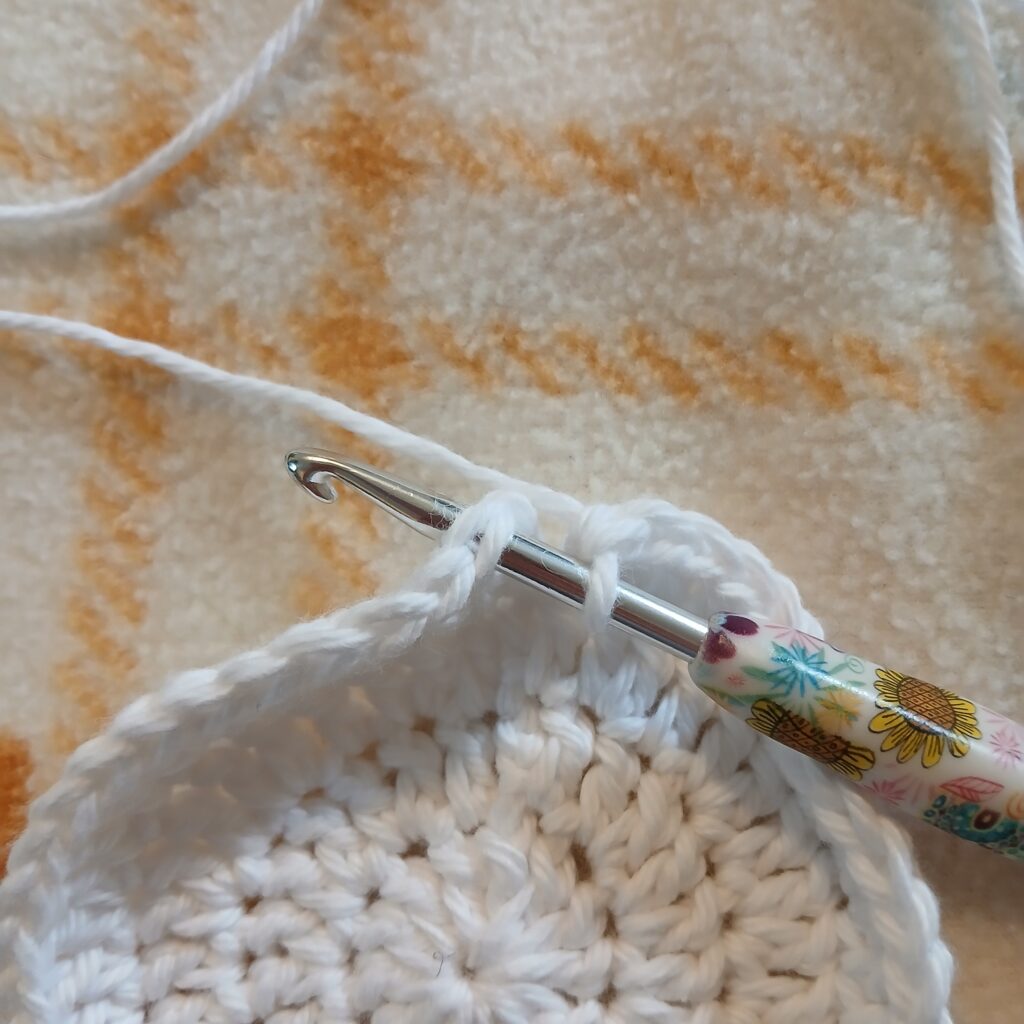
R22: Ch 2, dc in the same st you chained from, place a dc in the next 34 sts (35)


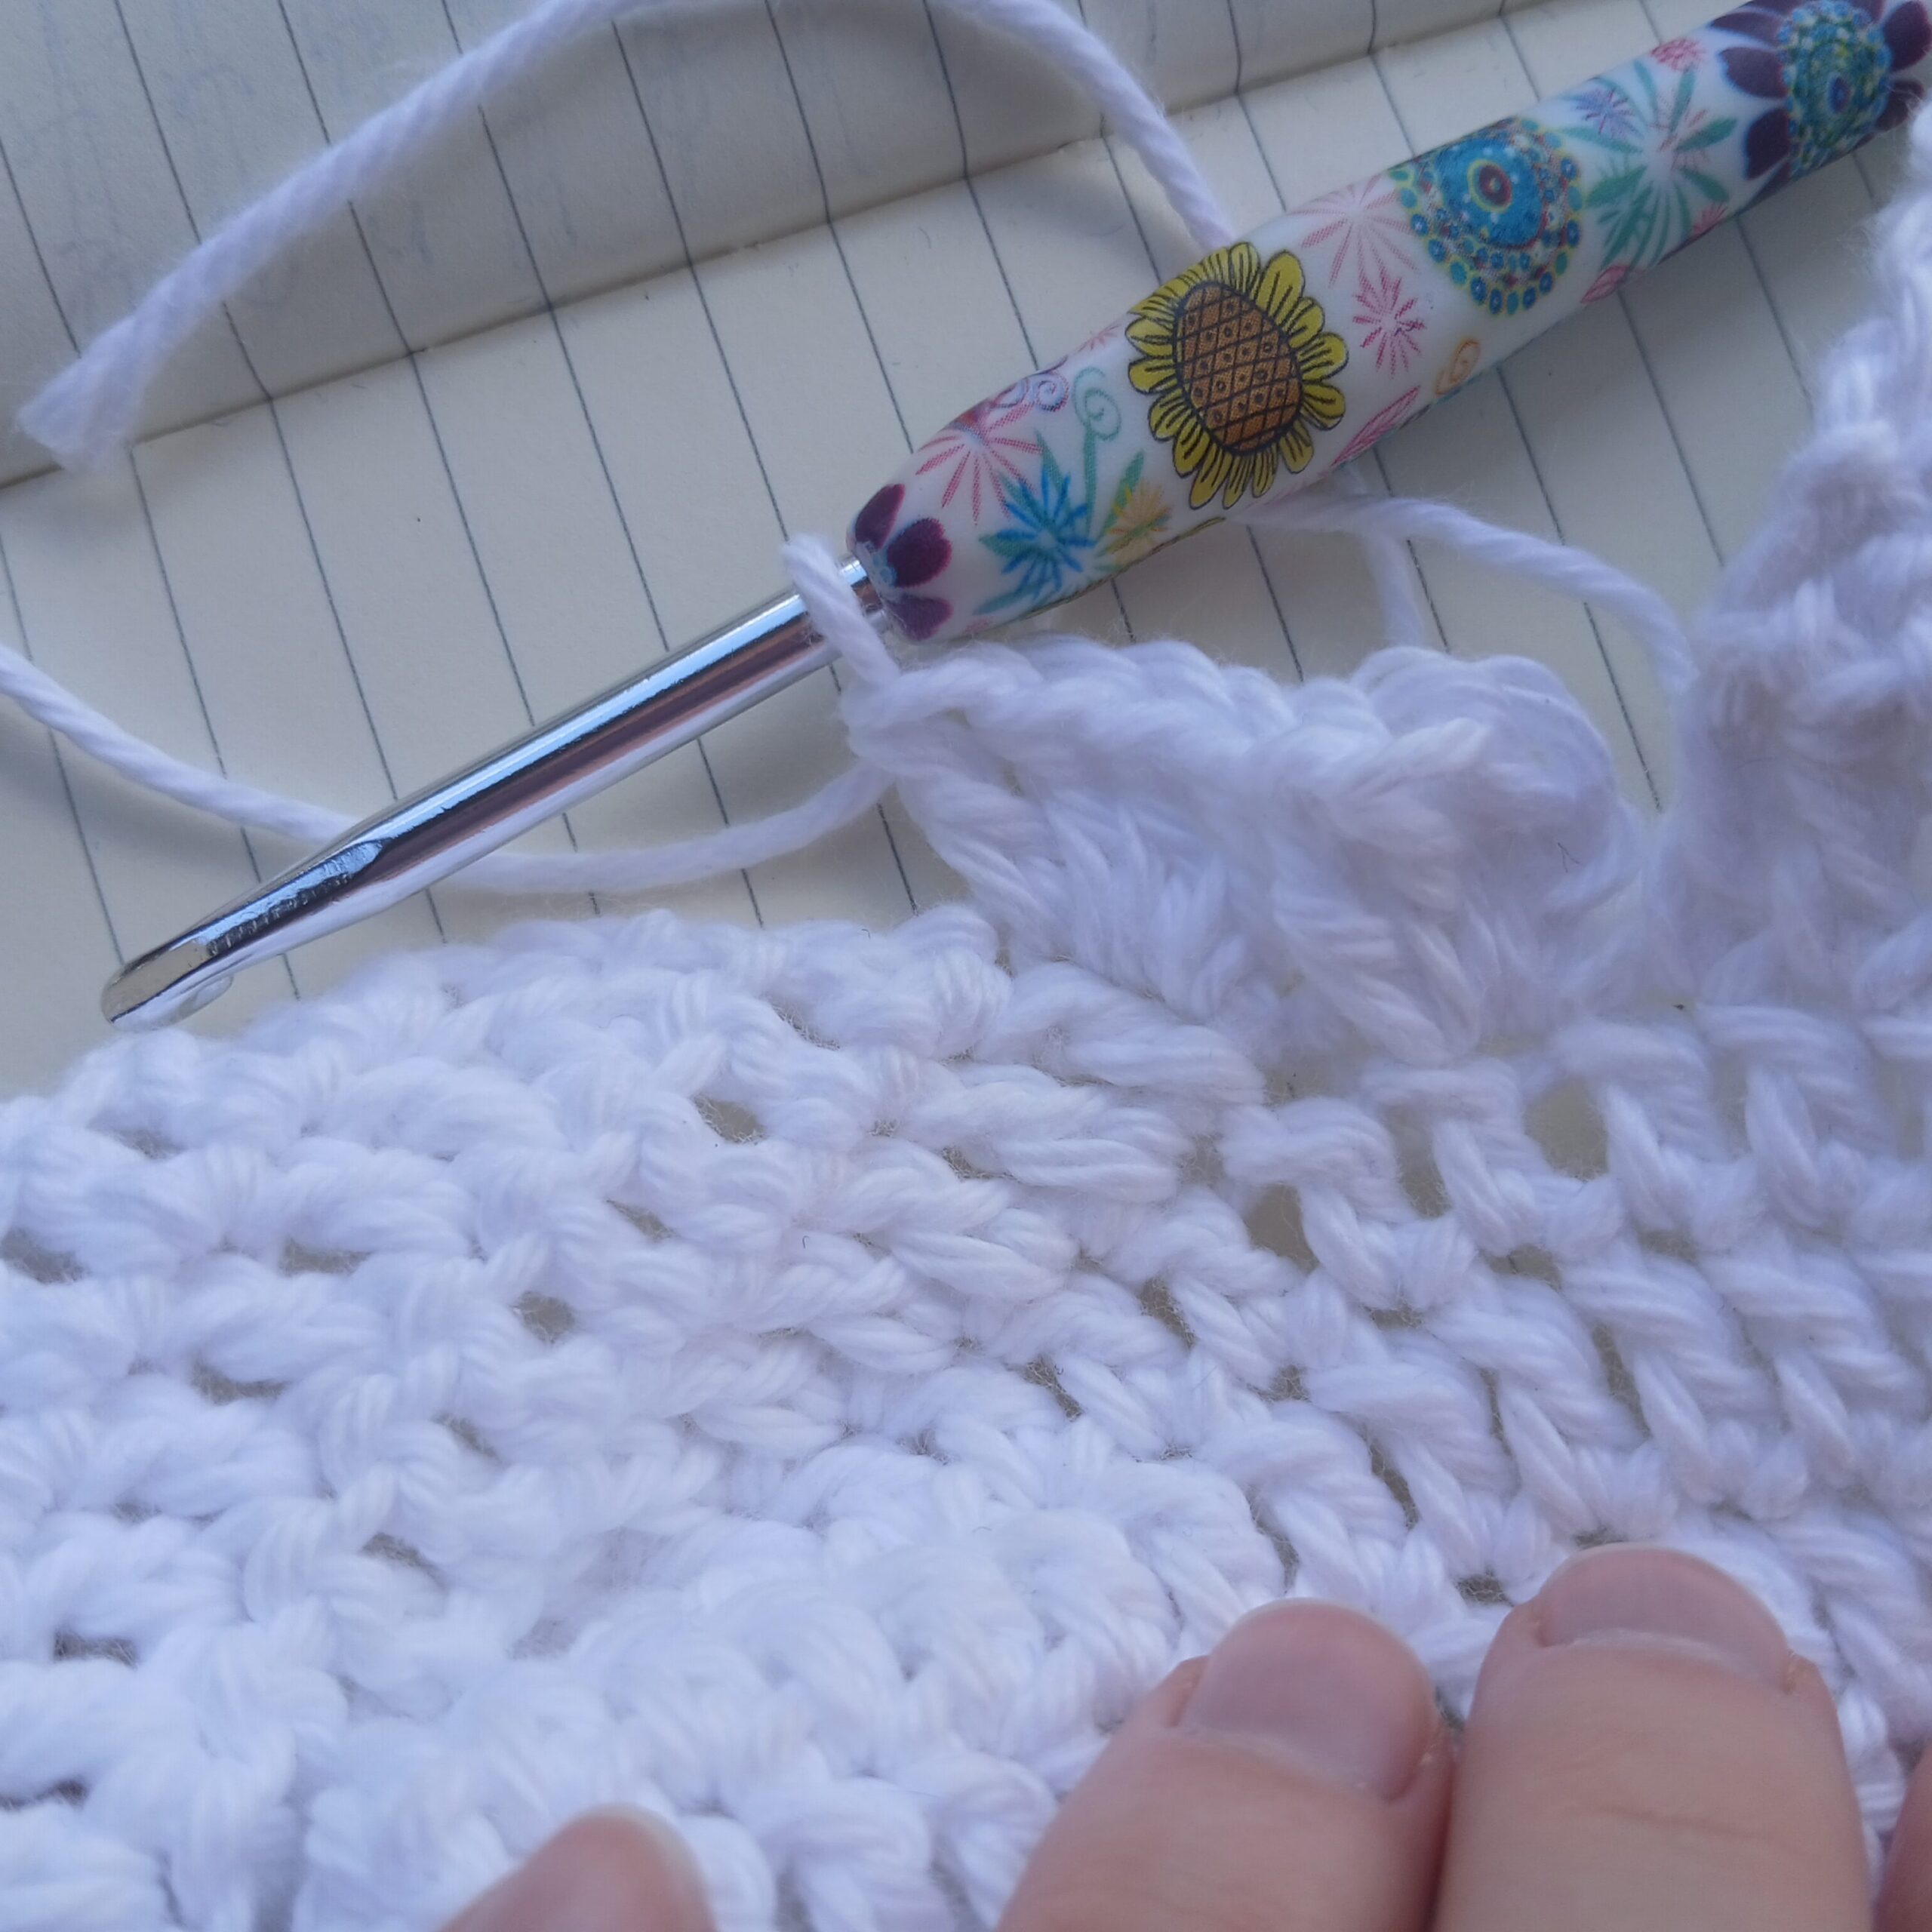
R23: Dc2tog, DC in all but the last 2 sts and dc2tog again. (33)
Continue repeating row 23 until you only have 3 STS left. (15 rows)
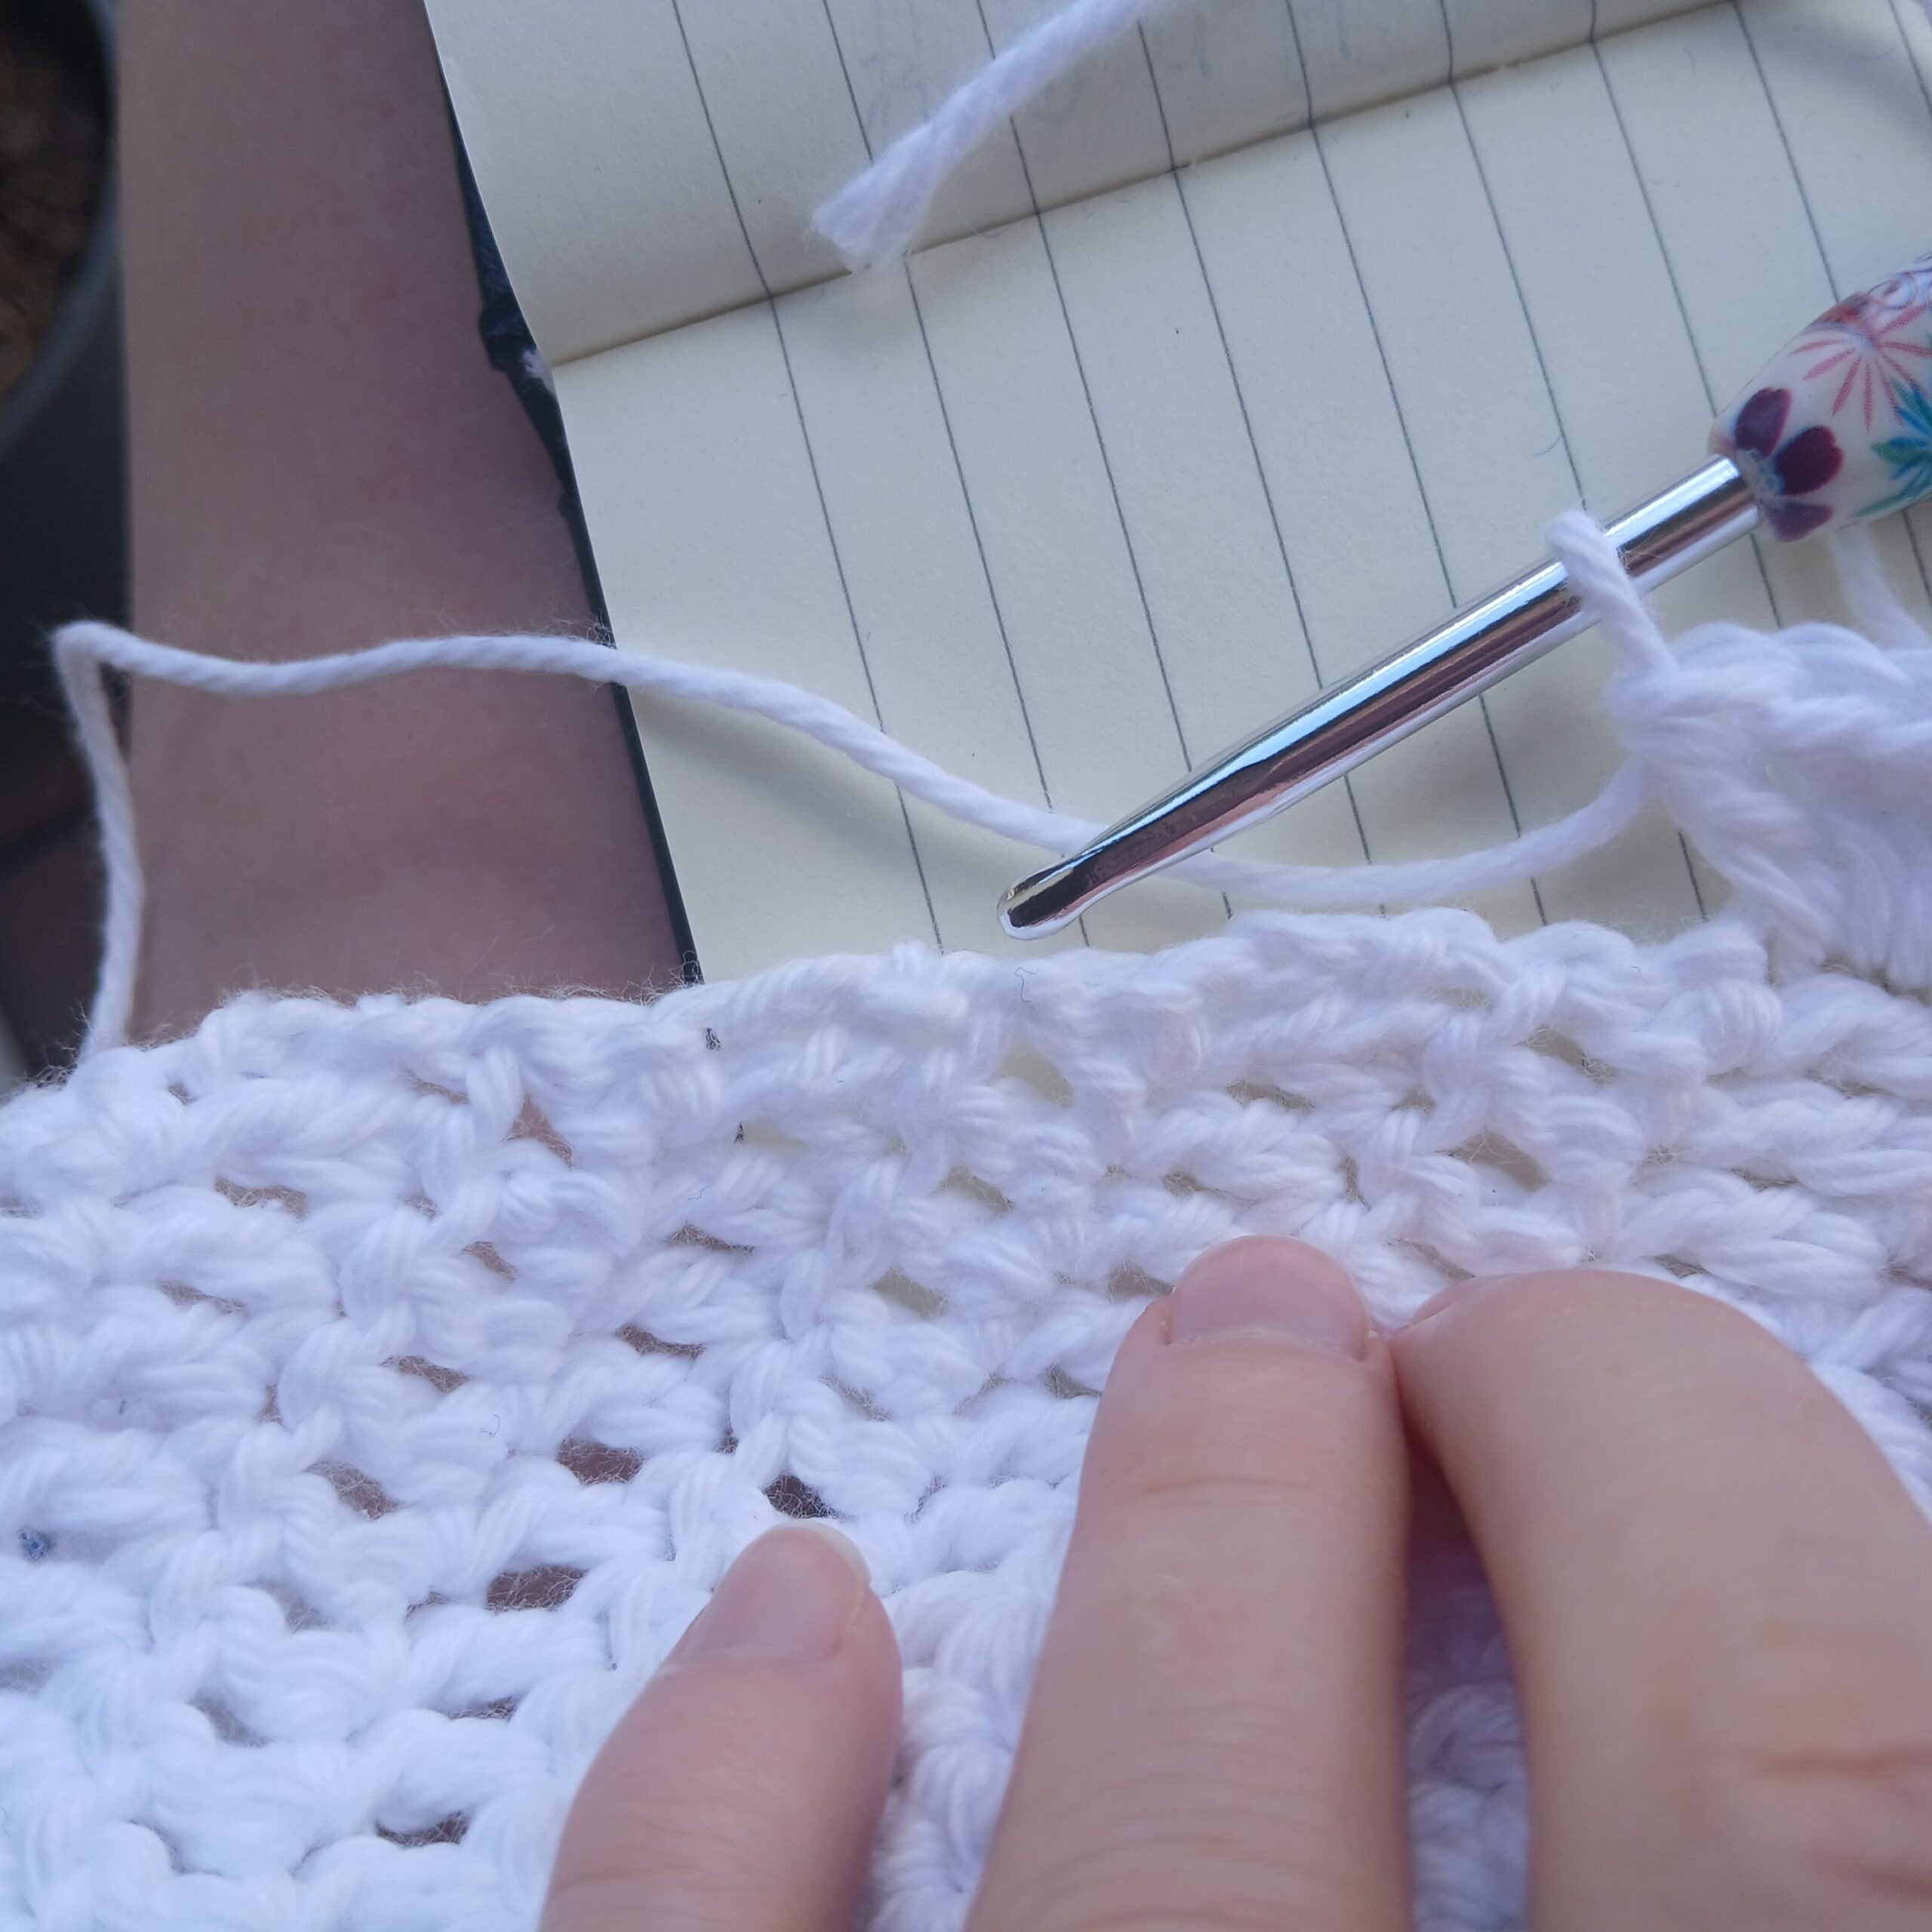
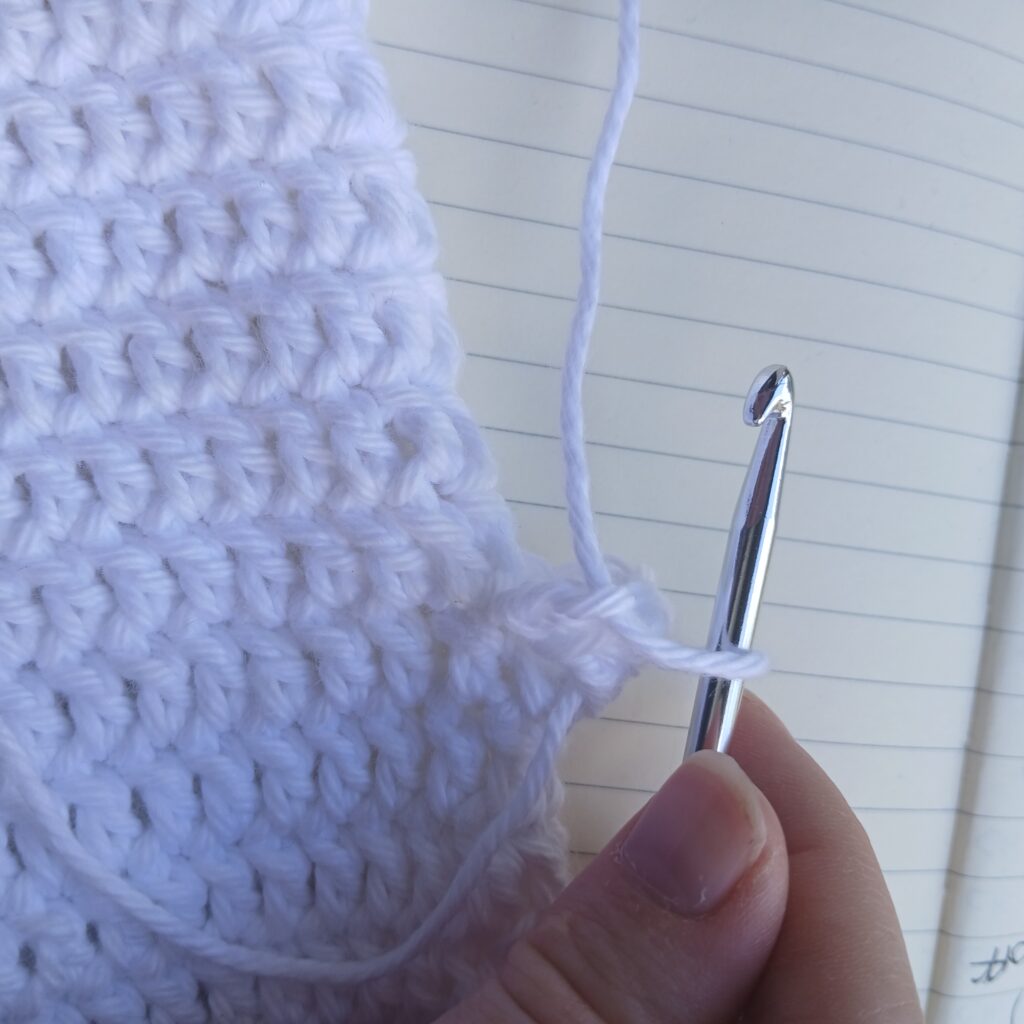
R39: DC3TOG, ch 1, and tie off! Weave in your ends.
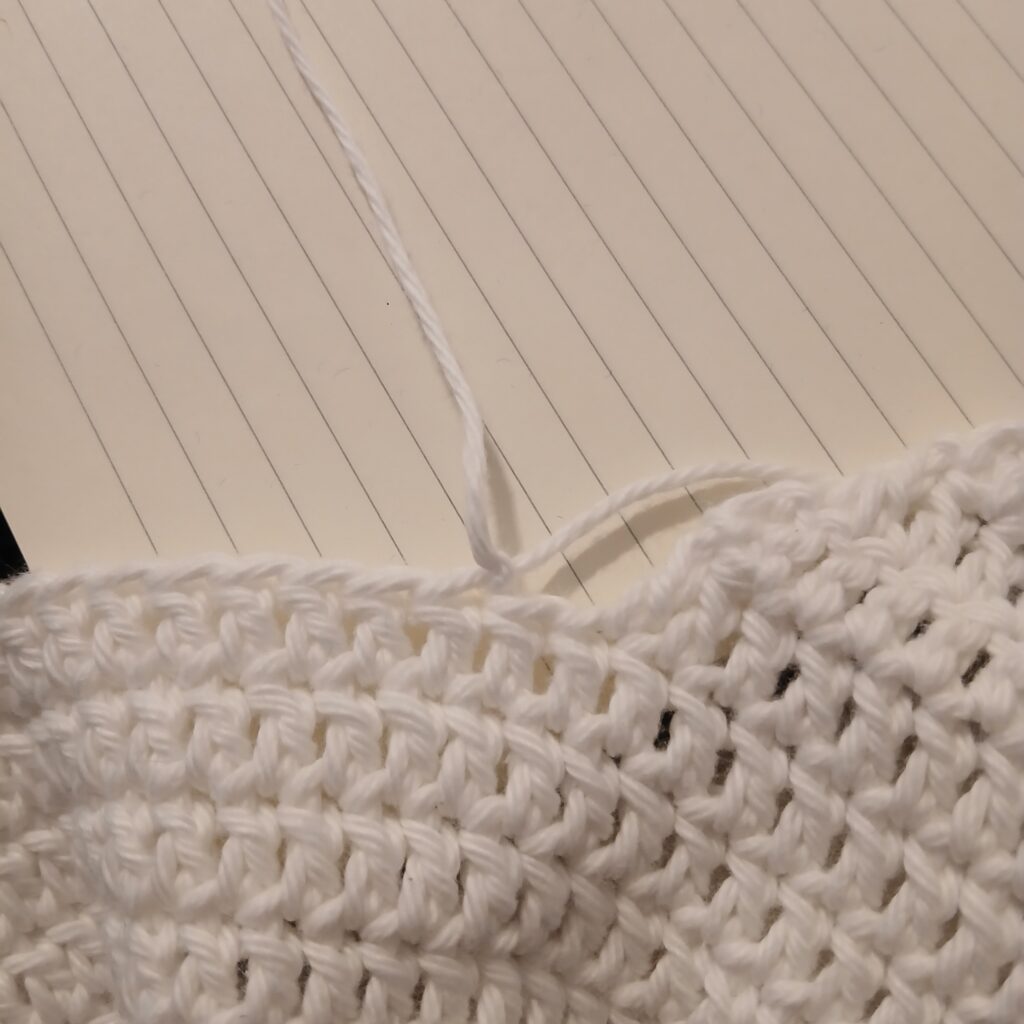

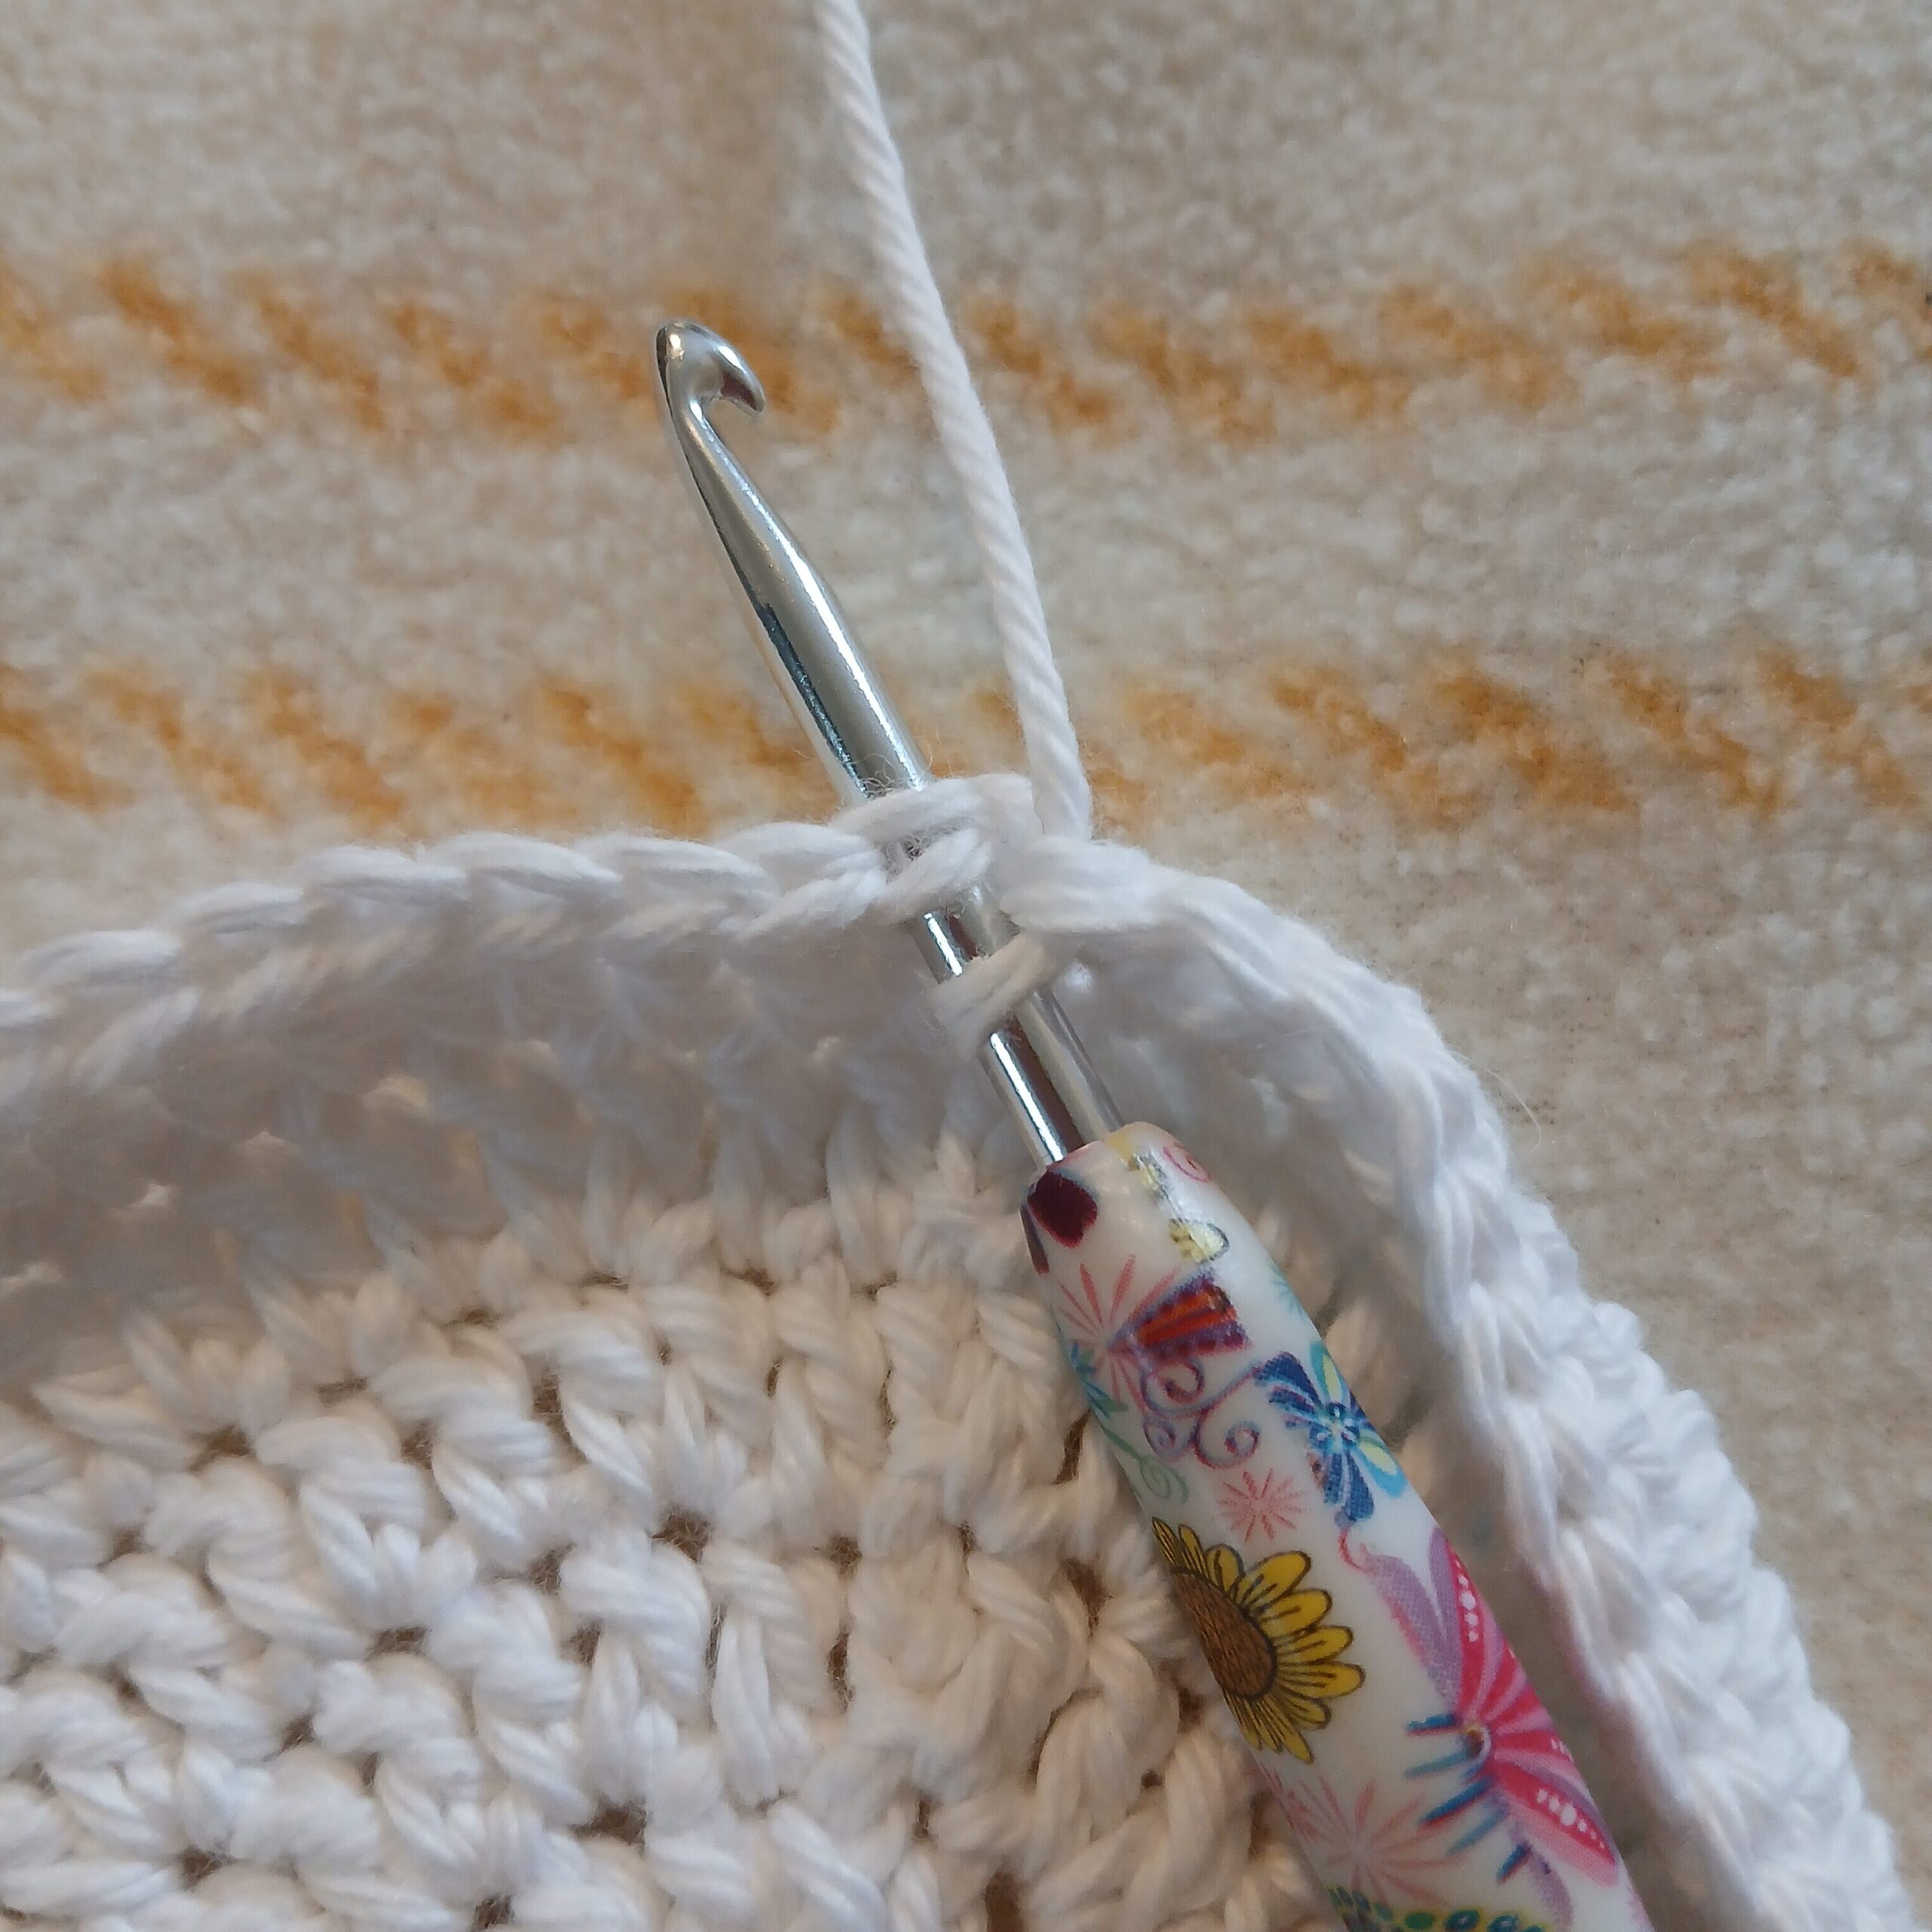
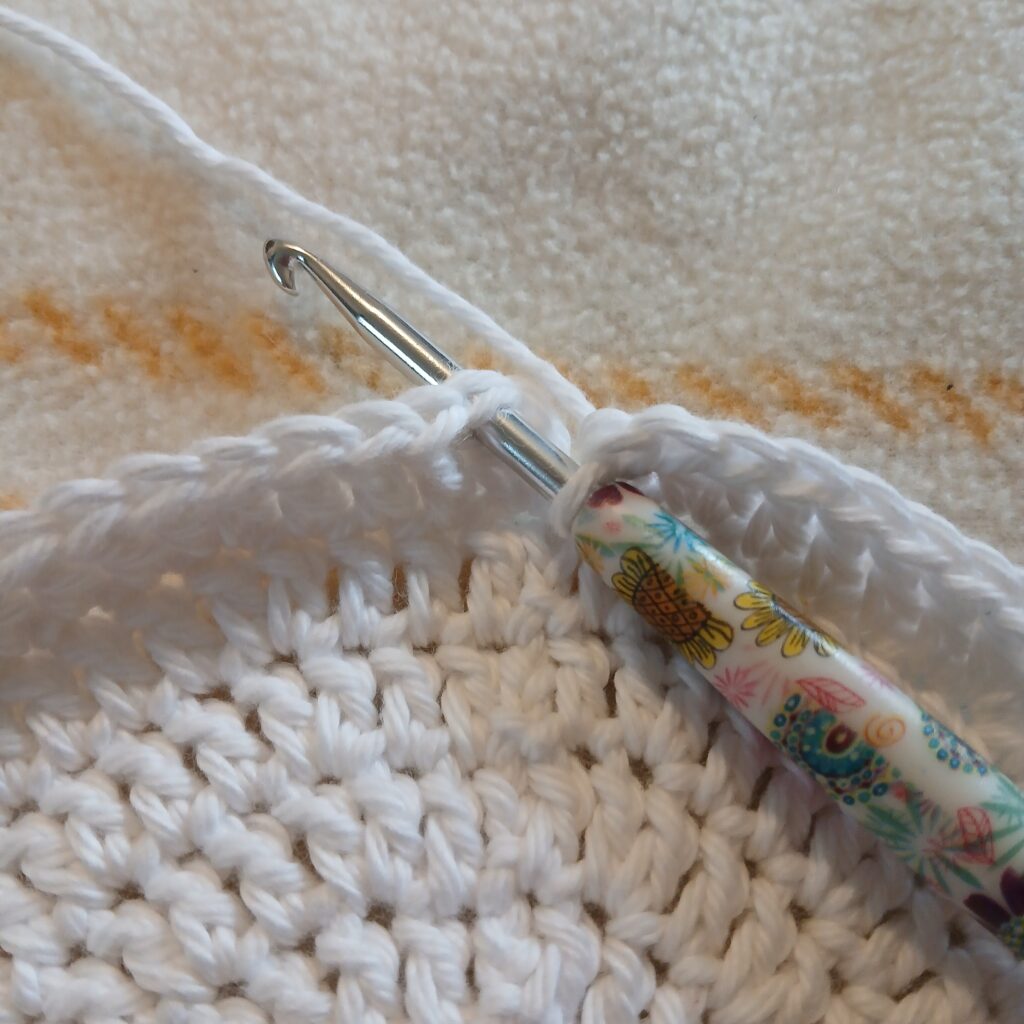
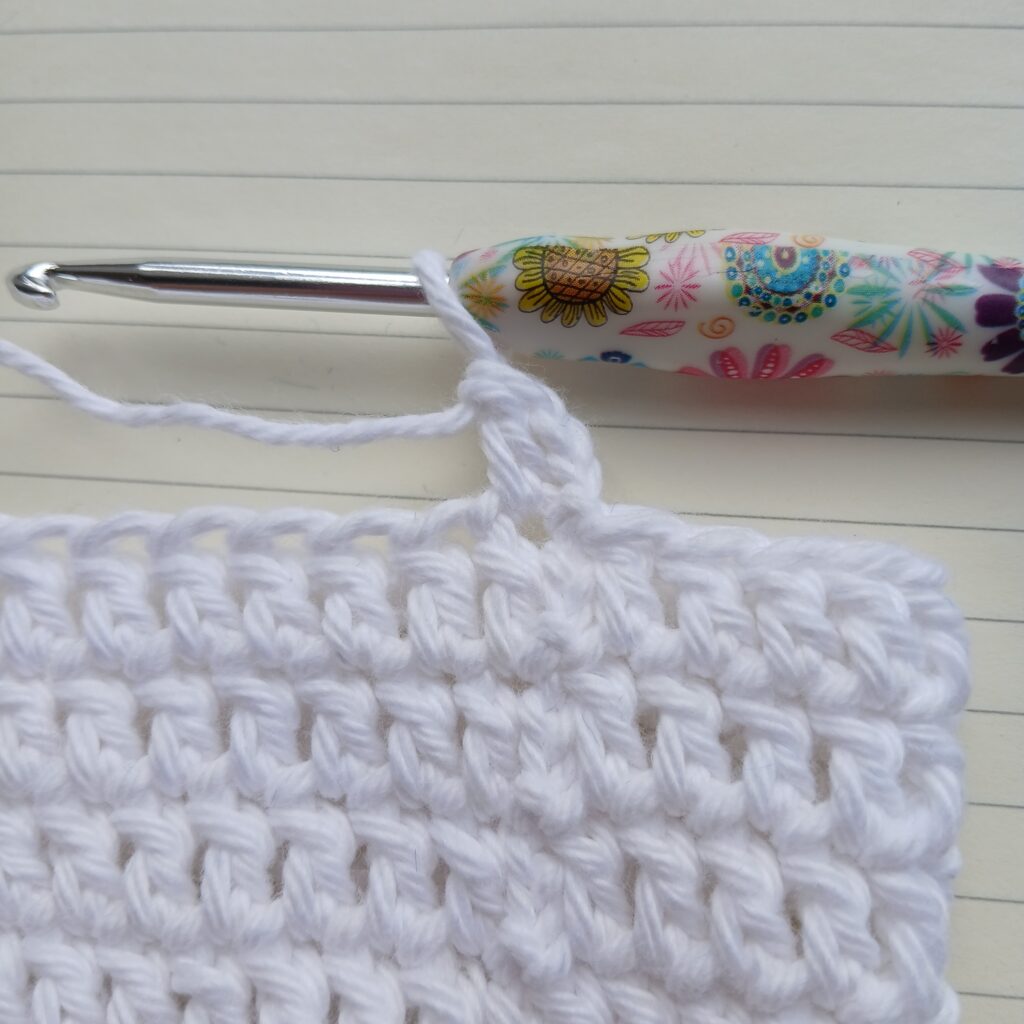
Going back up to row 21 you’re going to skip a stitch and attach your yarn to the next. You’ll begin the back panel starting from here.
R22: CH 2, DC in the same ST you chained from, place a DC in the next 34 STS (35)
R23: DC2TOG, DC in all but the last 2 STS, DC2TOG. (33)
Continue repeating row 23 until you only have 3 STS left. (15 rows)
R39: DC3TOG, CH 1, and tie off! Weave in your ends.
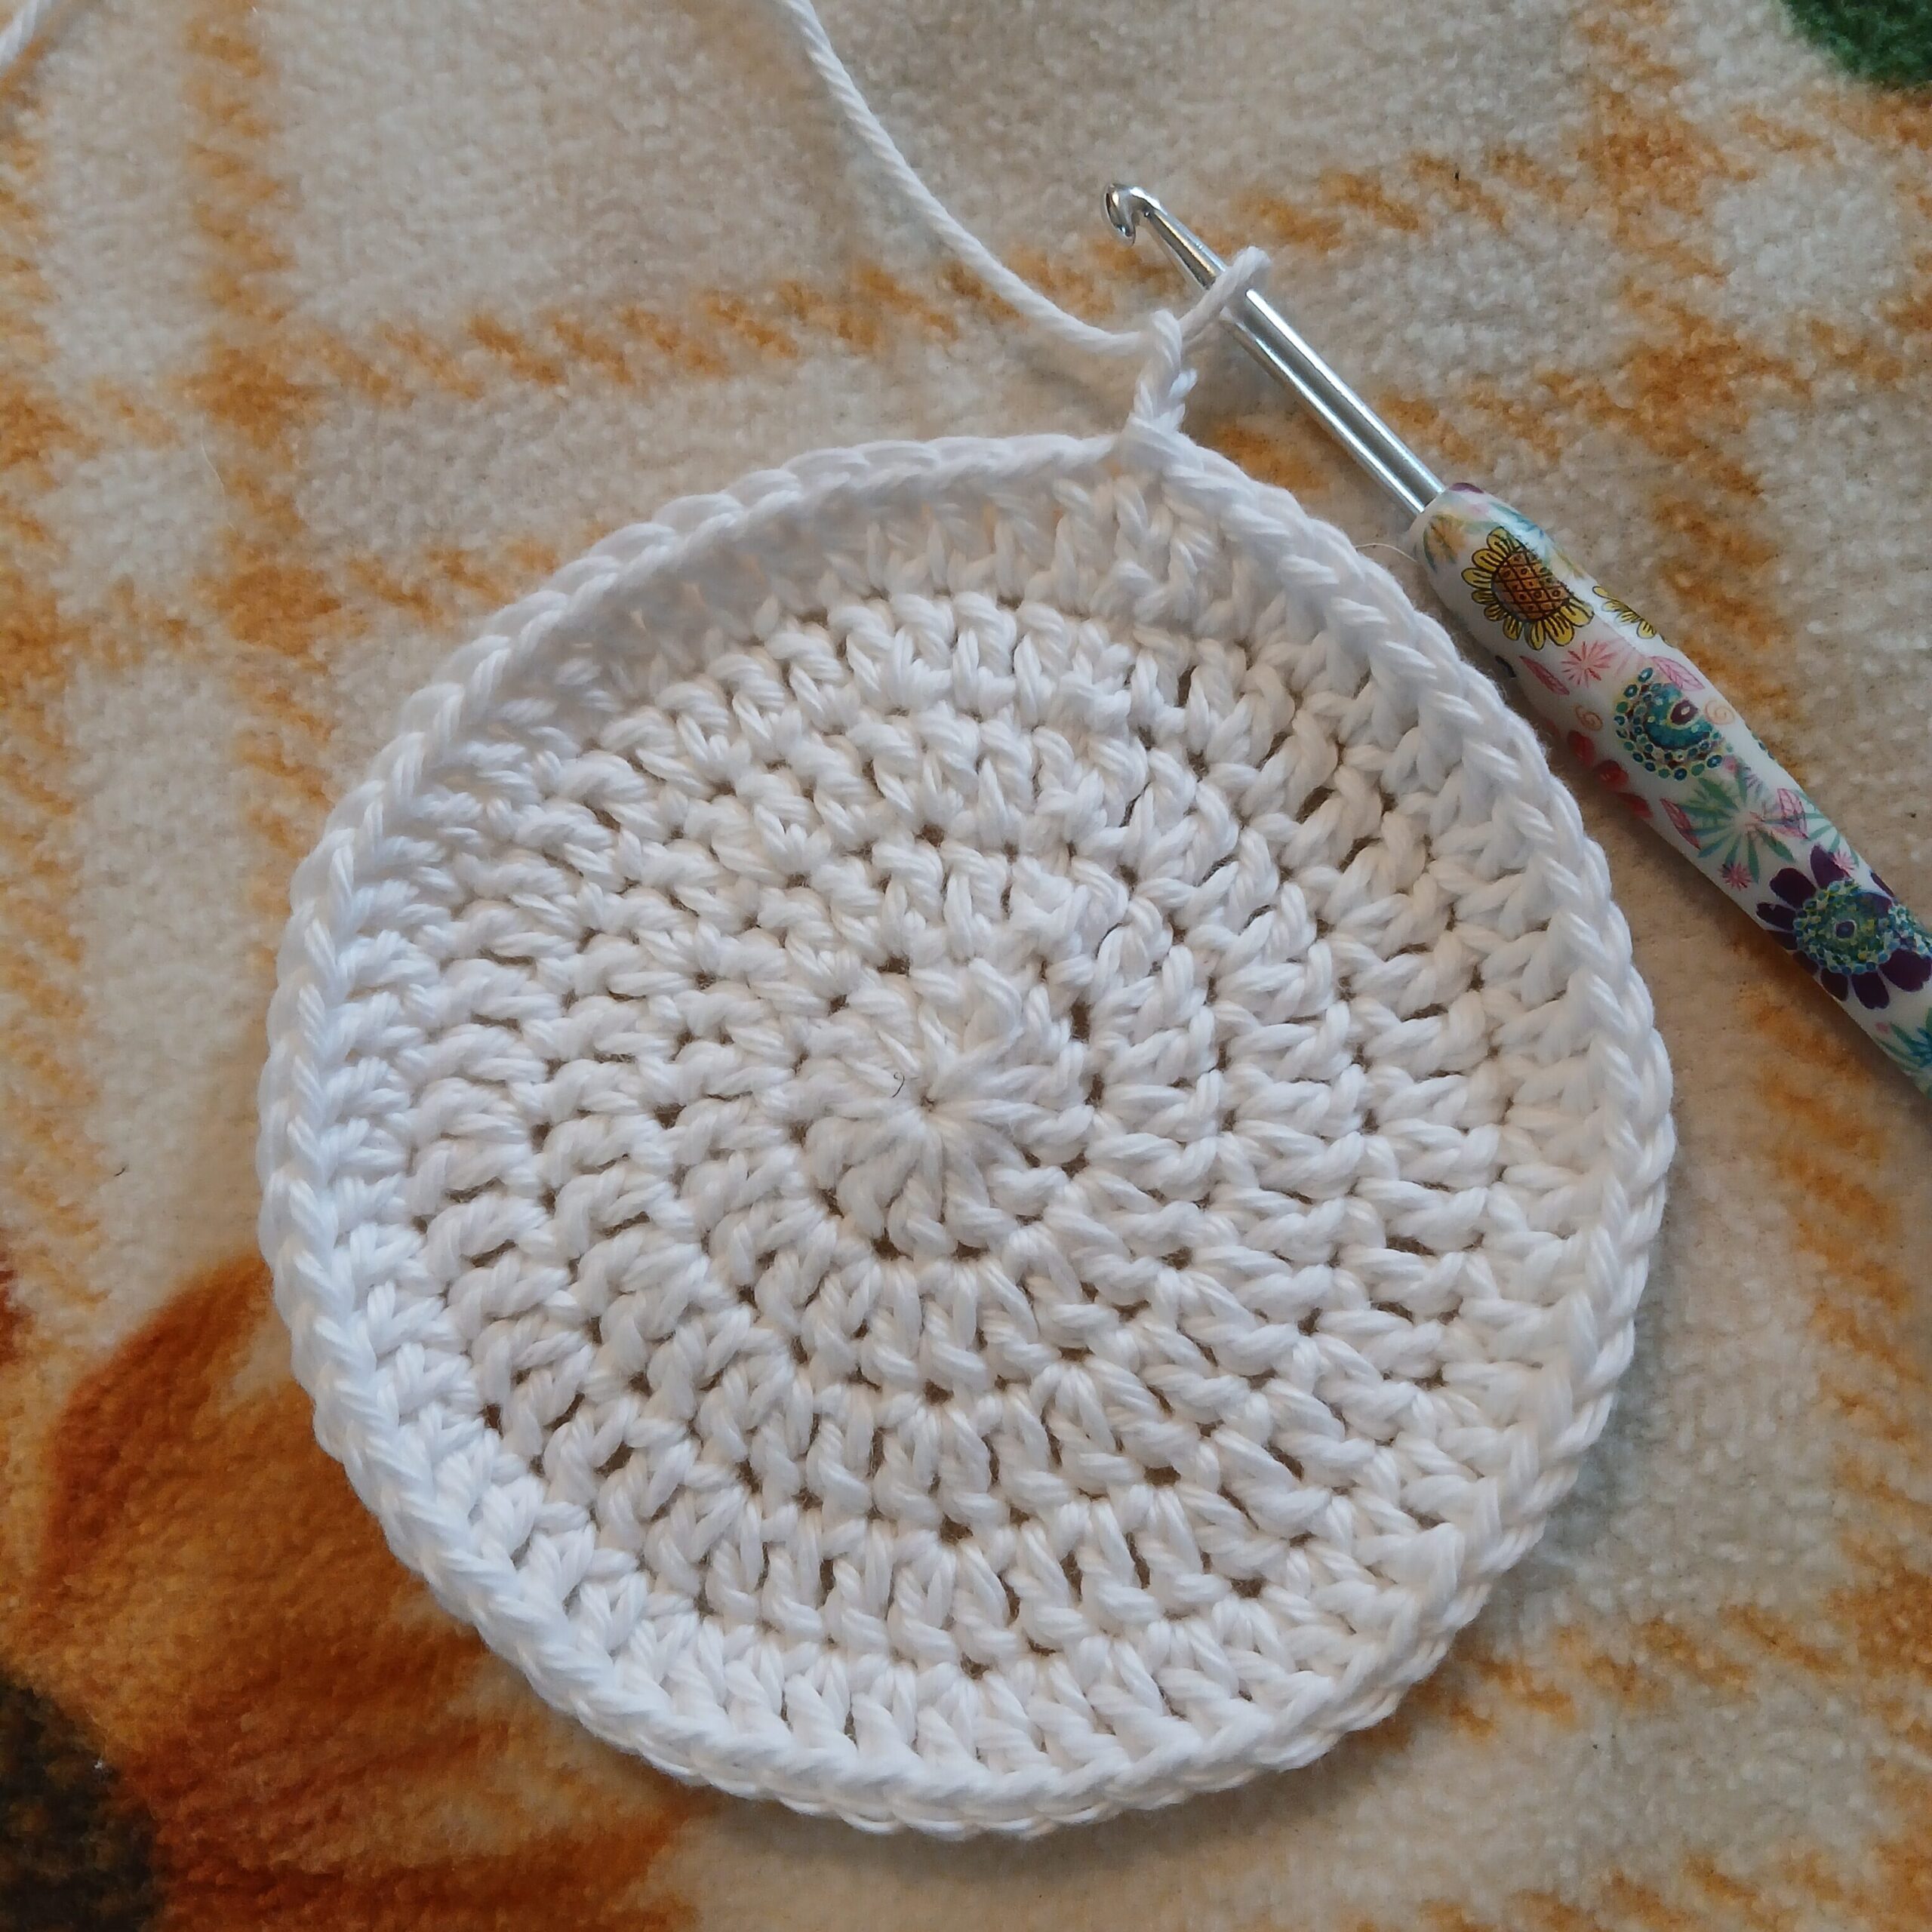
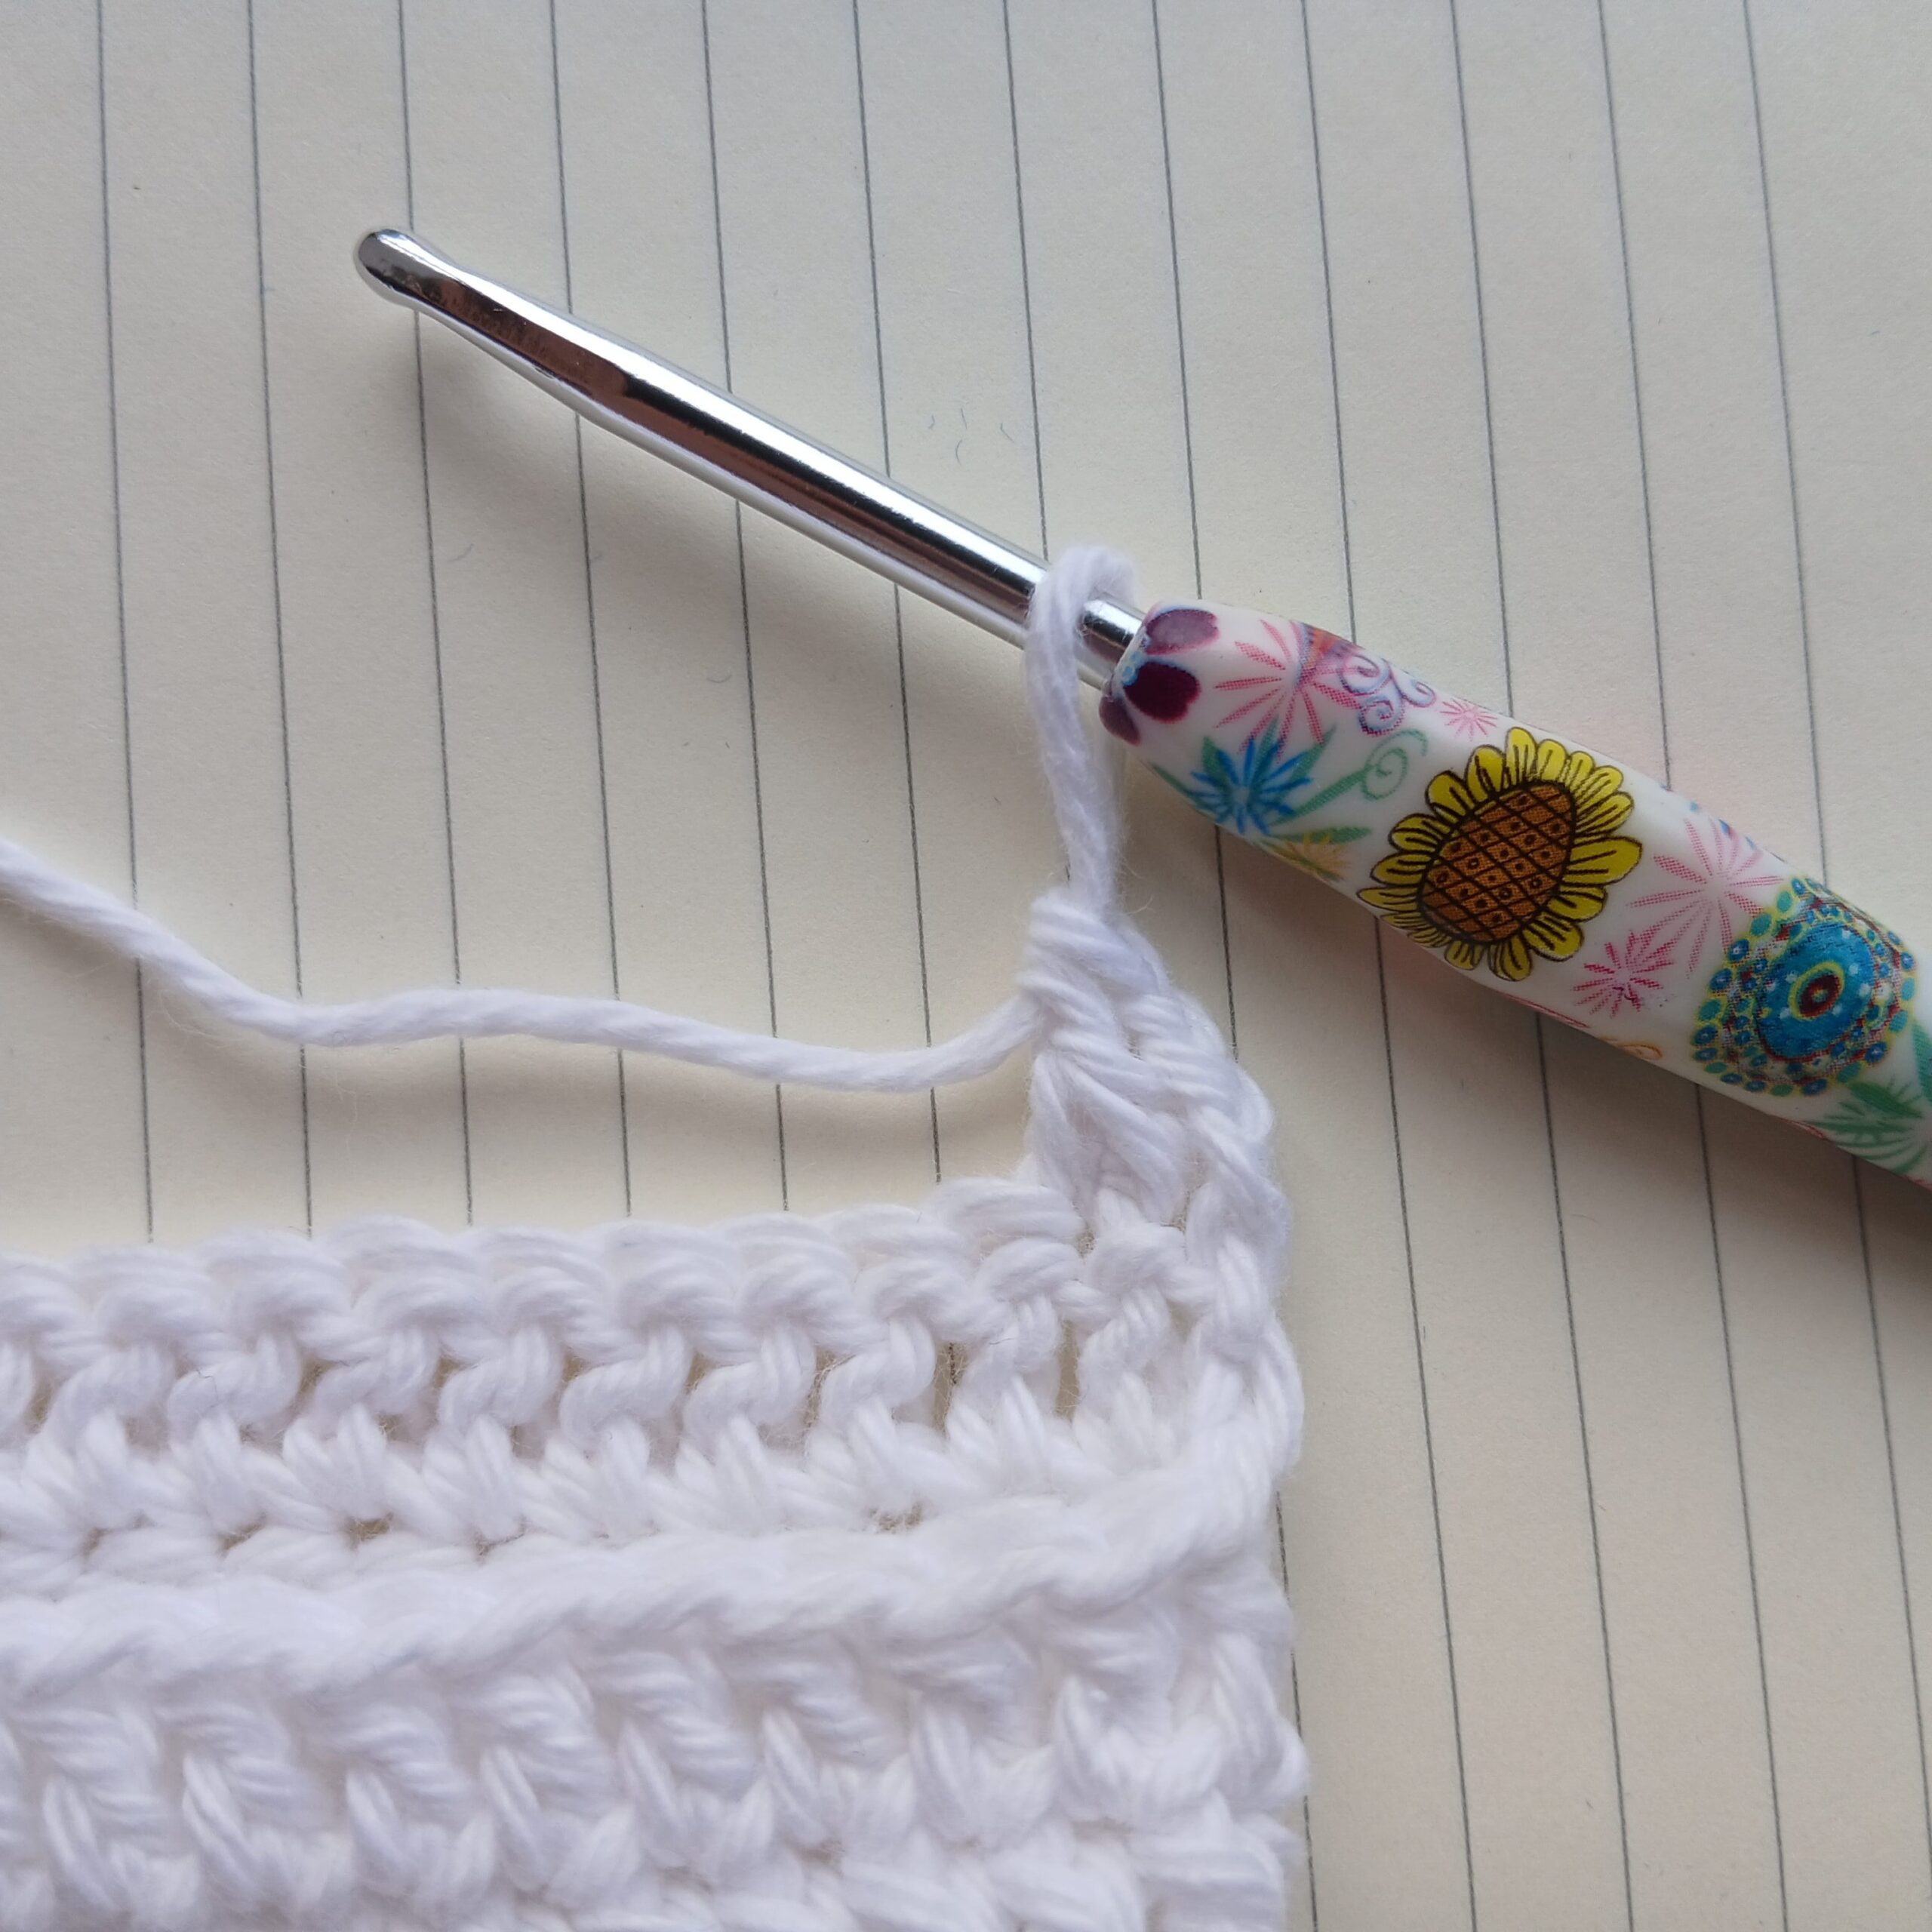
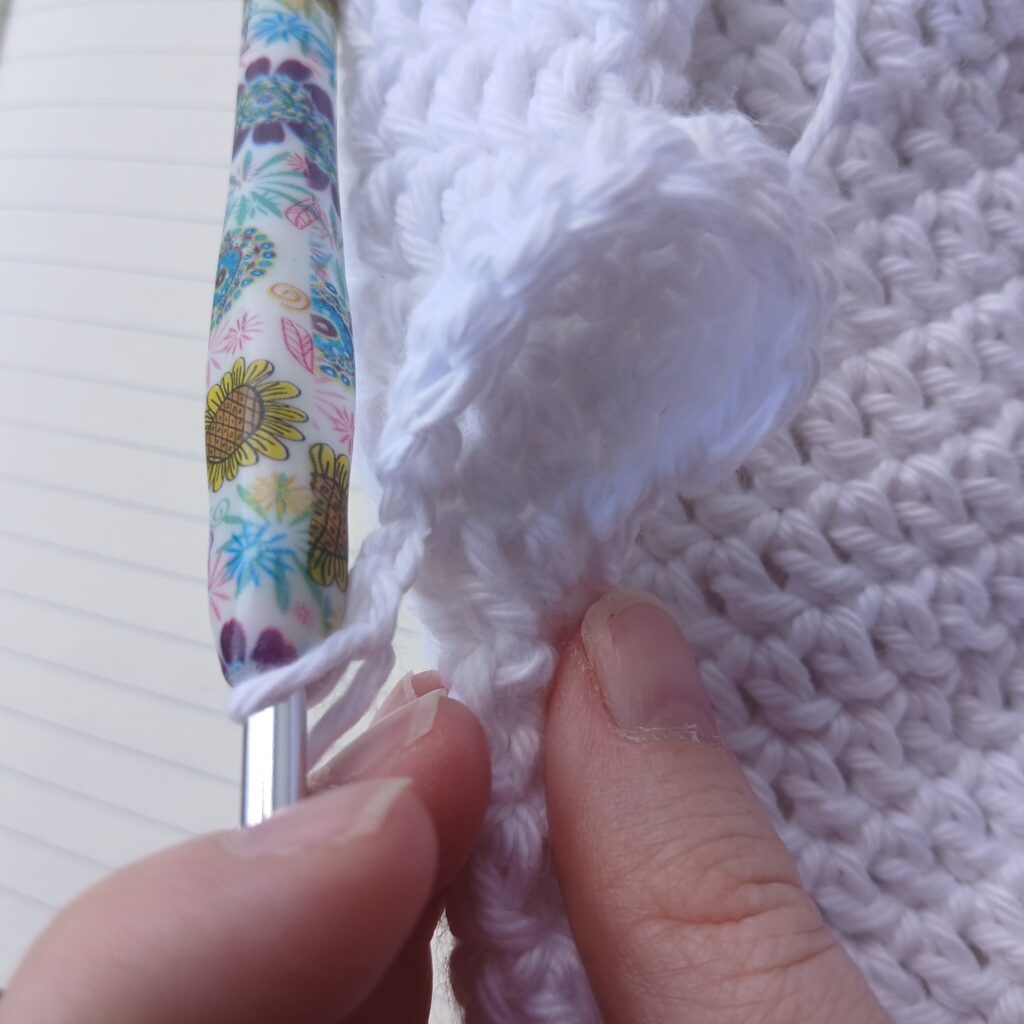
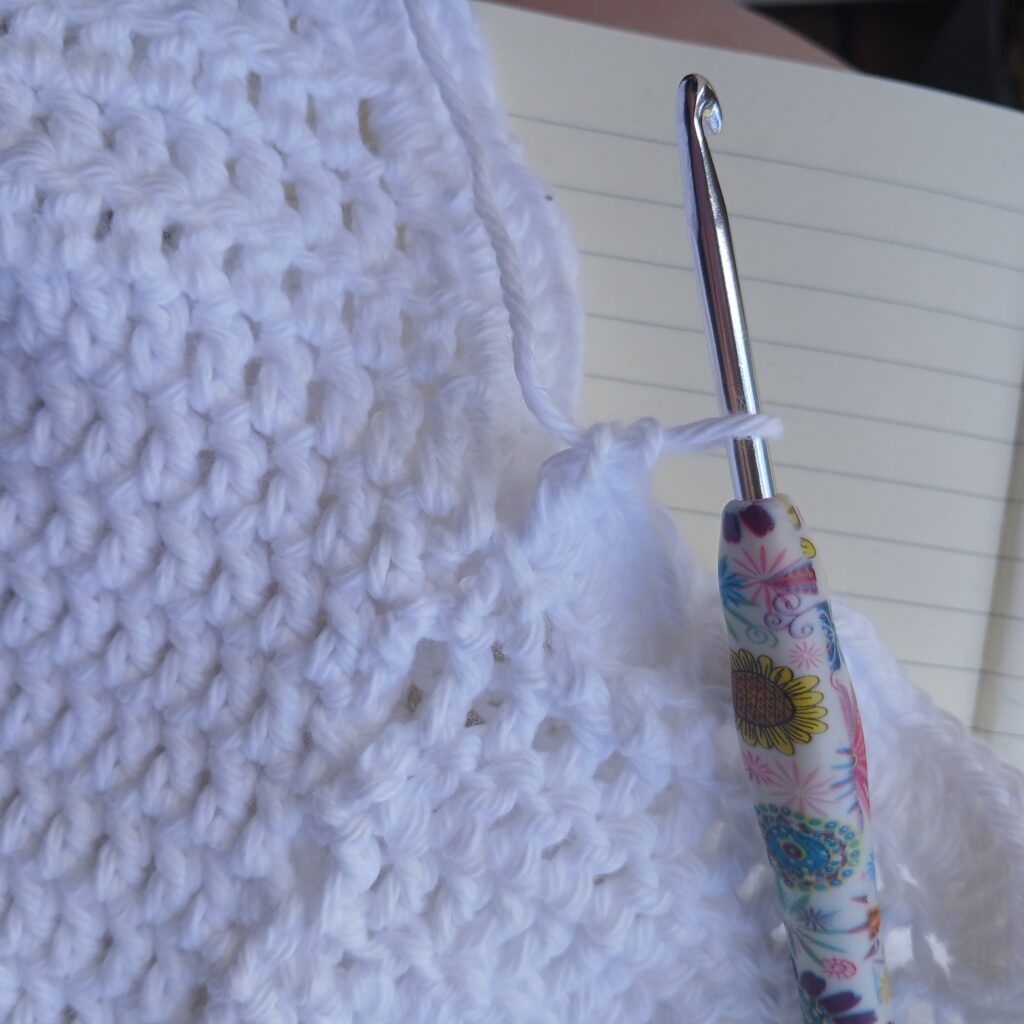
Ruffles for the Ghost’s lower body:
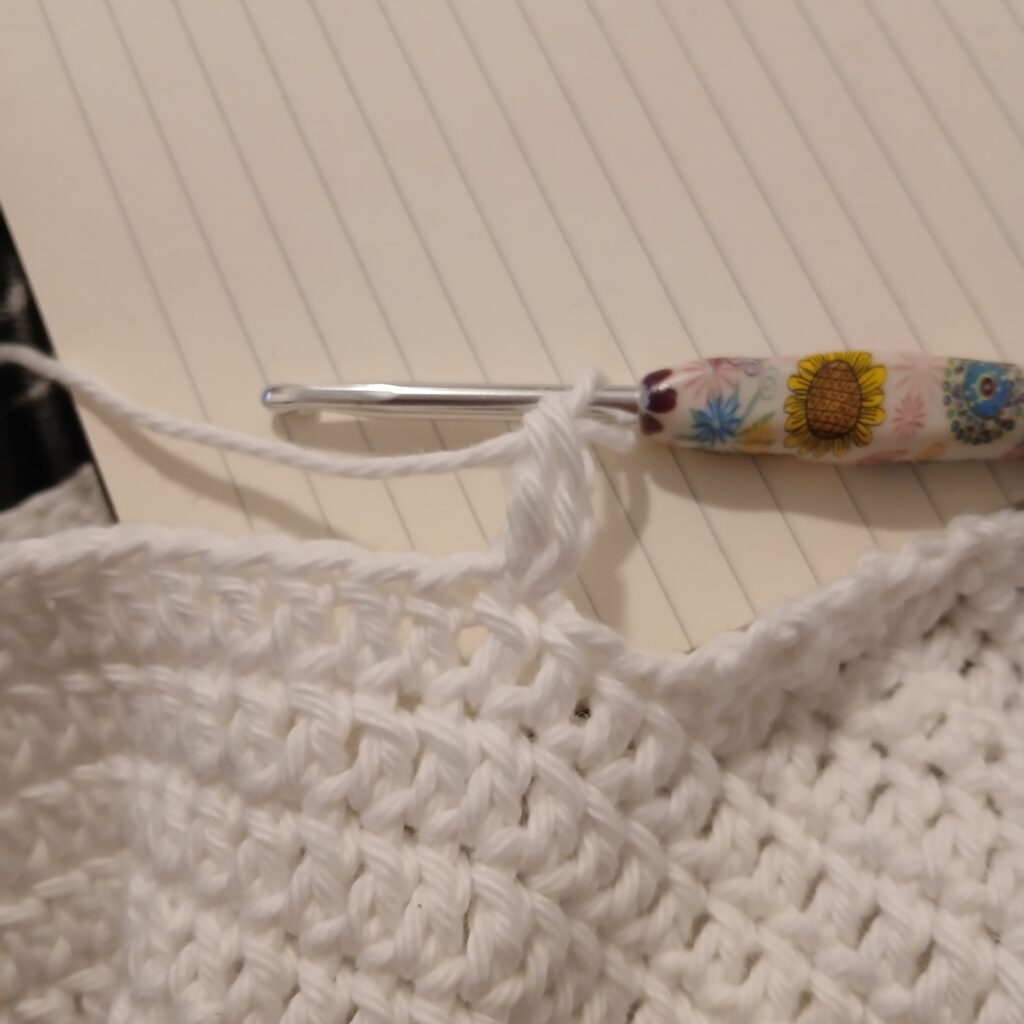
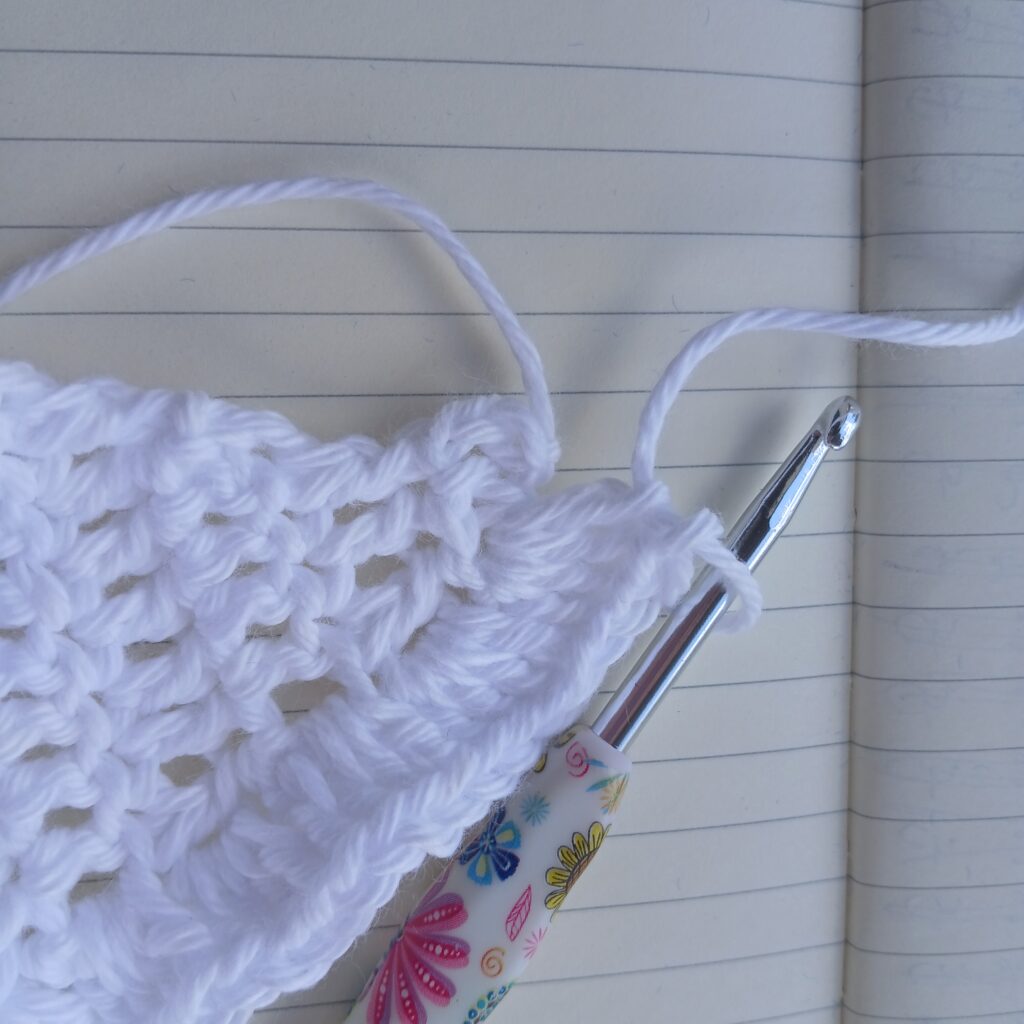
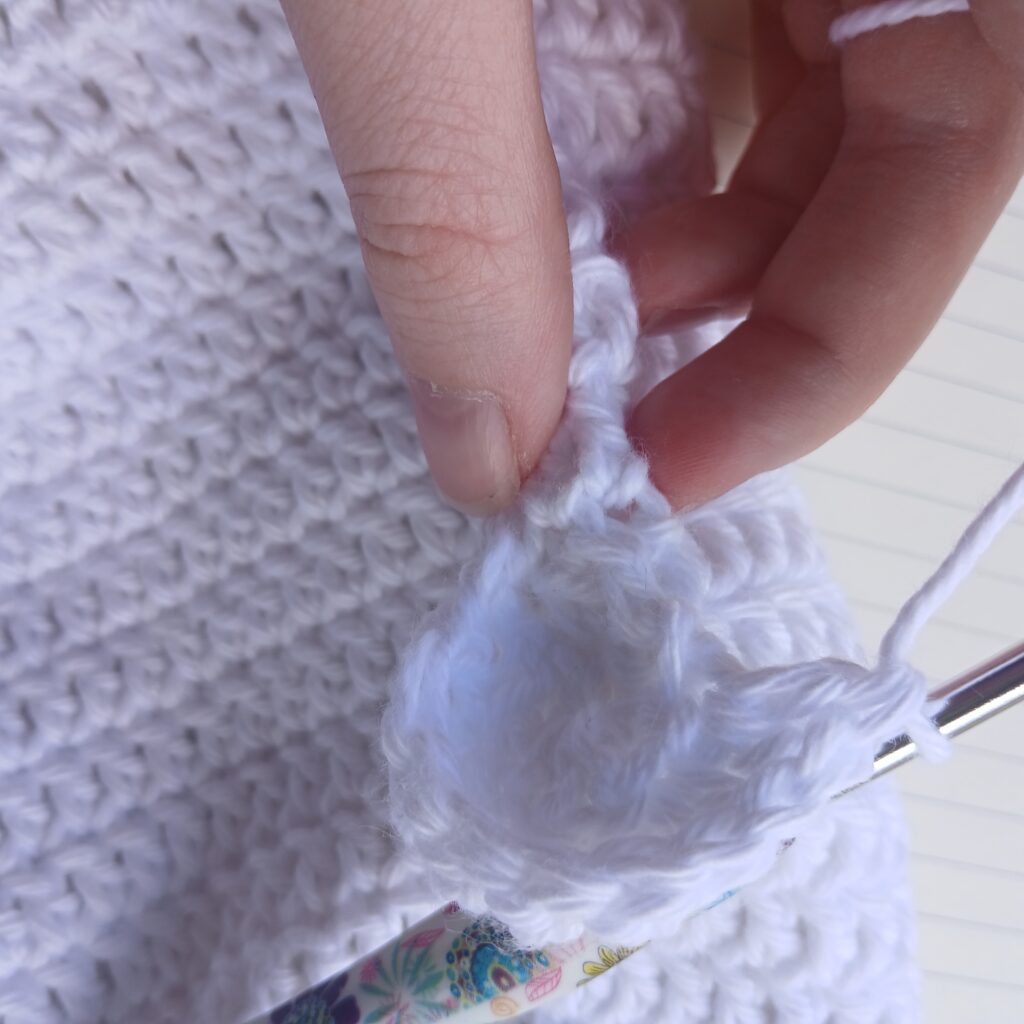
Attach your yarn to the empty stitch between your ghost’s lower body panels.
Place 3 dc in the same st as the ch2.
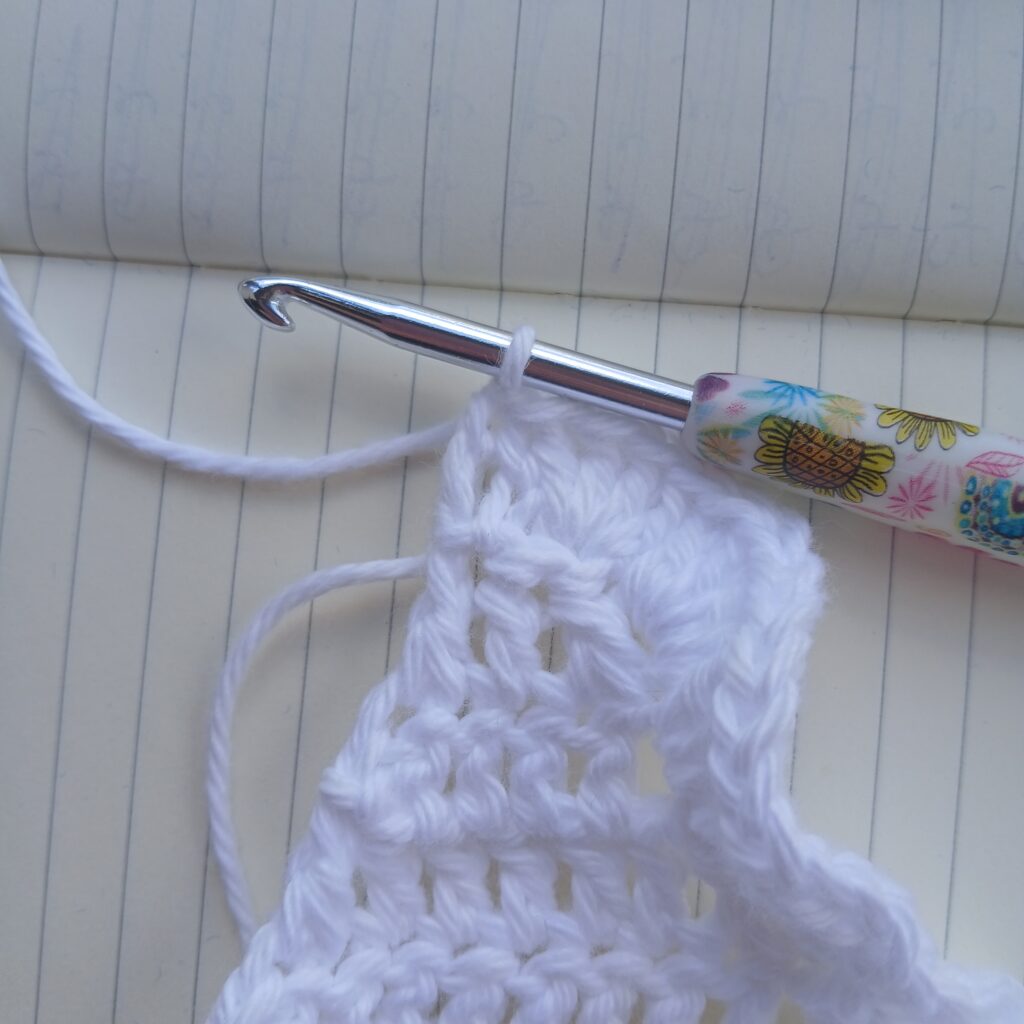
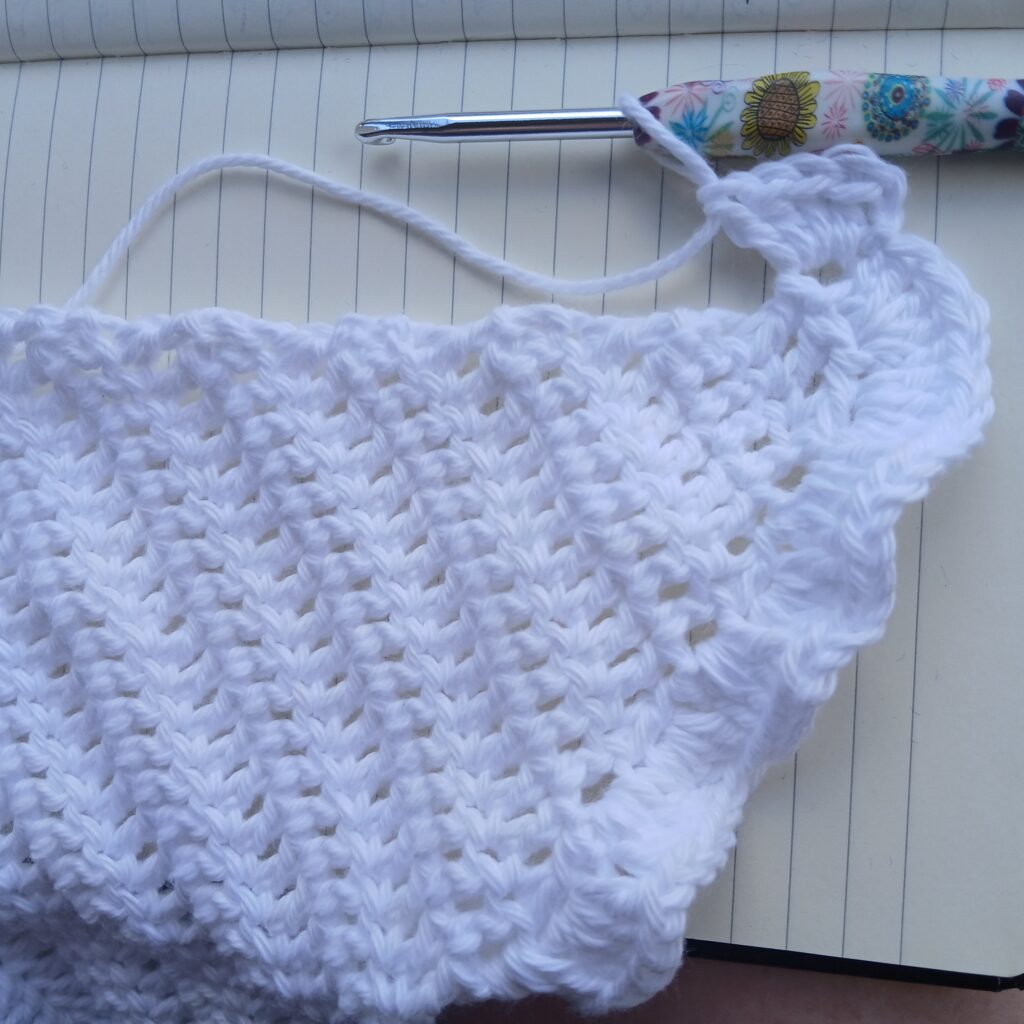

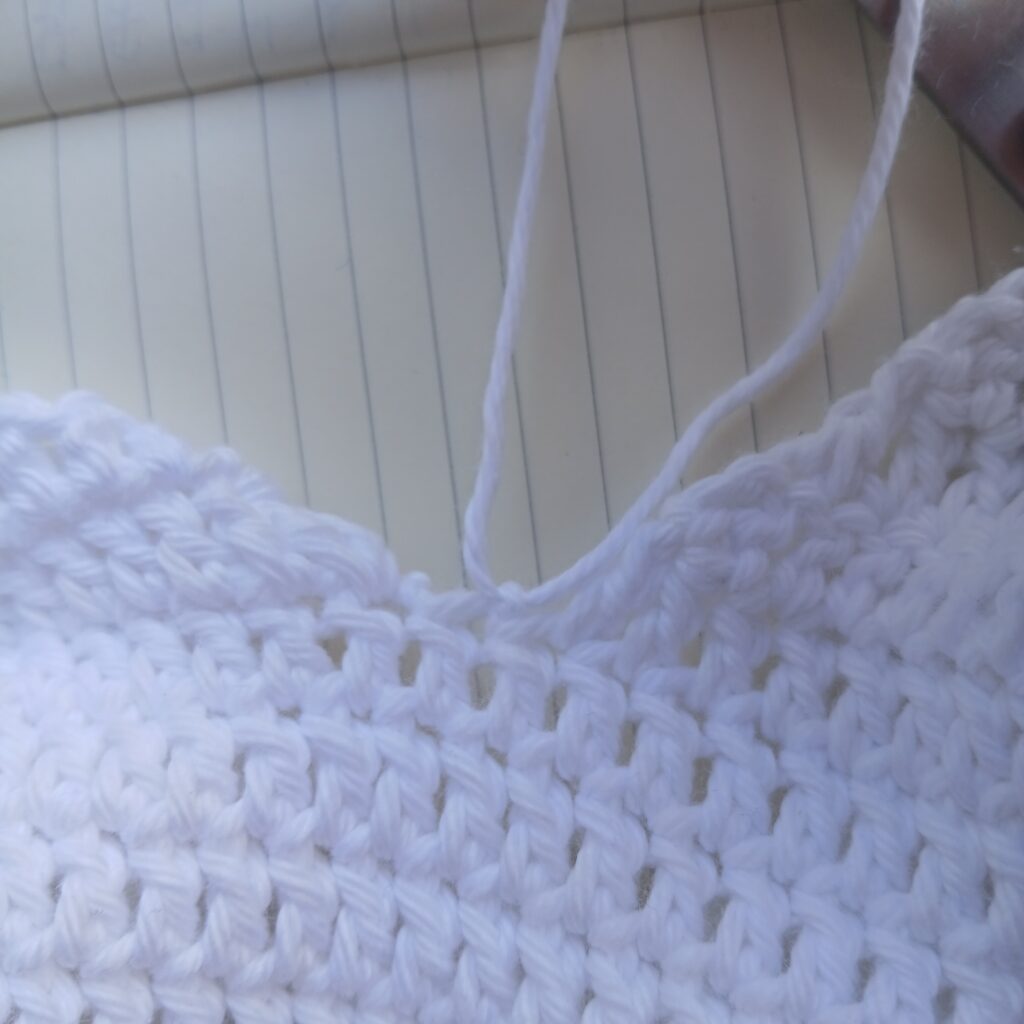
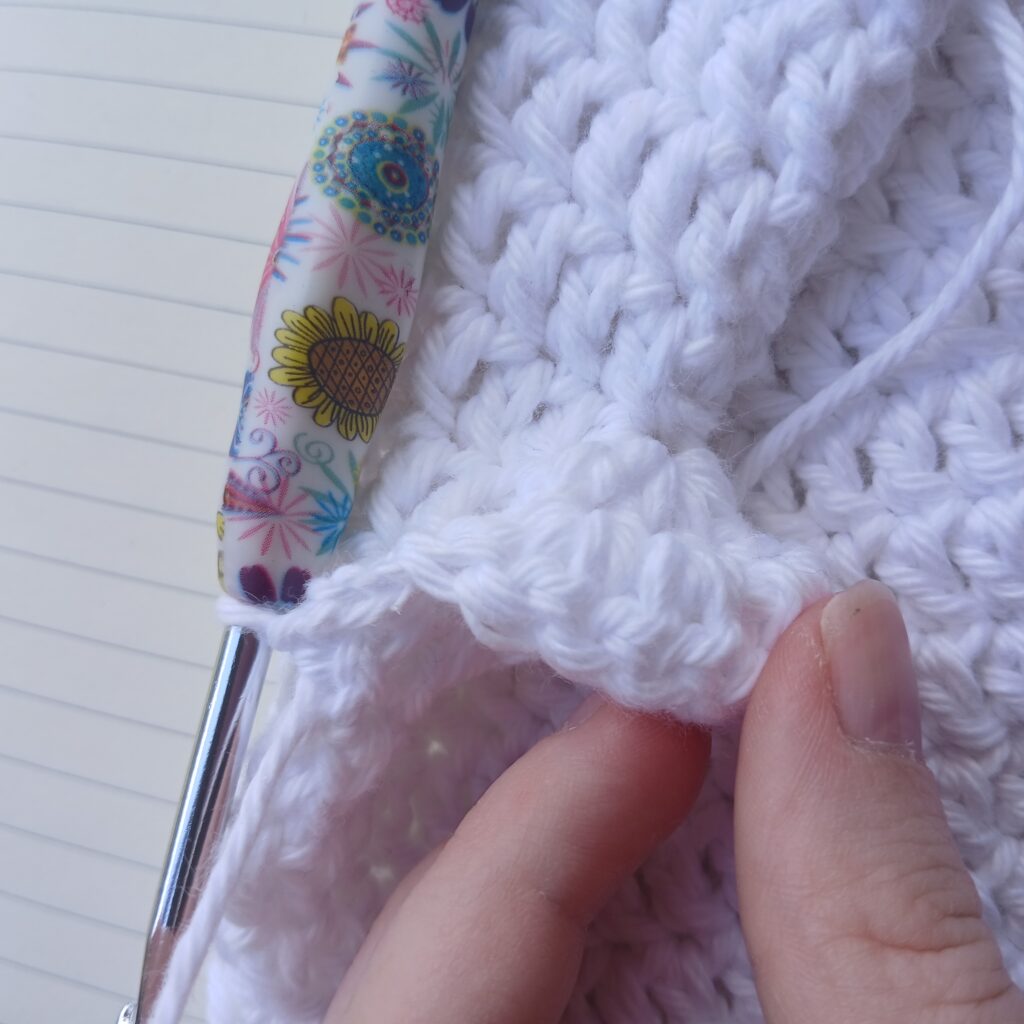
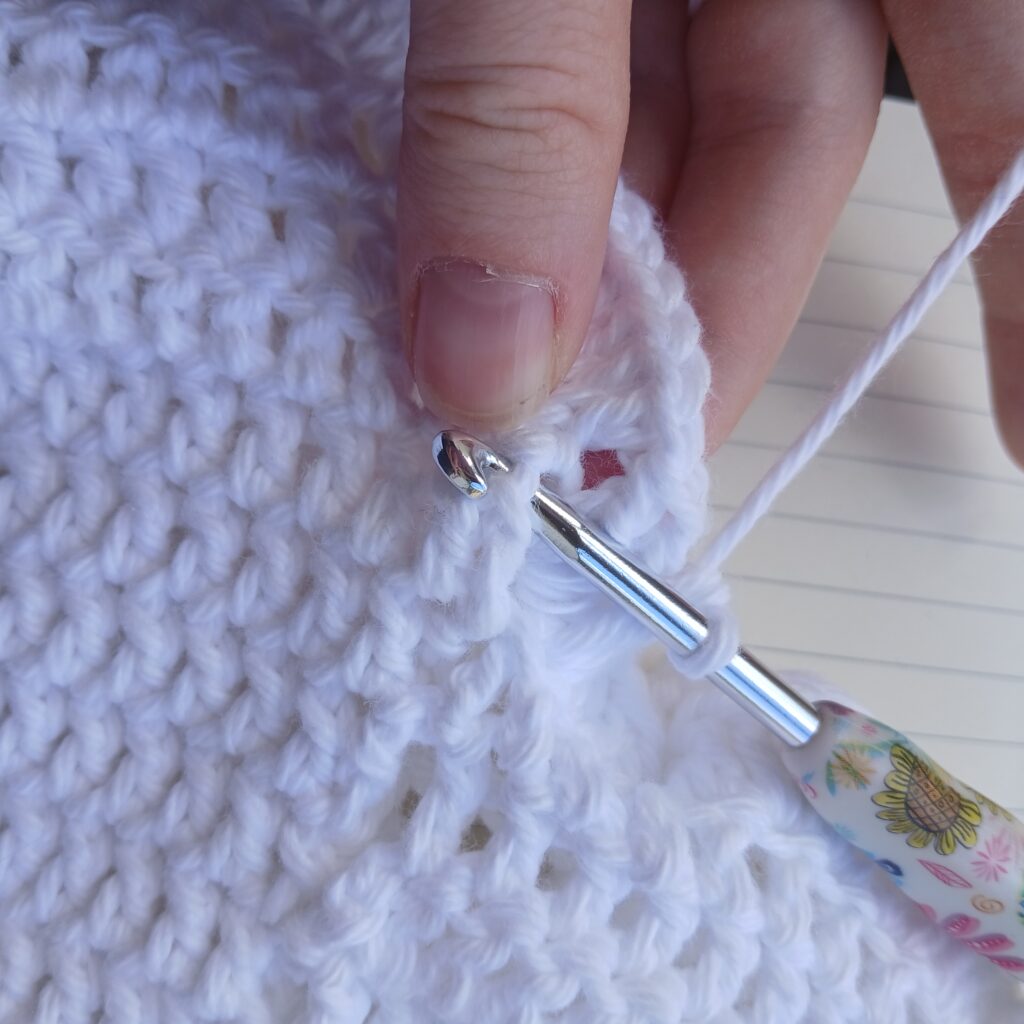
*Now working down the lower body of the ghost place 4 DC’s in each side of the DC rows. Work all the way down until you reach the bottom. Once you reach the bottom, place a sc into the last dc st and turn your work, begin working back up towards the head of your ghost with 4 DC’s in each side of the DC rows.* Place 3 DC in the gap between your panels and repeat ** section above.
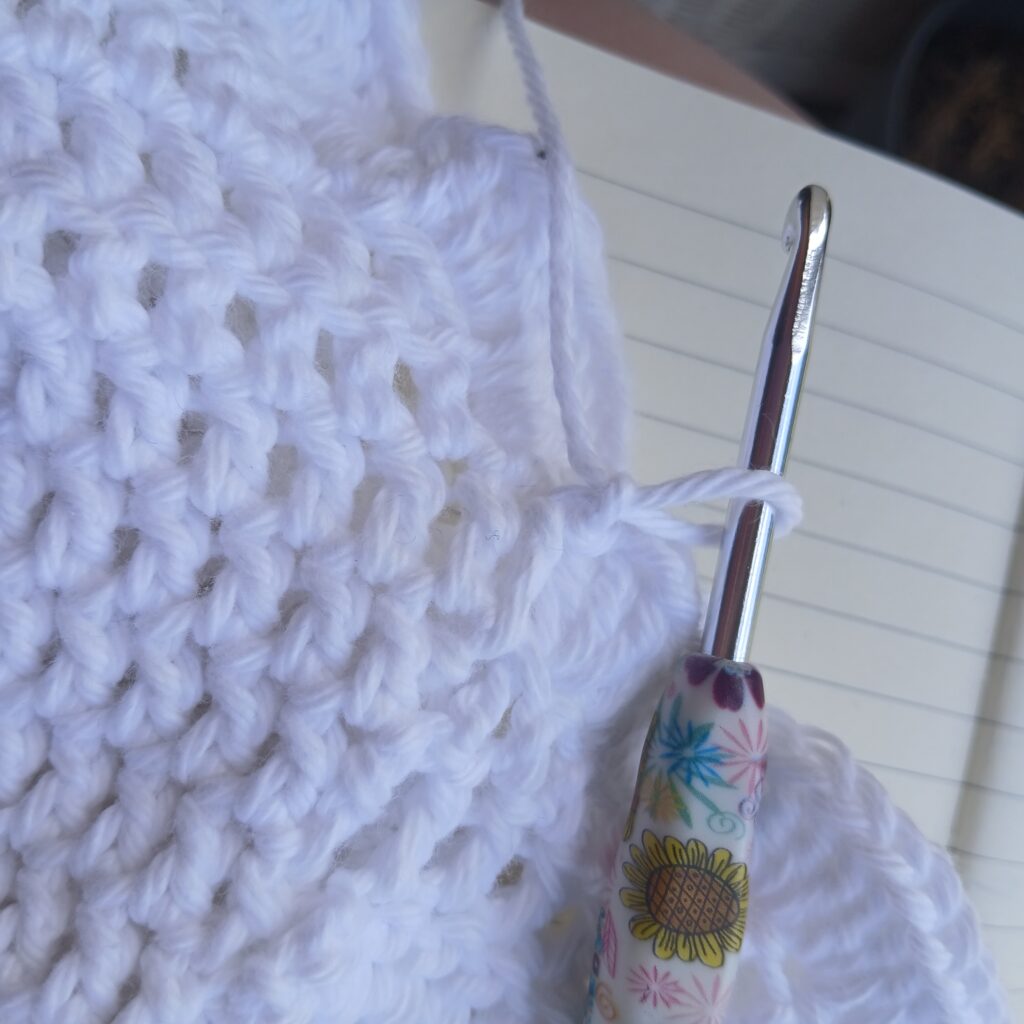
Once you get back to the 3 DC you started with, SLST and tie off.
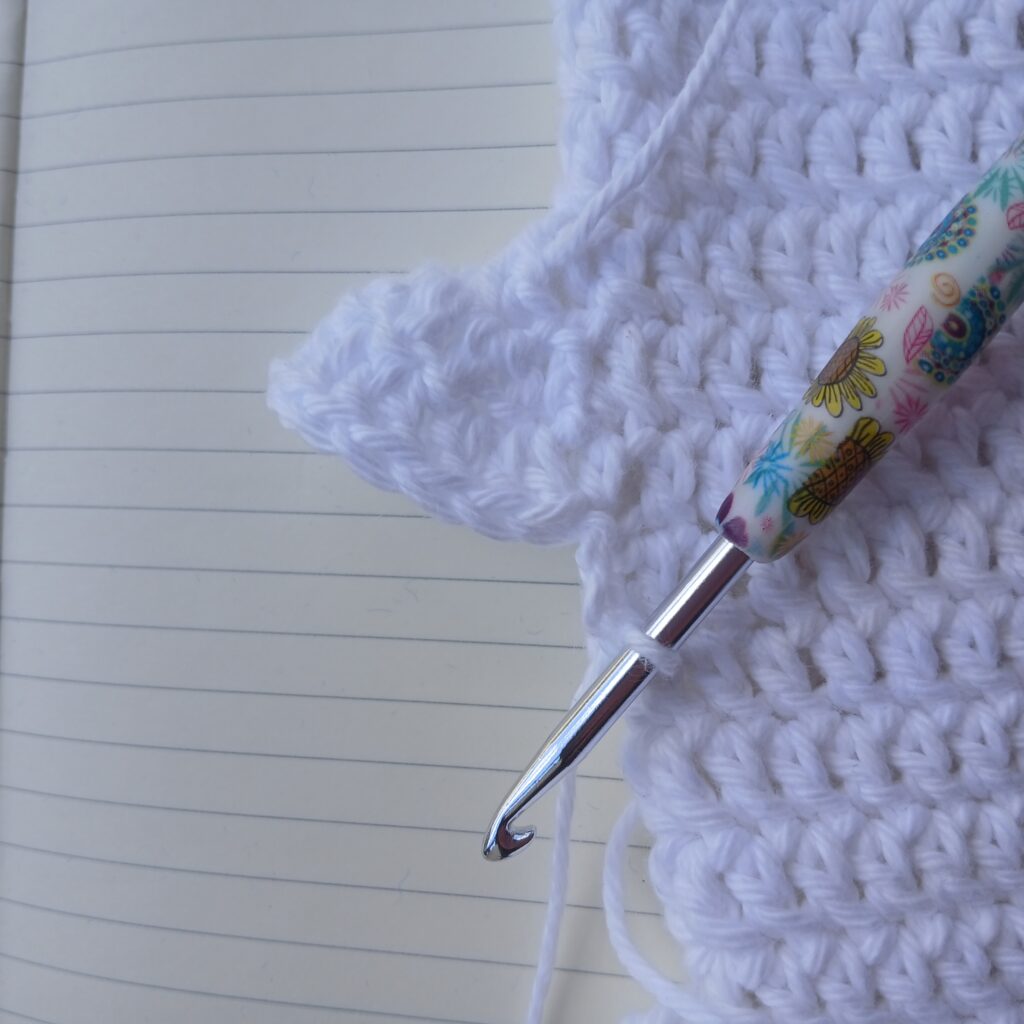
Ghost Arms:
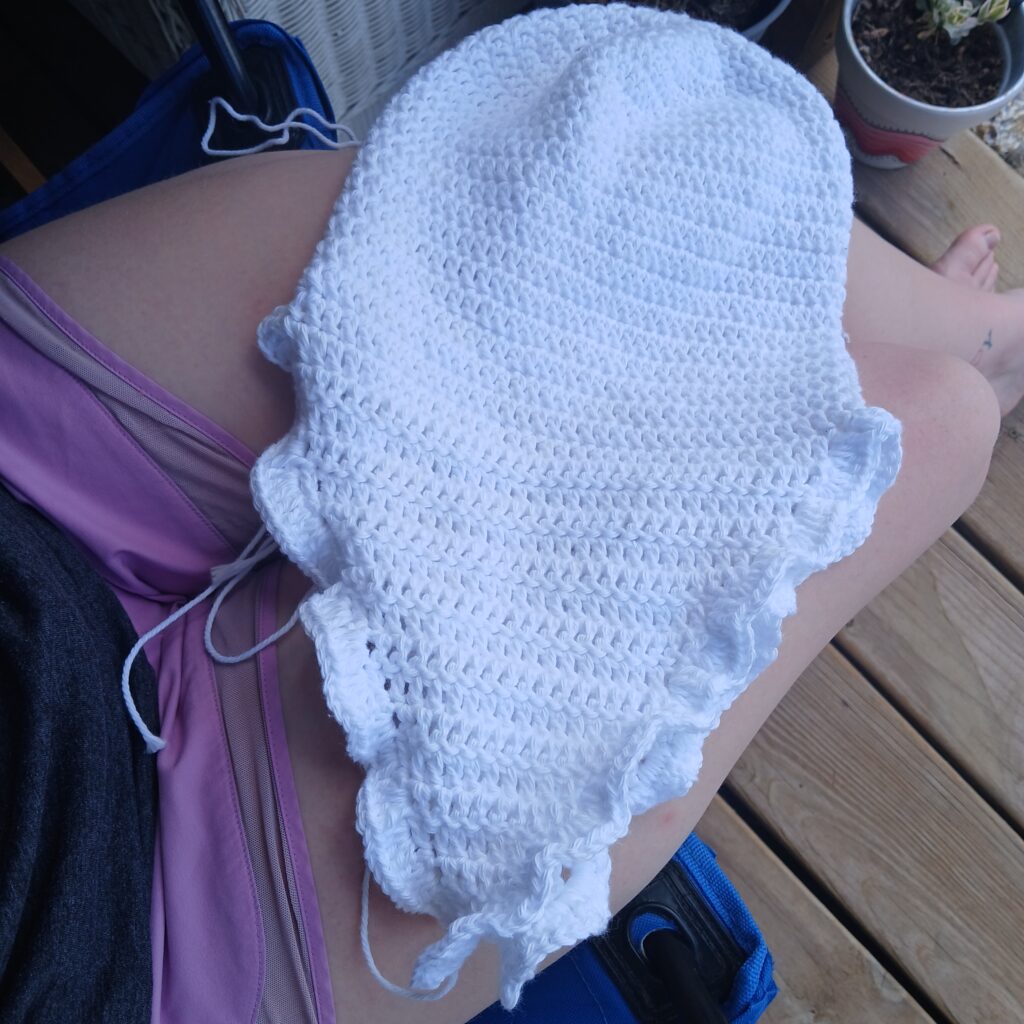
Lay your ghost flat and attach your yarn to the top of the 14th row on the side of your ghost. This will be where your arm starts.


R1: CH 2, SLST into the top of row 15 and place 5 DC into the ST you tied on to on row 14. SLST into the next ST on row 15. (5)


R2: CH 2, SLST into the top of row 16, place 2 DC in each of the 5 STS of the sleeve. SLST into the next ST on row 16. (10)

R3: CH 2, SLST into the top of row 17, *DC, INC* into the 10 STS of your sleeve. SLST into the next ST on row 17. (15)
R4: CH 2, SLST into the top of row 18, *DC in 2 STS, INC in the next* continue repeating ** until you have made your way across the 15 DC. SLST into the next ST on row 18. (20)
R5: CH 2, SLST into the top of row 19, *Place a DC in 3 STS, INC in the next* continue repeating ** until you have made your way across the 20 DC. SLST into the next ST on row 19 (25)
R6-R8: CH 2, SLST into the row below, place a DC in each ST. SLST into the row below. (25)
R9: CH 2, SLST into the top of row 23 and place 3 dc in each ST, SLST, and tie off.
*Repeat on the other side*
Eyes (Make 2):
CH 3, place 12 DC in the 3rd CH from your hook. SLST into the 1st DC you made and tie off.
Face:
Place the center of your eyes on row 8 and about 8-10 stitches apart. Sew those in place and then sew a small white dot on the top right side of your eyes.
For the mouth, I made a smile and then tacked it down with a few short stitches. I preferred this month more; however, if you prefer a circle, follow the directions below:
CH 3, place 12 DC in the 3rd CH from your hook. SLST into the 1st DC you made. CH 1, place a SC in each ST, SLST into the first SC you made, and tie off.
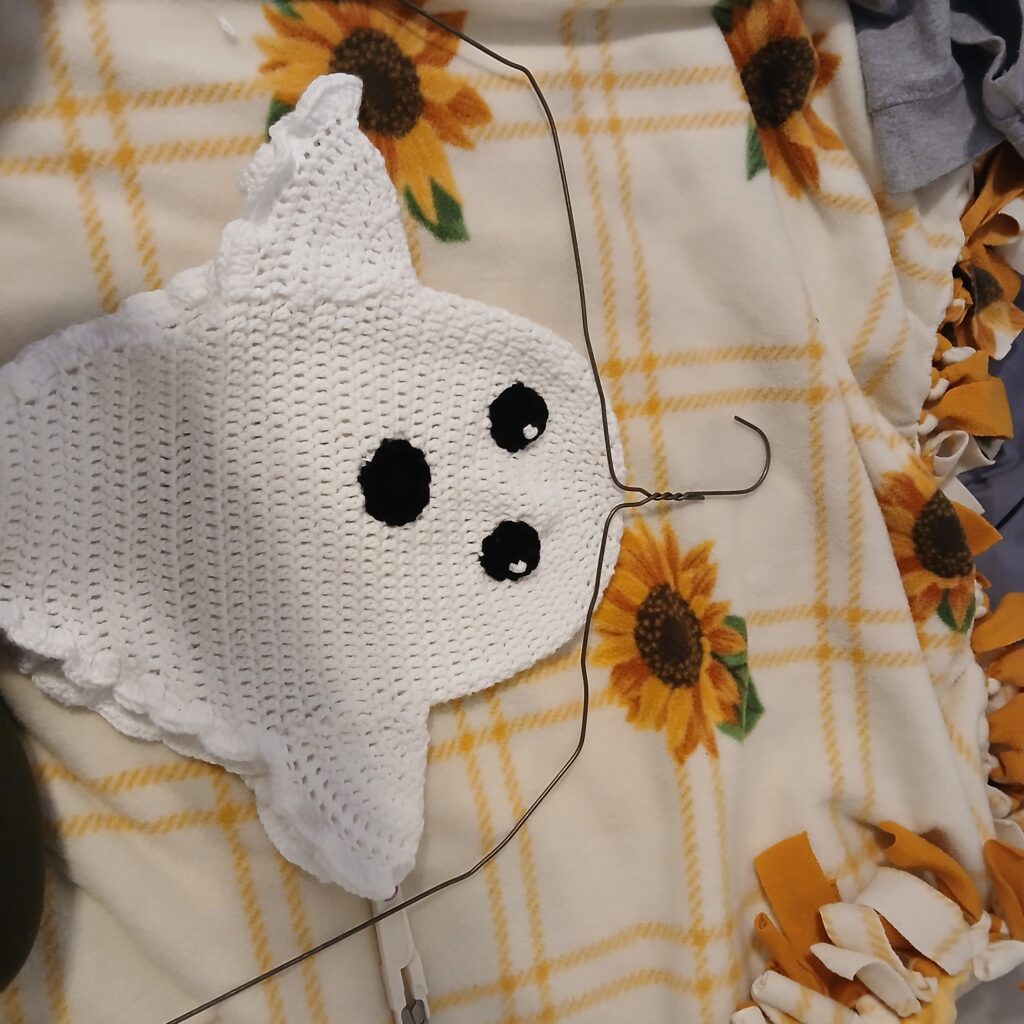
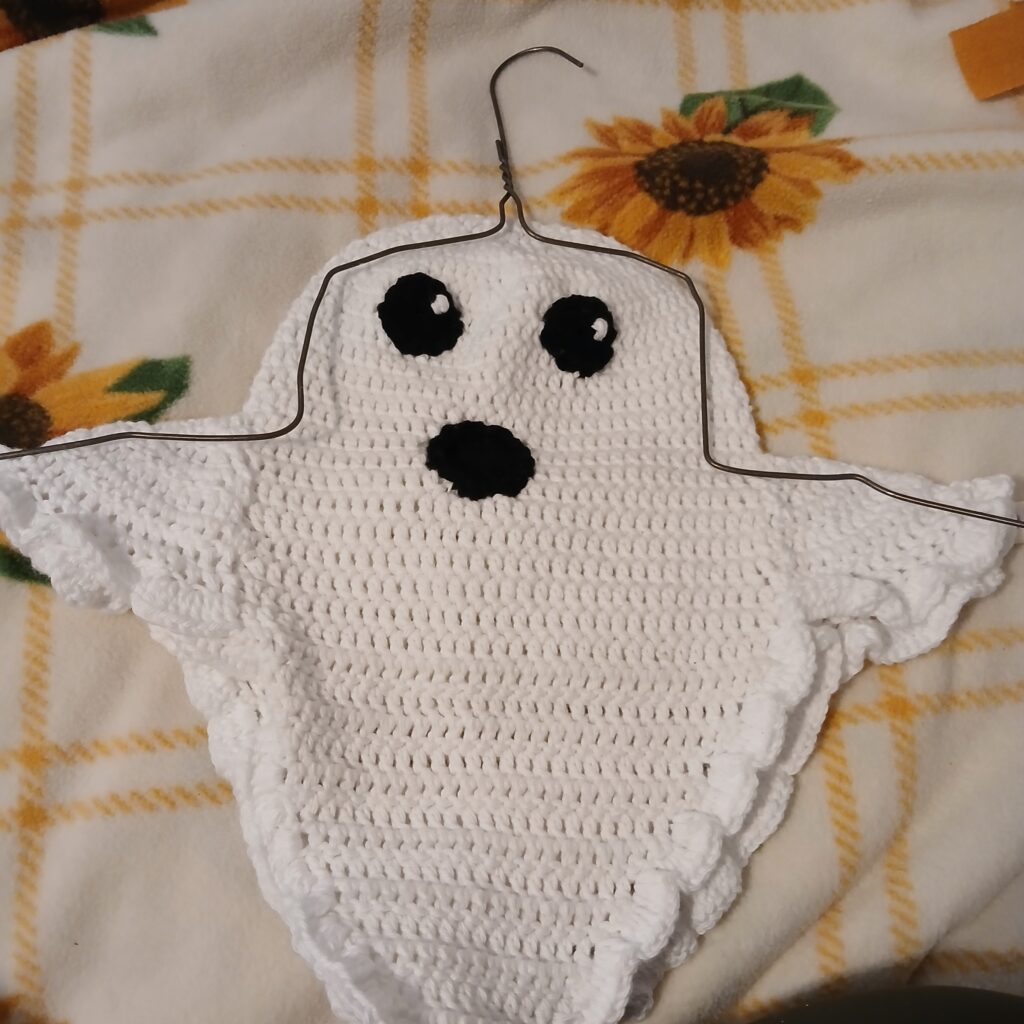
Framing:
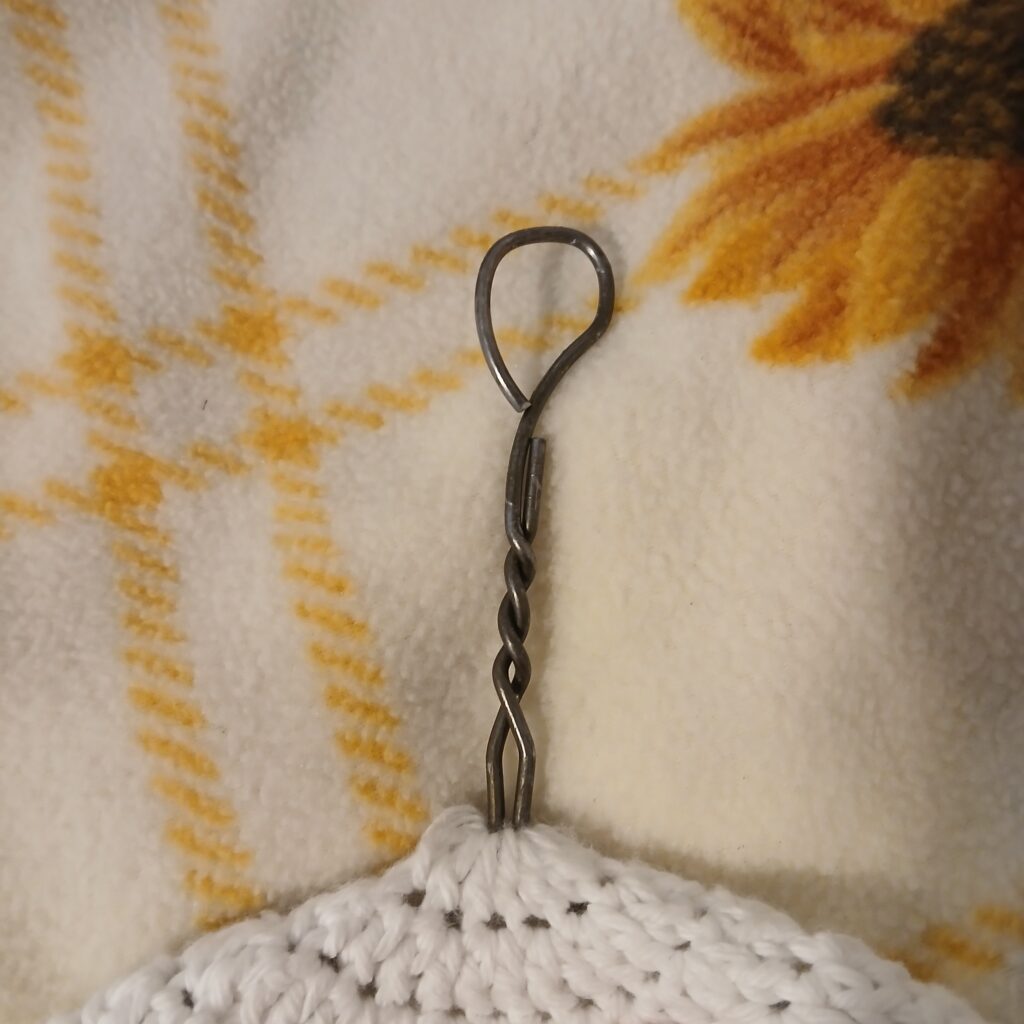
Take a metal crochet hanger and cut the bottom of the hanger. Shape the hanger to the body of your ghost and cut off excess wire. Then make a loop with the hook of your hanger, and trim off excess wire.

I hope you guys enjoyed this pattern! I can’t wait to show you the one I’ve been working on!