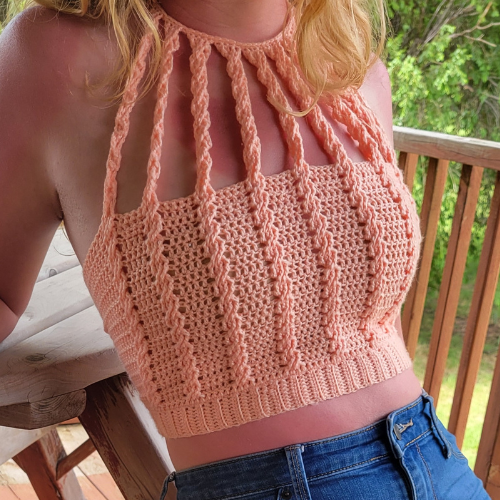
This twist front crochet crop top is the perfect summer piece! It’s lightweight, stylish, and great for beach days, festivals, or layering. The twist detail in the front adds a fun and flattering touch, making it stand out from your usual crochet tops. This is an intermediate pattern that works up quickly using simple and complicated stitches and light yarn. Whether you’re making it for yourself or as a gift, this crochet crop top is a fun project.
***This post contains affiliate links. That means that if you make a purchase after clicking on a link I may earn a small commission at no extra cost to you.***
If you prefer a PDF download, you can find it here on my Etsy shop!: https://shorturl.at/Q2oT1
Supplies
- 3.75mm hook (Here’s the hook I used: https://amzn.to/44fYW2p
- Tapestry needle
- Scissors
- Baby Bee Sweet delight Yarn: Baby Bee Sweet Delight Yarn (I used a little under 1 roll for a size medium
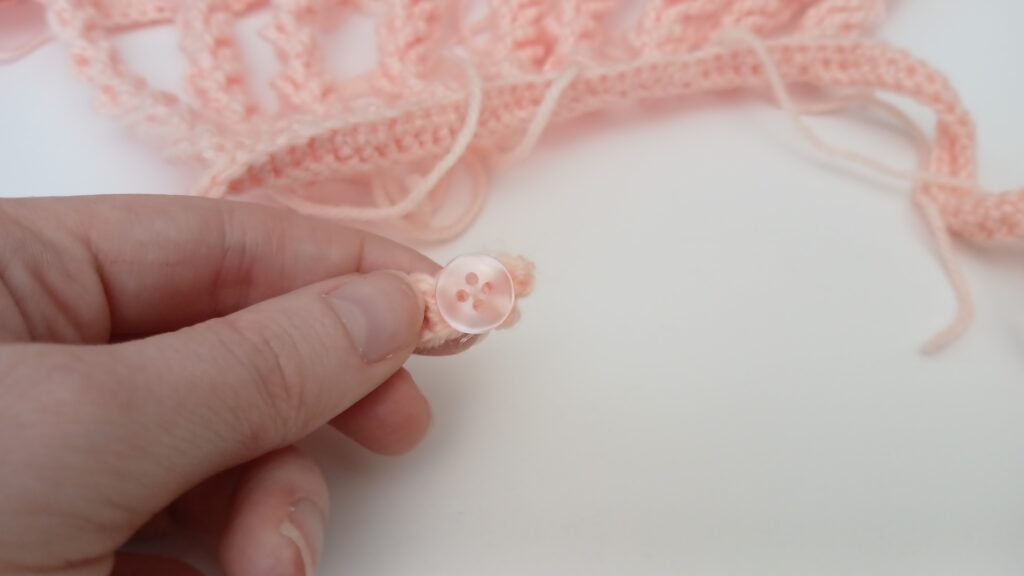
- Small button (I used ½ inch button)
- Sewing thread
- Sewing needle
Terminology used (US)
- Ch – Chain
- Sc – Single Crochet
- Hdc – Half double crochet
- Blo – Back loop
- Dc – Double crochet
- Sk – Skip
- Fsc – Foundation single crochet
- Fptc – Front post triple crochet
- Bpdc – Back post double crochet
- ** – Repeat instructions between the stars
- () – Stitch count
Let’s begin!
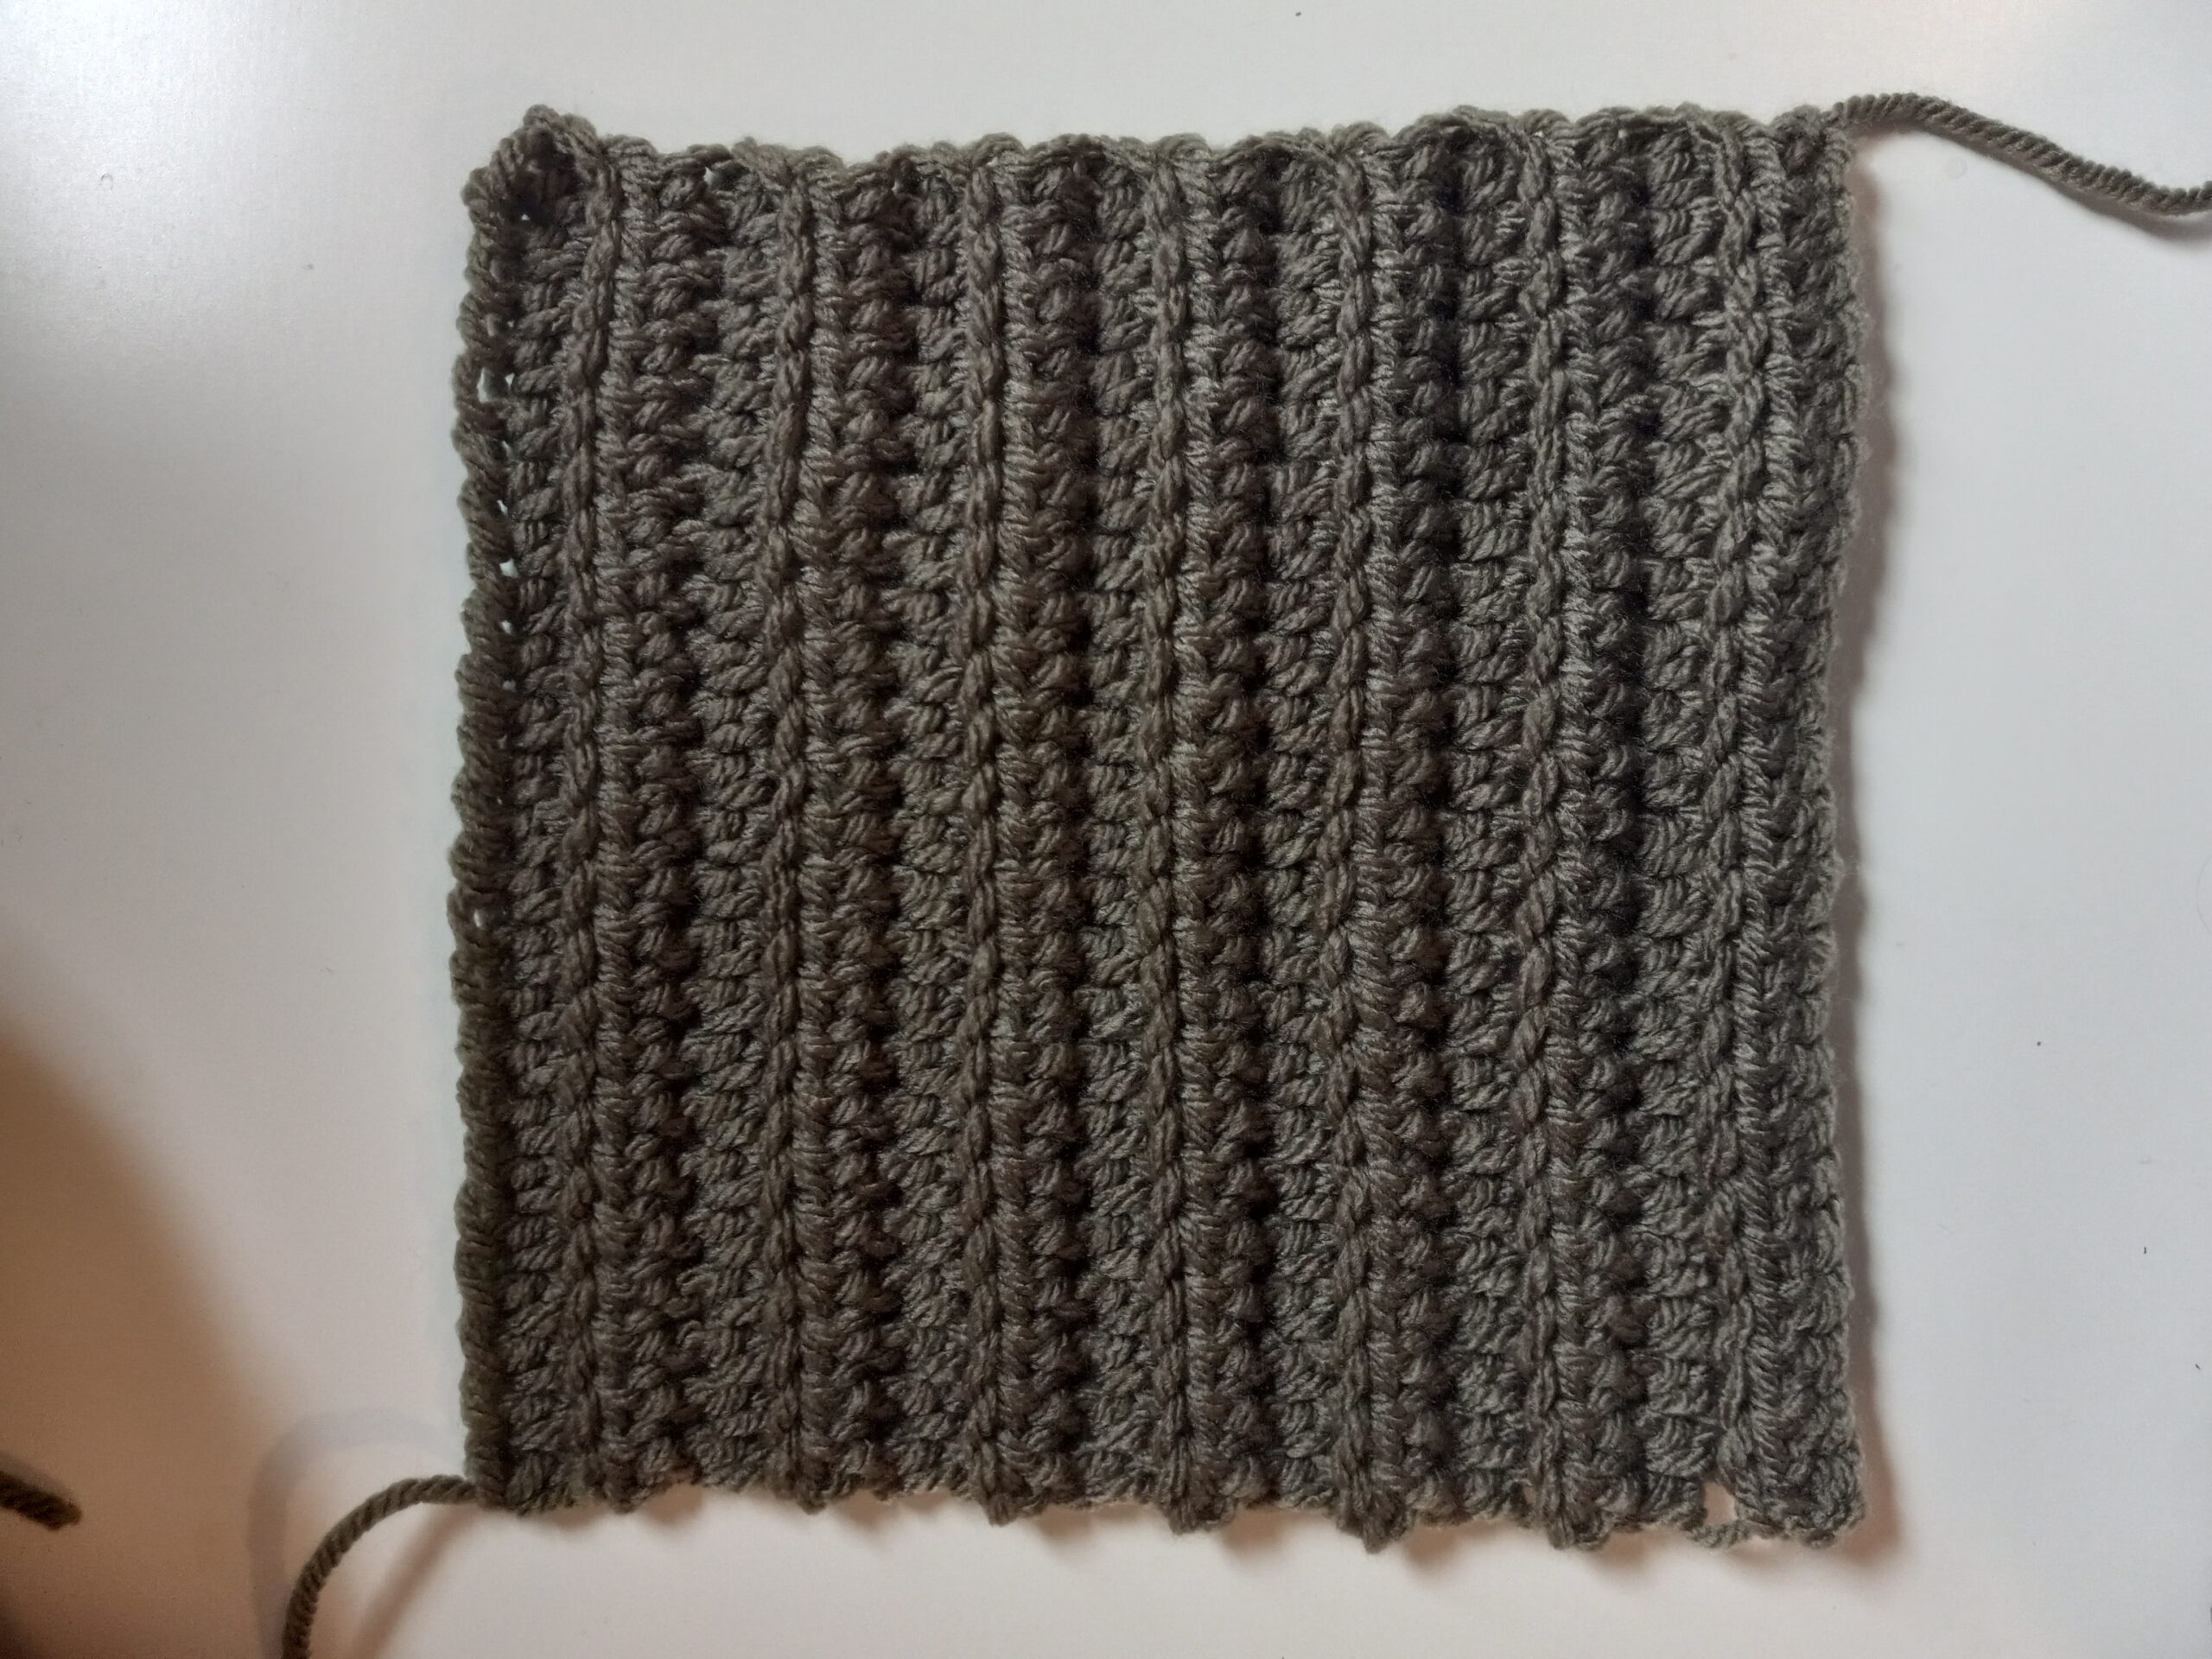
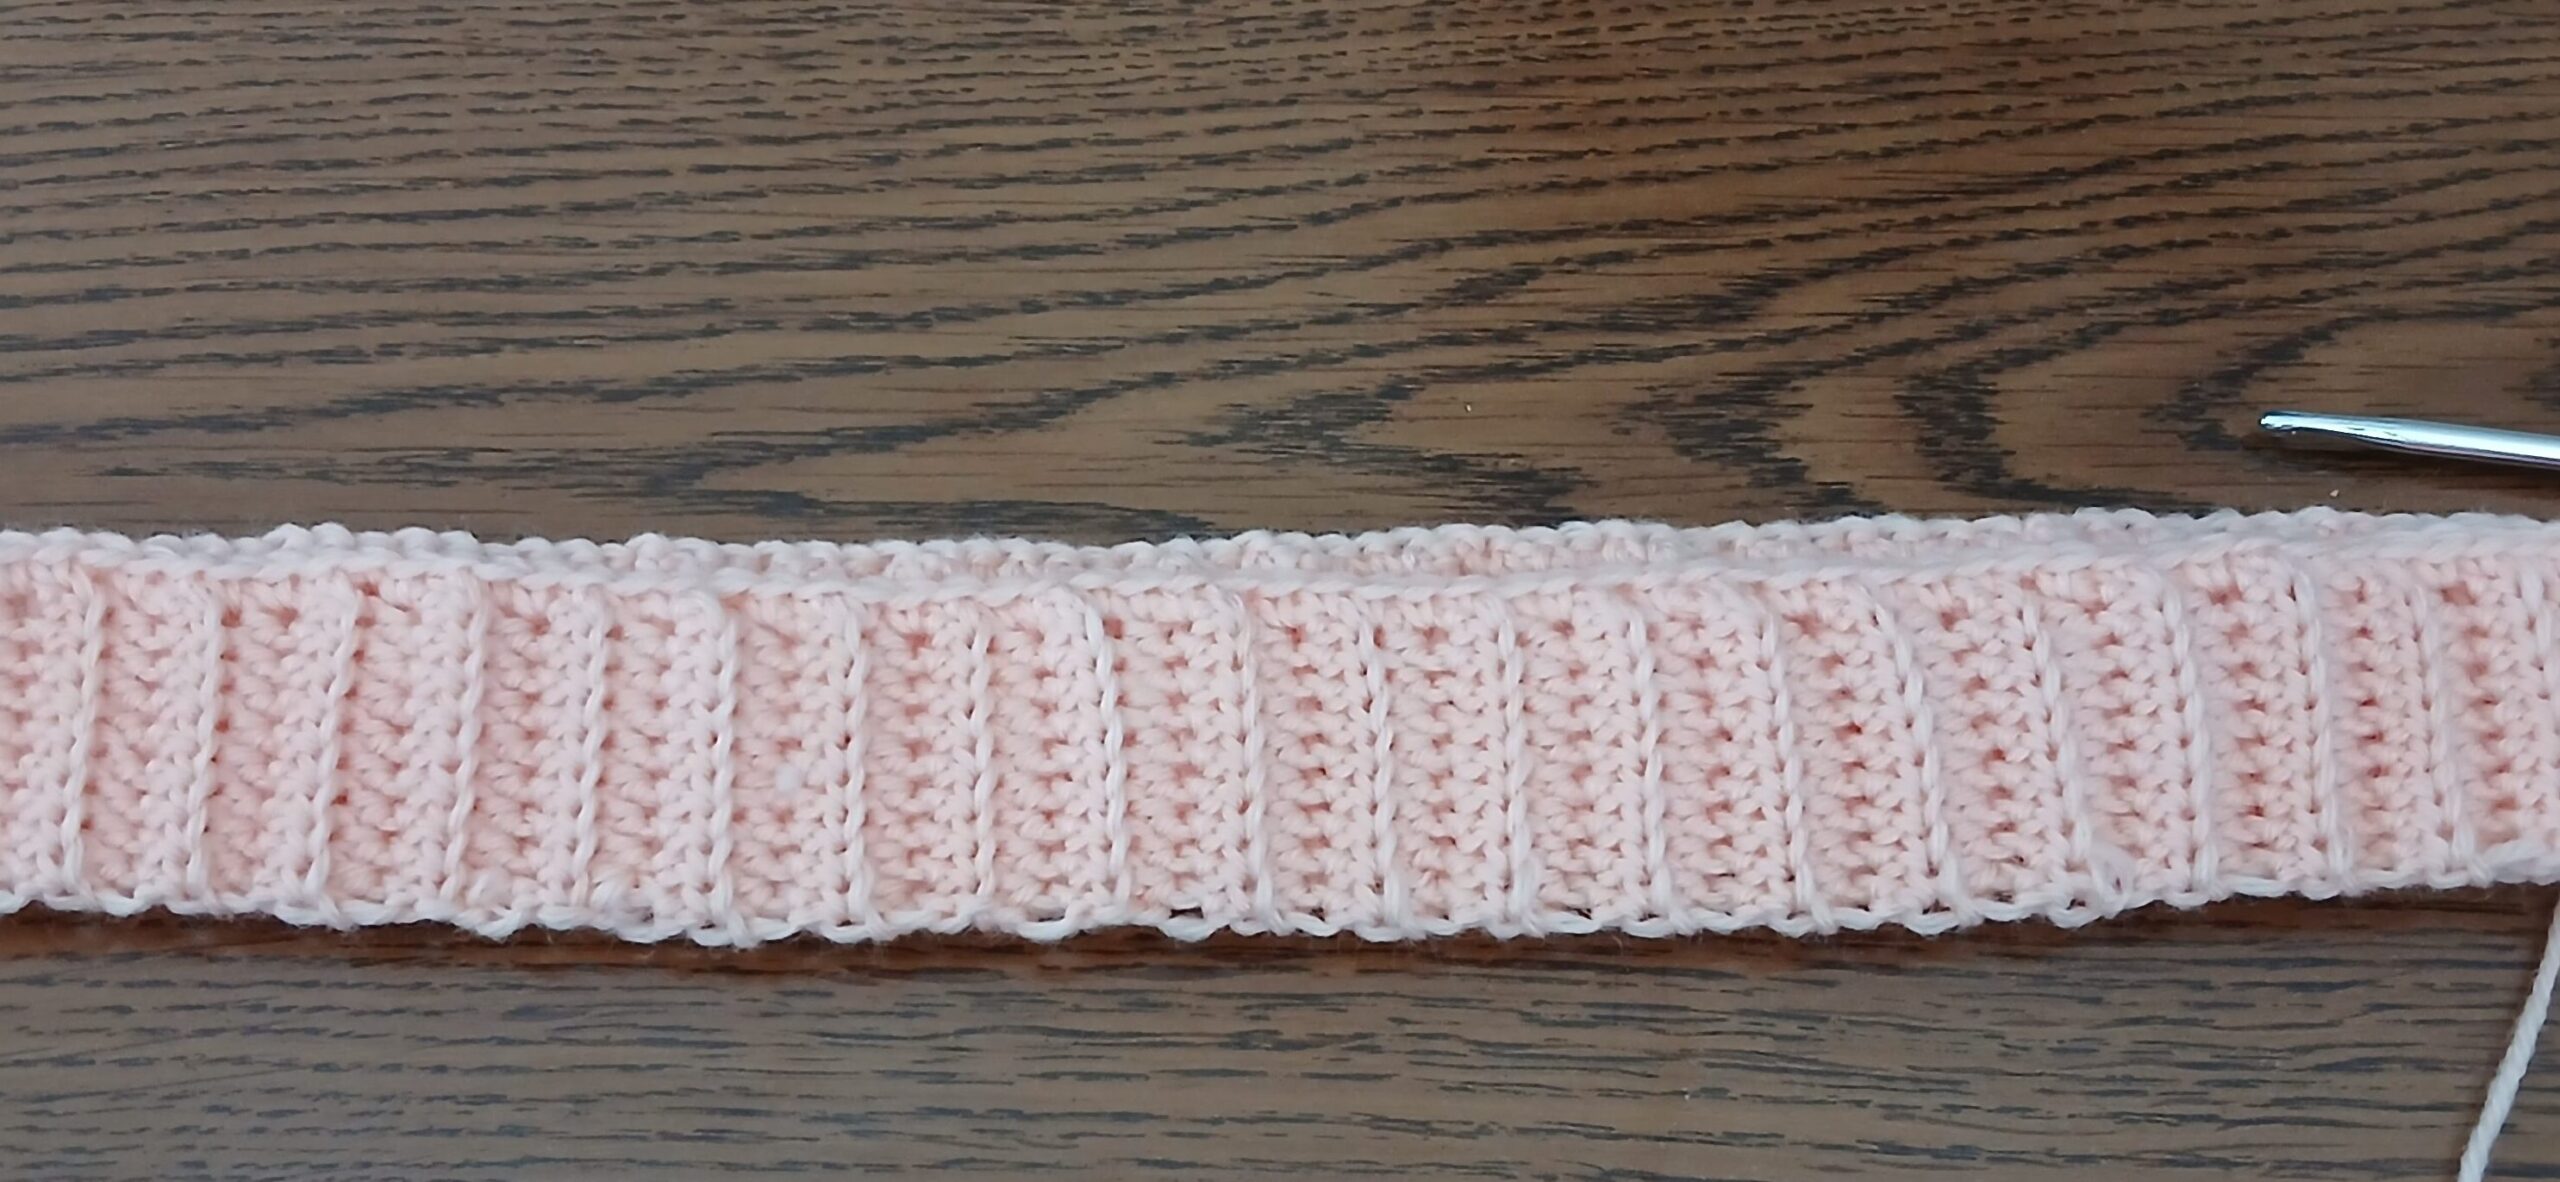
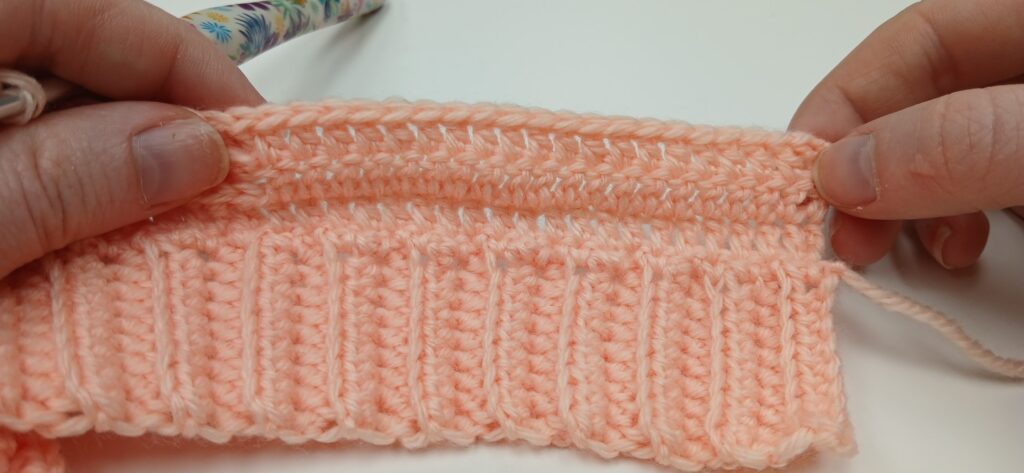
Chest band:
R1 – Ch 10, hdc in the 2nd ch from hook and in the remaining 8. (8)
R2 – Ch 1, turn, hdc in the blo of each st. (8)
Continue repeating row 2 until your band is the length of ¾ of your waist.
R1 – Once your band is complete, ch 1 and sc across the top of your band. You’ll want to have a multiple of 8 + 4.
(To make sure you have the correct amount of stitches, take your sc stitch count and divide it by 8; you’ll want the final number to be ‘x.5′. Mine was 13.5)
R2 – Dc in each st. (108)
Take your waistband and mark where you want the solid panel to end and the braids to start, make sure both sides have the same stitch count and you have multiples of 8 + 4 in your braided section.
R3 – Ch 2 and dc to your stitch marker (I had 20 dc), once there, you’ll begin your braids.

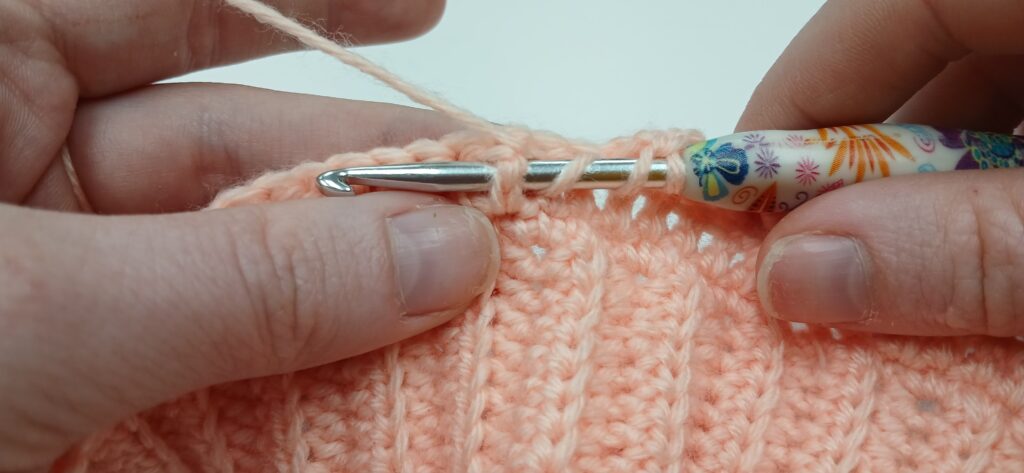
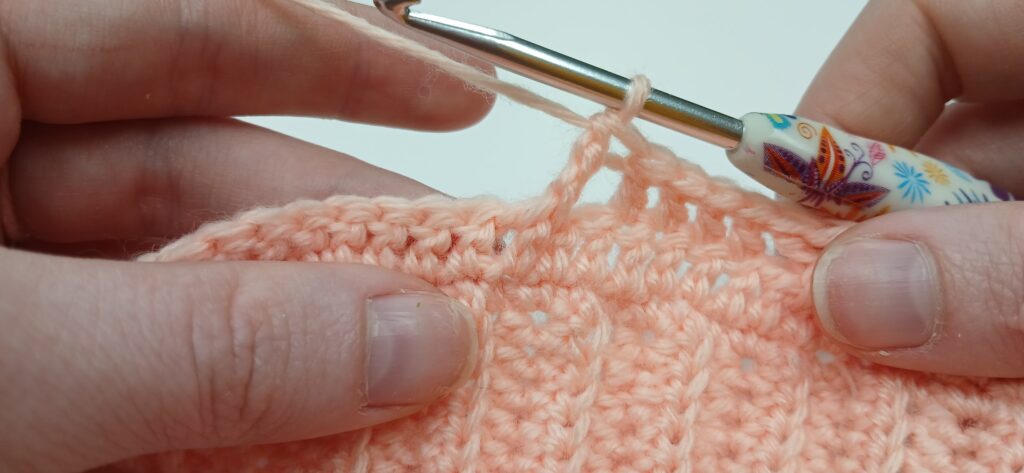
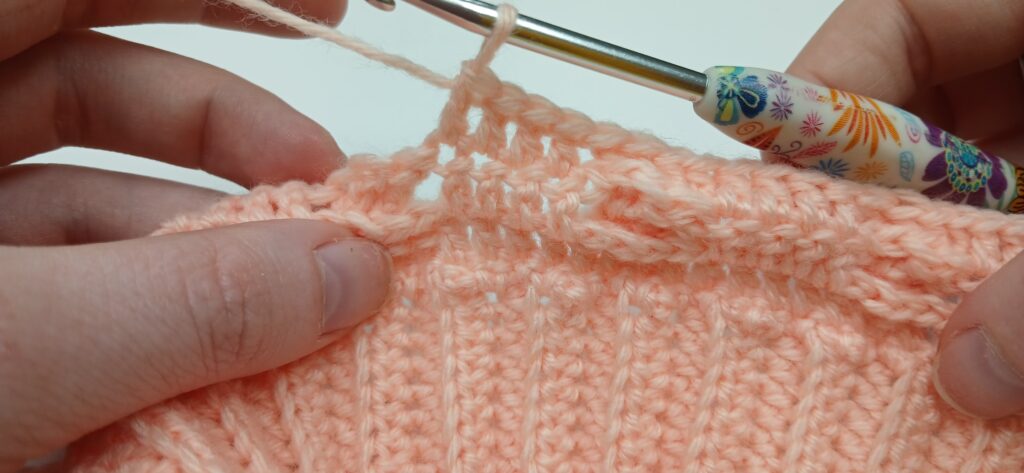
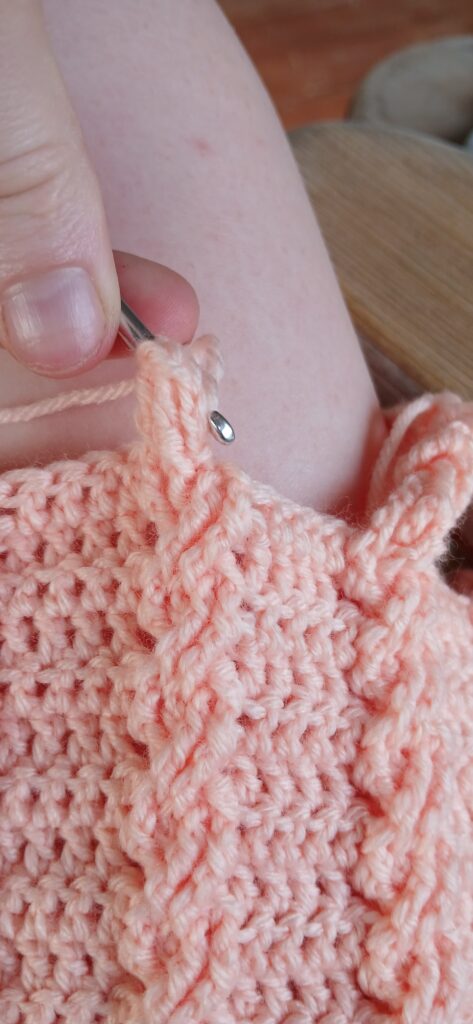
Wrap your hook twice and skip 2 dc, fptc in the 3rd st.

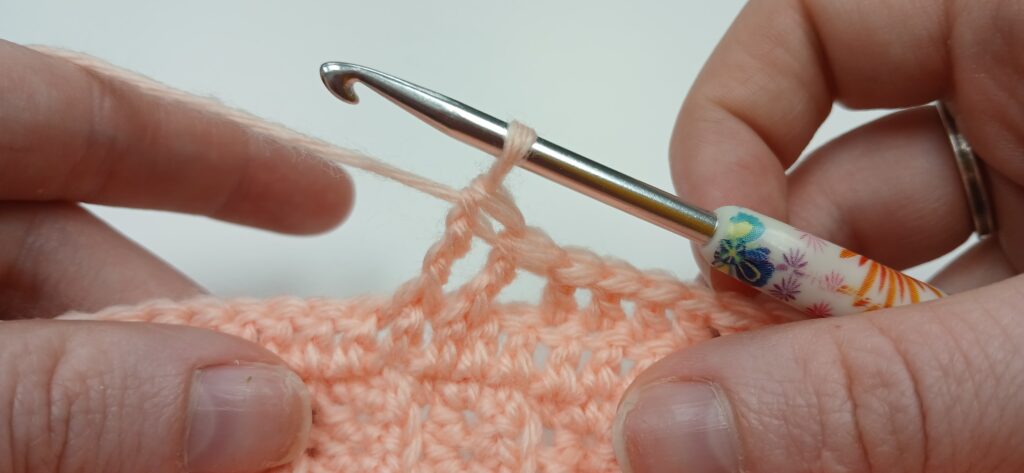
fptc in the next.
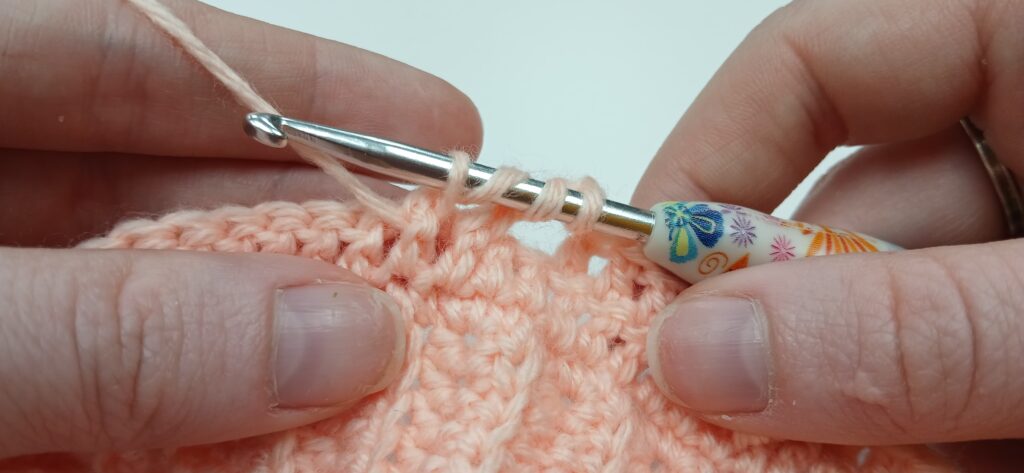
Wrap your hook twice again and go behind the 2 fptc and fptc in the first dc you skipped.
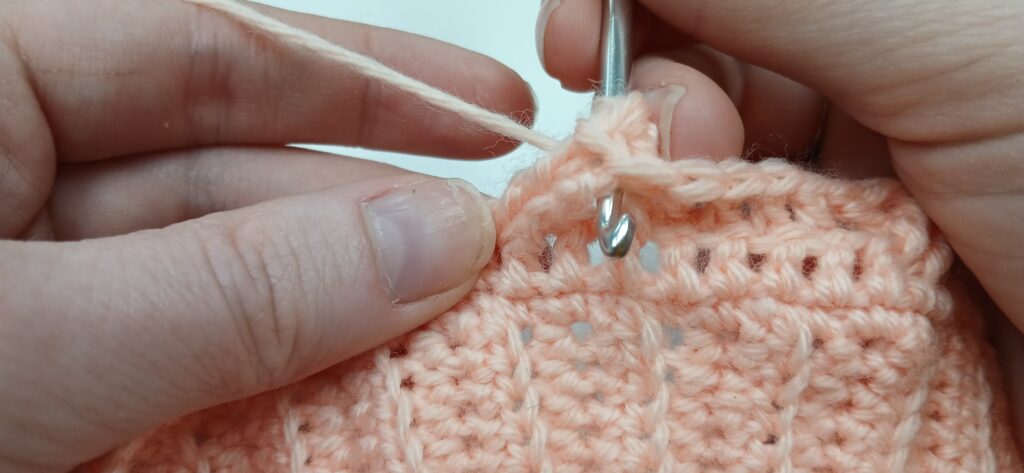

Once more wrap your hook twice and go behind the first 2 fptc and fptc the 2nd dc you skipped.
There’s your first braid!
DC in the next 4 sts.*
Repeat this until your next st marker, you should end with a braid. Your repeat should have an even number of solid sections and an odd number of braids. I had 8 solid sections and 9 braids. (I have 68 sts in center section)
Once you reach your st marker dc in the remaining sts. (I had 20)
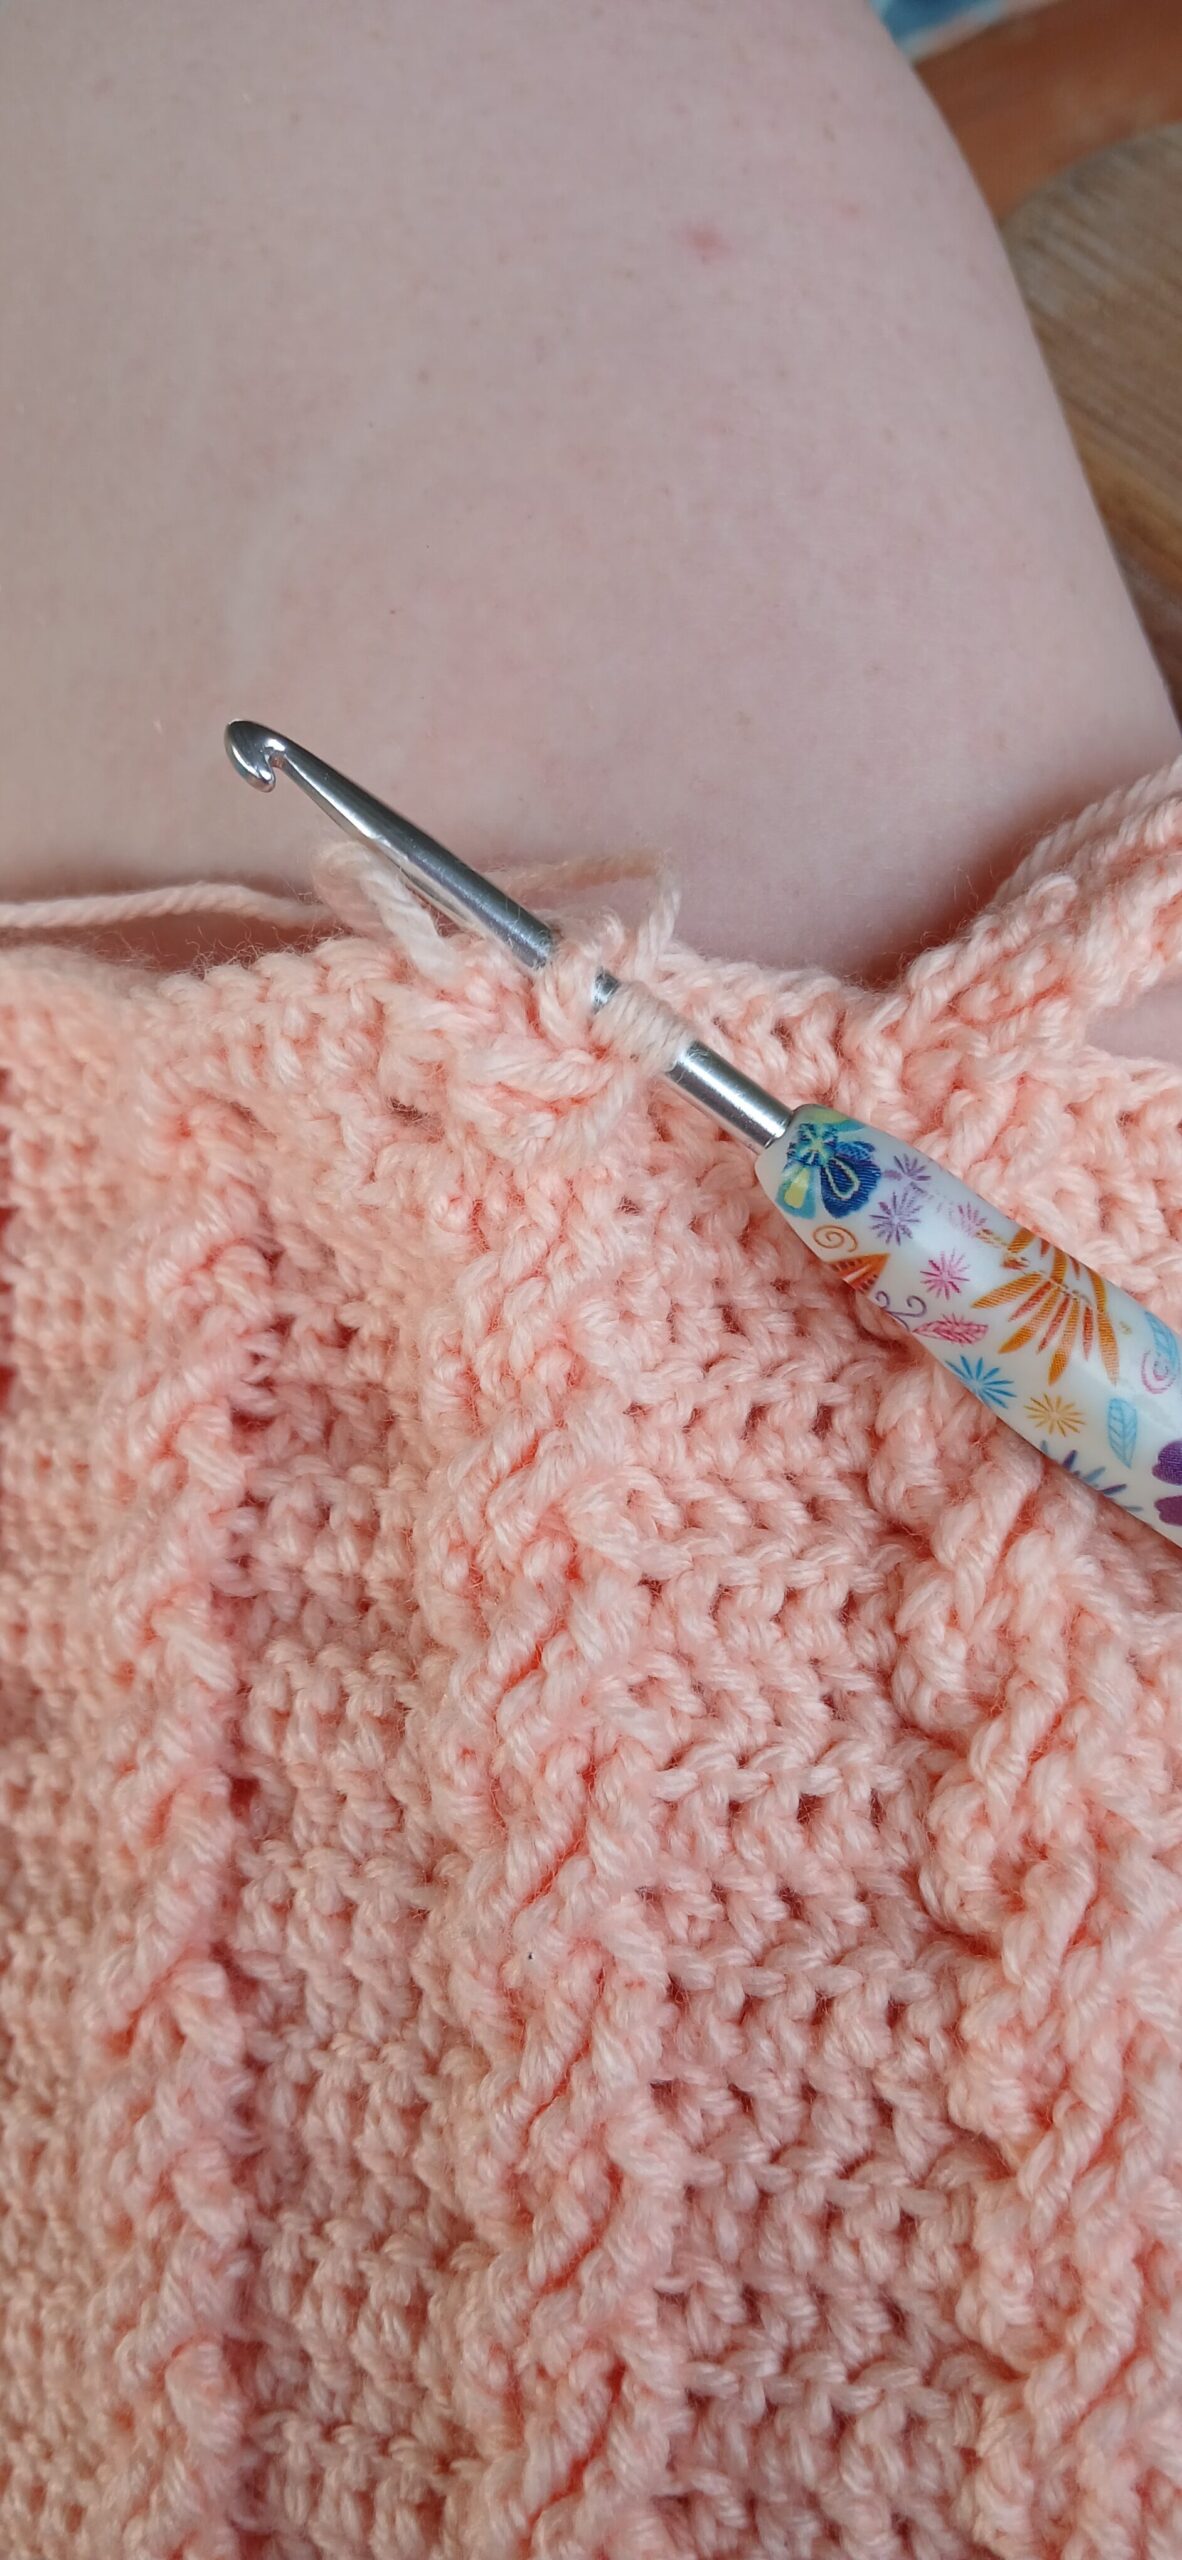
R4 – ch 2 and dc your solid side panel (mine was 20), now you’ll start your next repeat section. *bpdc 4, dc 4*
Your bpdc’s should be your braids; doing this will keep your braids protruding.
Keep repeating rows 3 and 4 until you reach your desired shirt height. I ended up with 24 rows. Tie off once you finish!
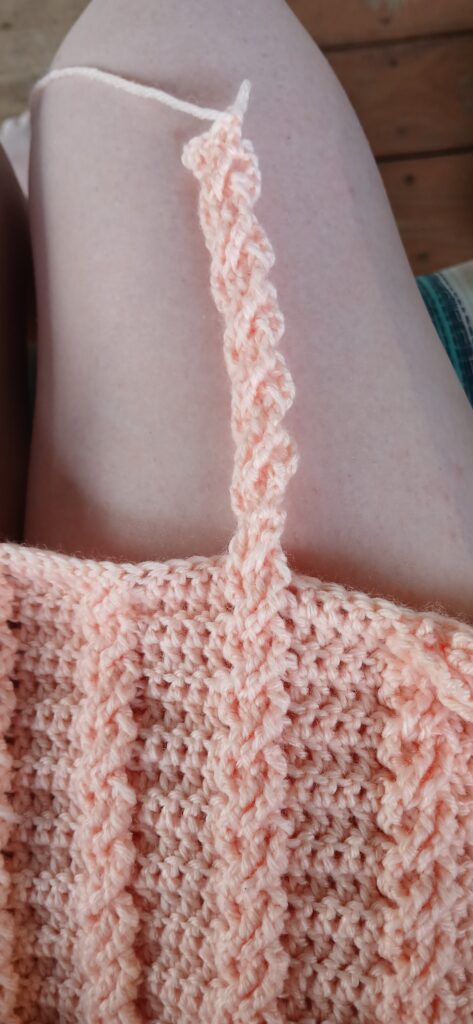
Braids from shirt to collar
This part is a little tricky so have patience with yourself!
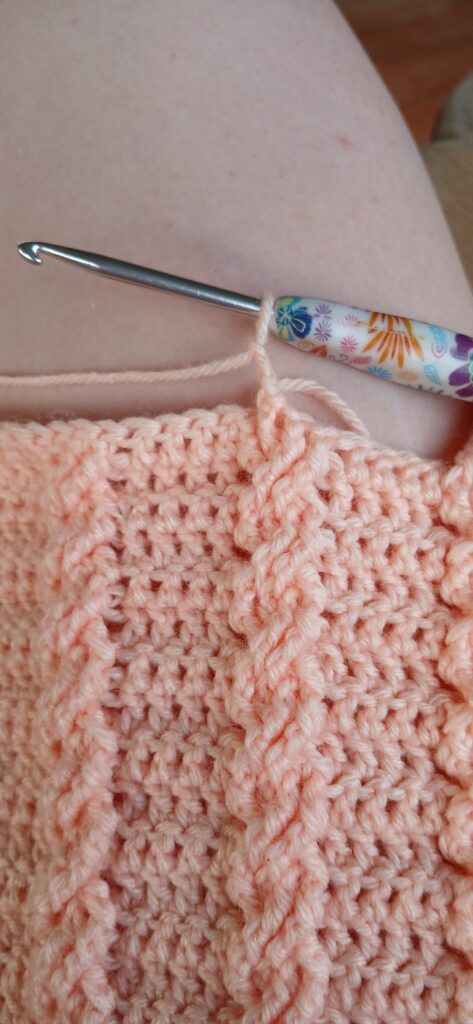
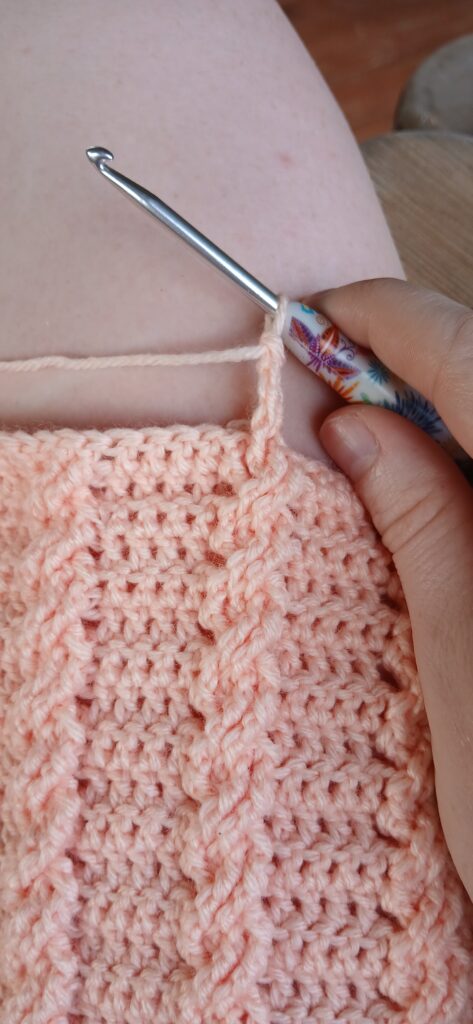
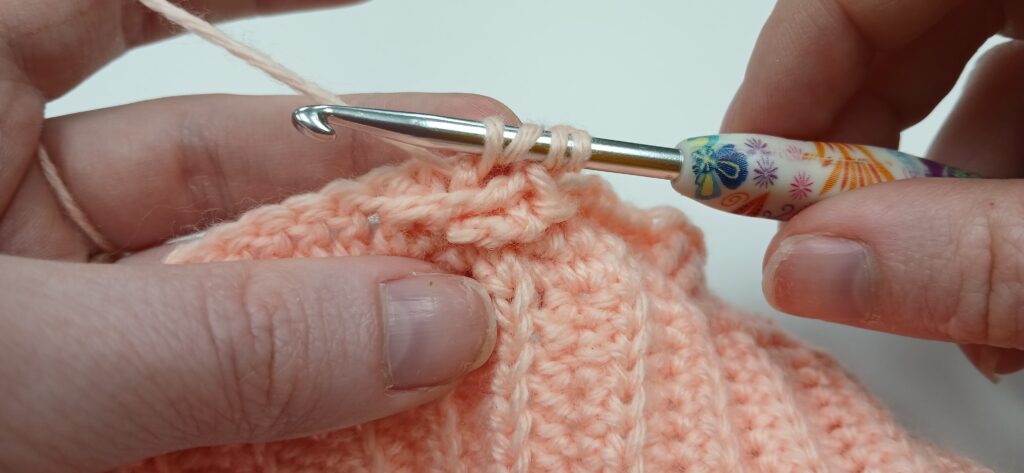
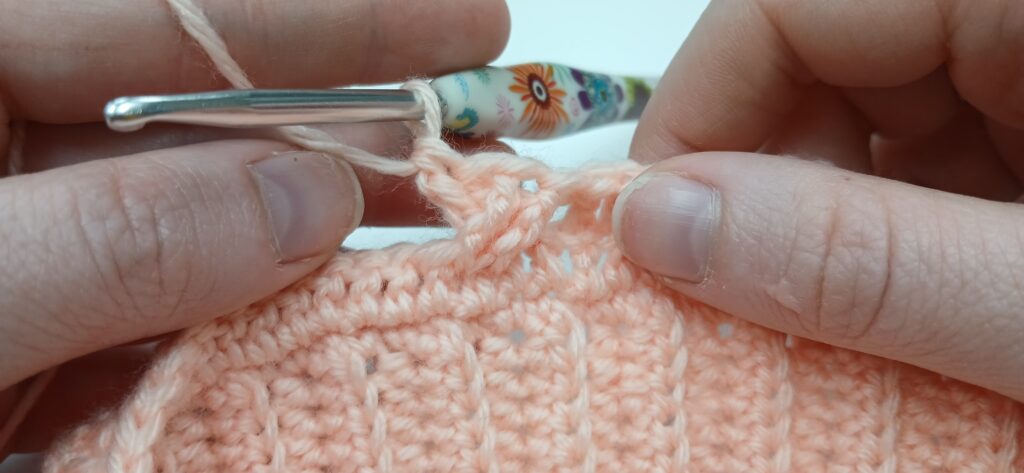
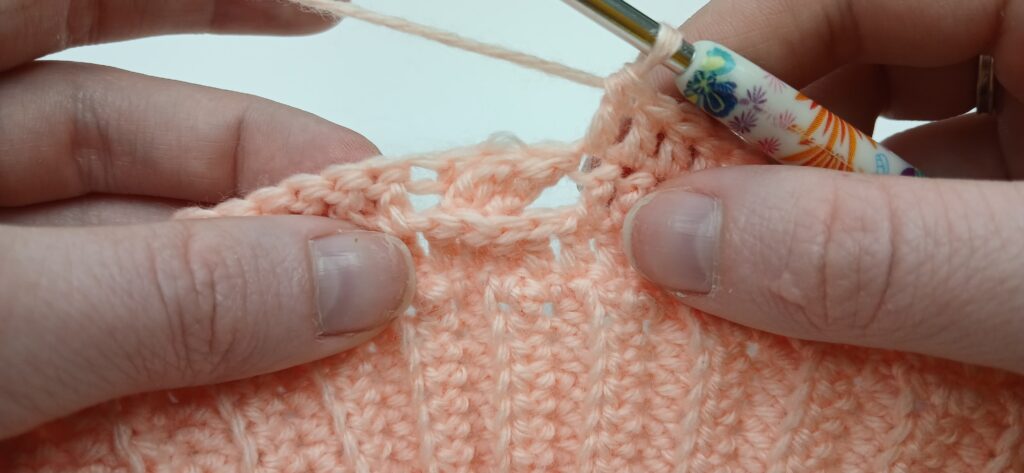
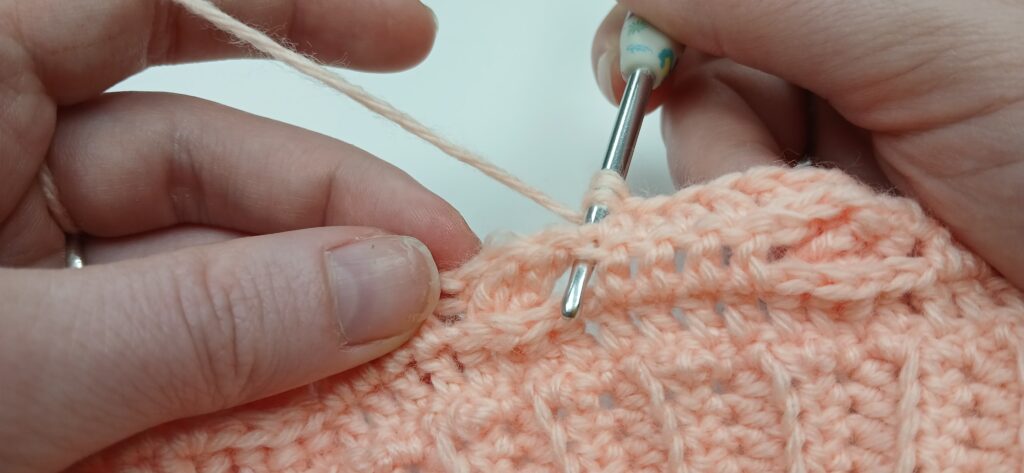
R1 – Find the braid you want to start with and attach your yarn to the 3rd fptc and ch 3, fptc around the same stitch your chain in coming from, Fptc in the next st.
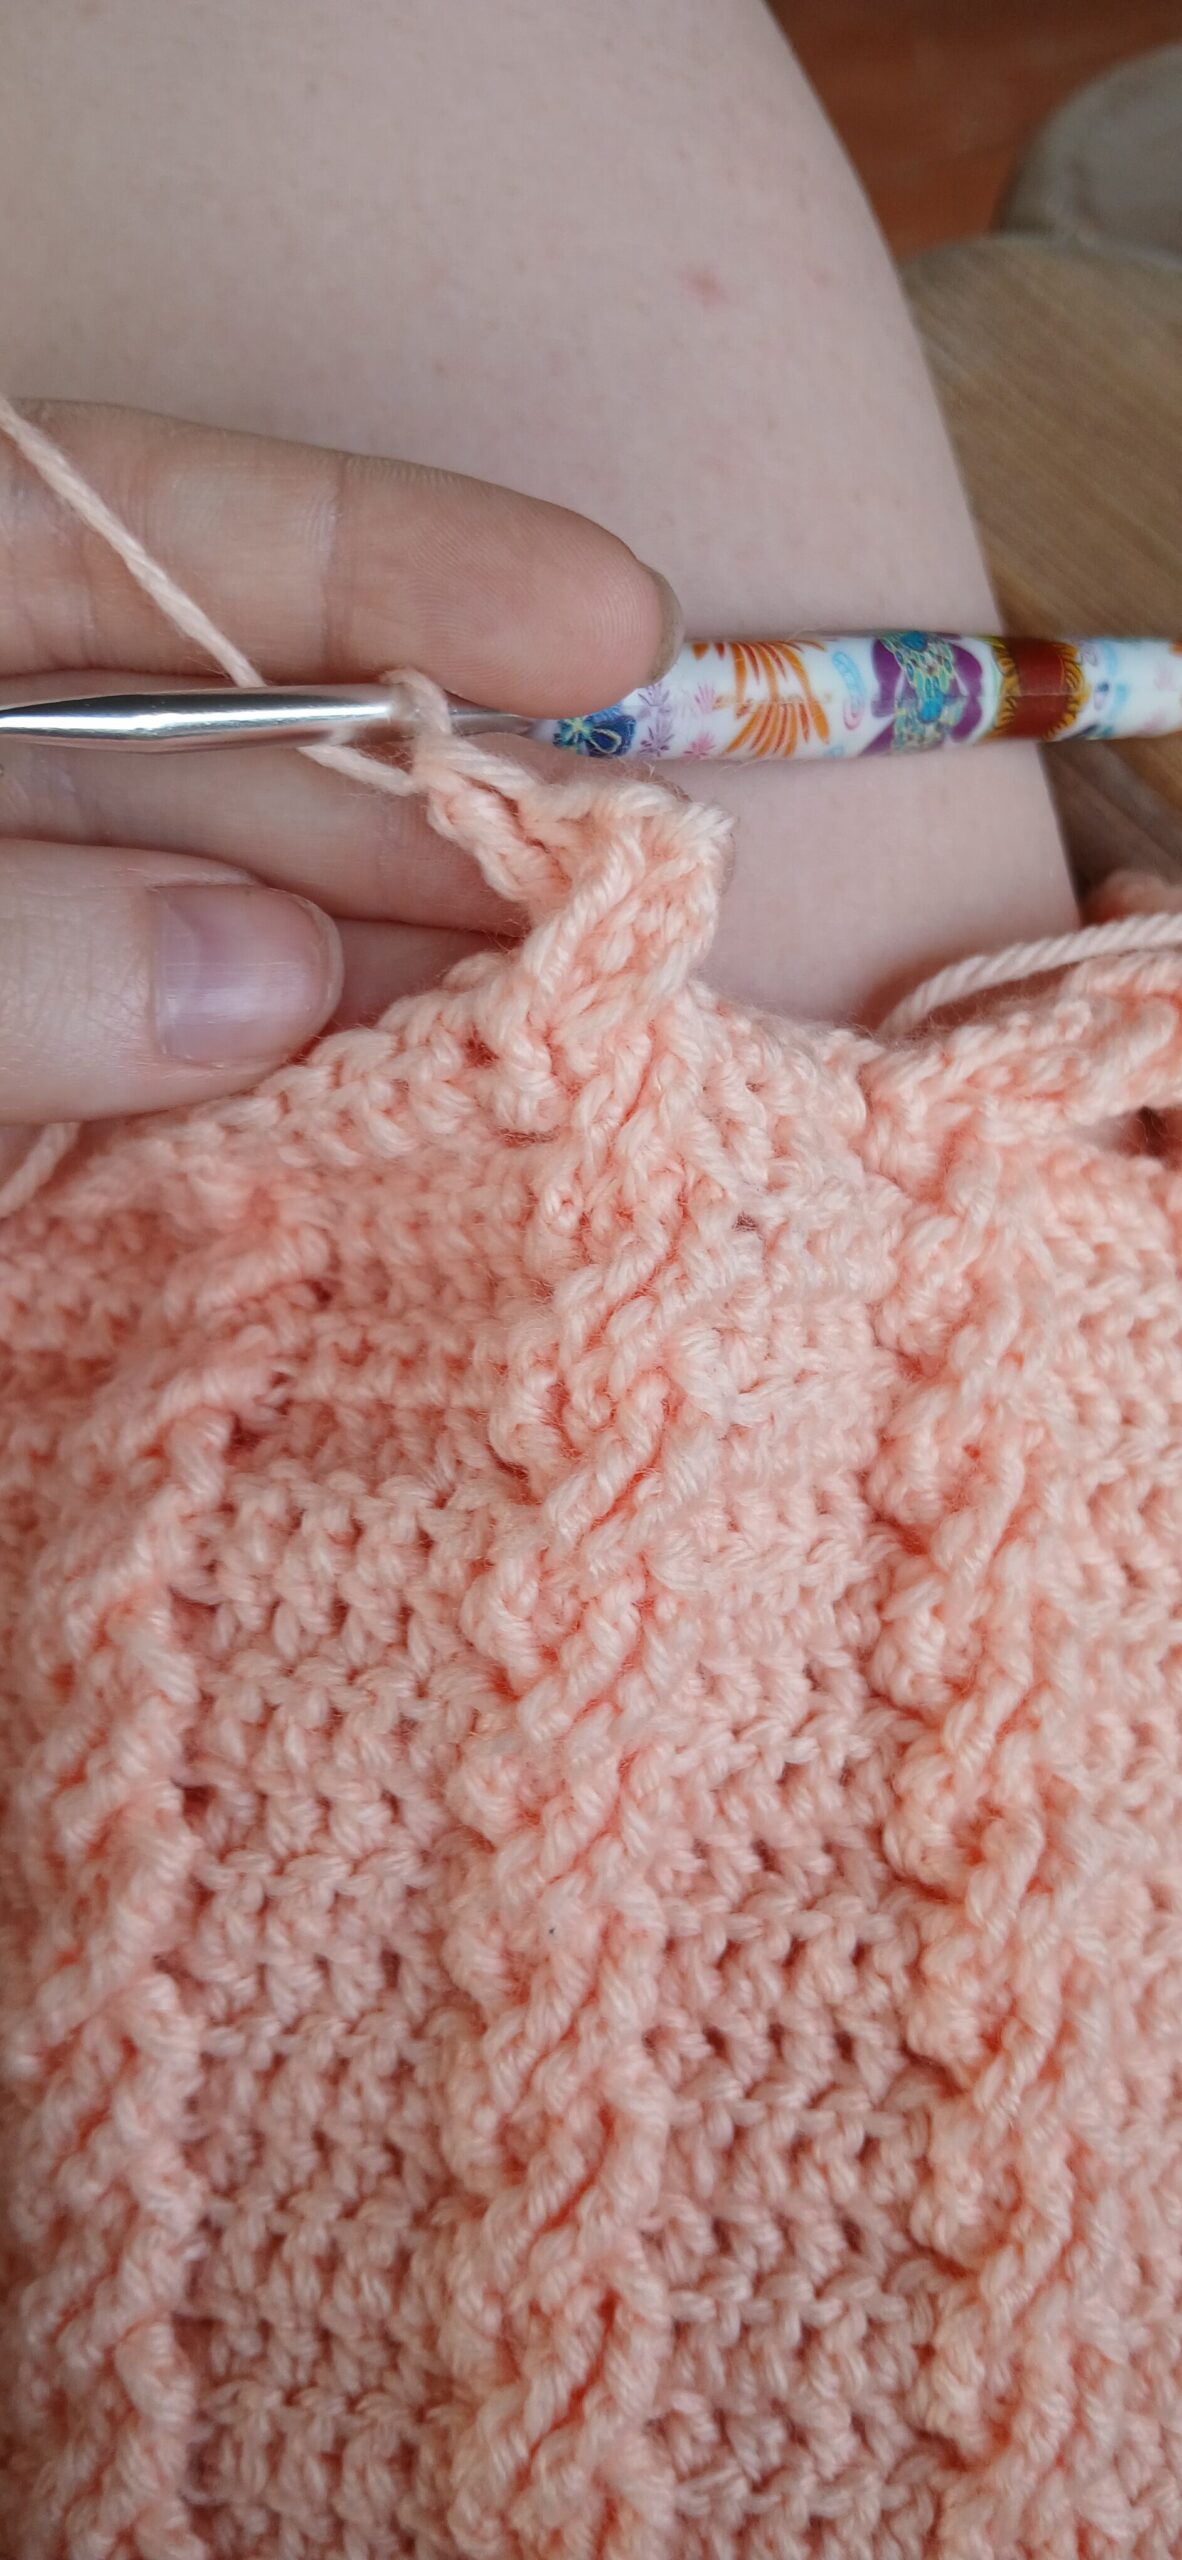
Wrap your hook and reach back behind the 2 fptc you already made to the 1st fptc you skipped and crochet a fptc, wrap your hook and reach back again to the 2nd fptc you skipped and crochet a fptc
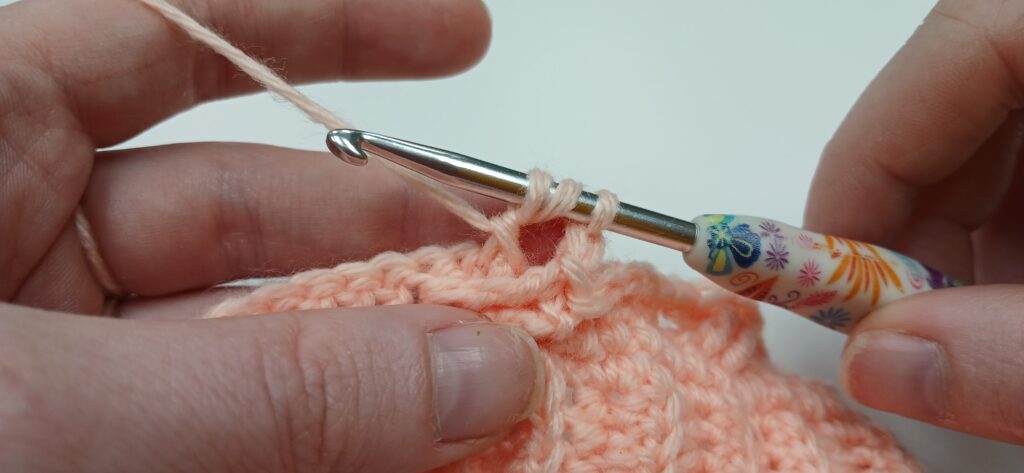
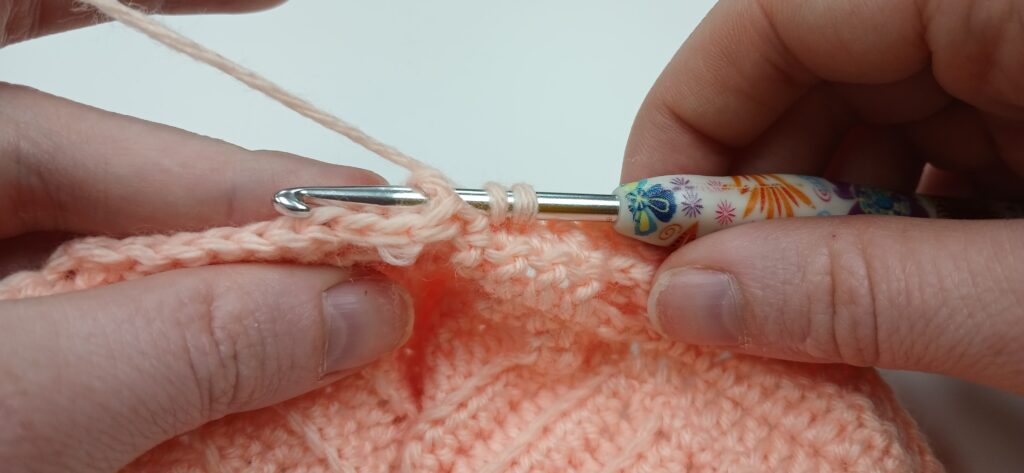
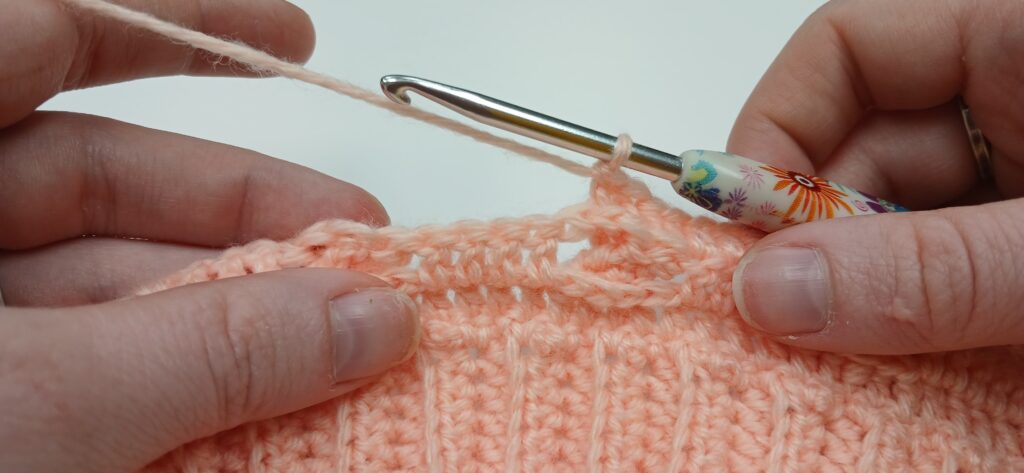
When you go to repeat row one you will ch 3 and sk the first 2 fptc and fptc in the 3rd st. All steps will follow the same after the first fptc
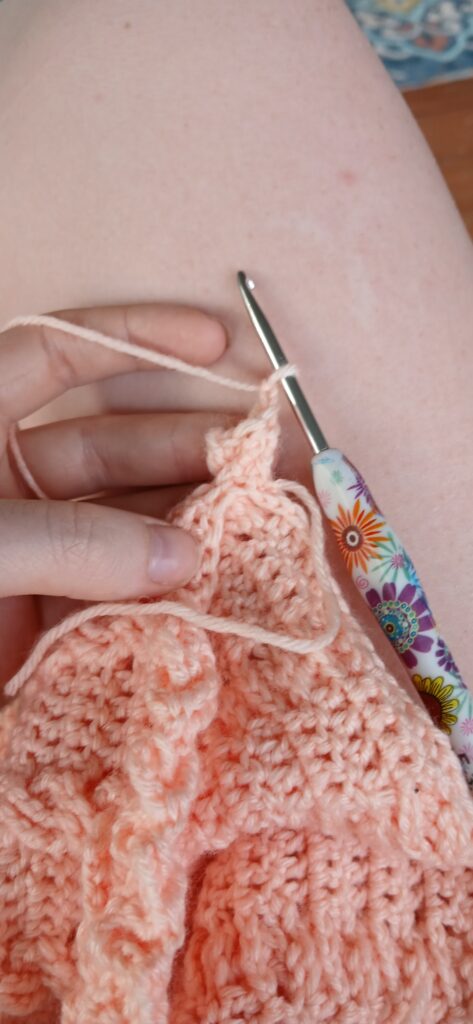
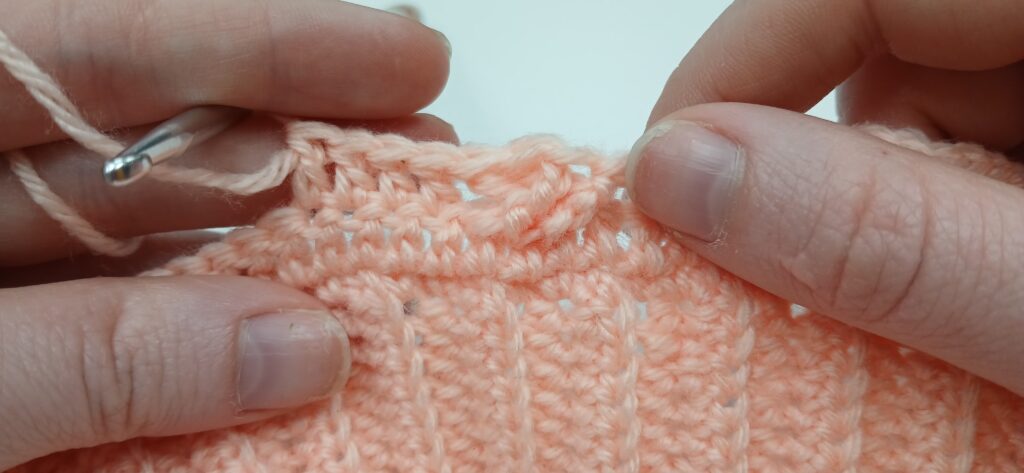
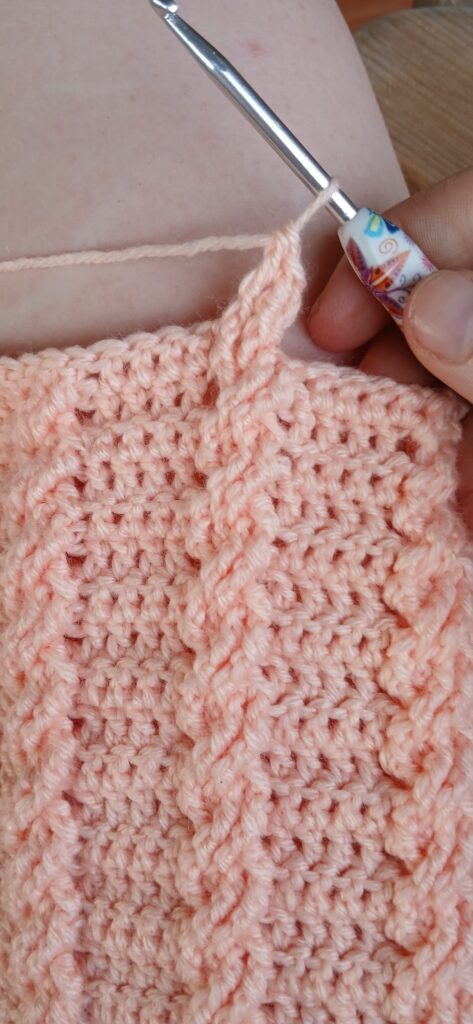
R2 – Turn your work and bpdc in each st (4)
Continue repeating rows 1 and 2 until you reach a comfortable length to your neck!
Collar
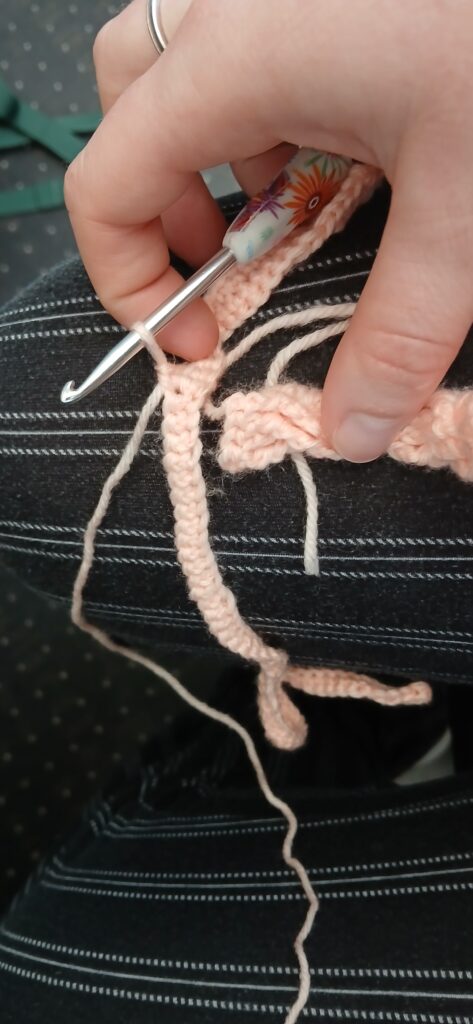
R1 – To begin the collar, you’re going to fsc until you have enough to comfortably wrap around your neck. Count how many sc you have. (I have 78 sc)
To get your braids centered, count how many braids you have. I have 9, so that means combined, I have 36 stitches. Minus the number of stitches you have from your braids from the number you have from your collar (My math was 78-36=42), now take the results and half them, the answer you get will be how many sc you begin the next row with.
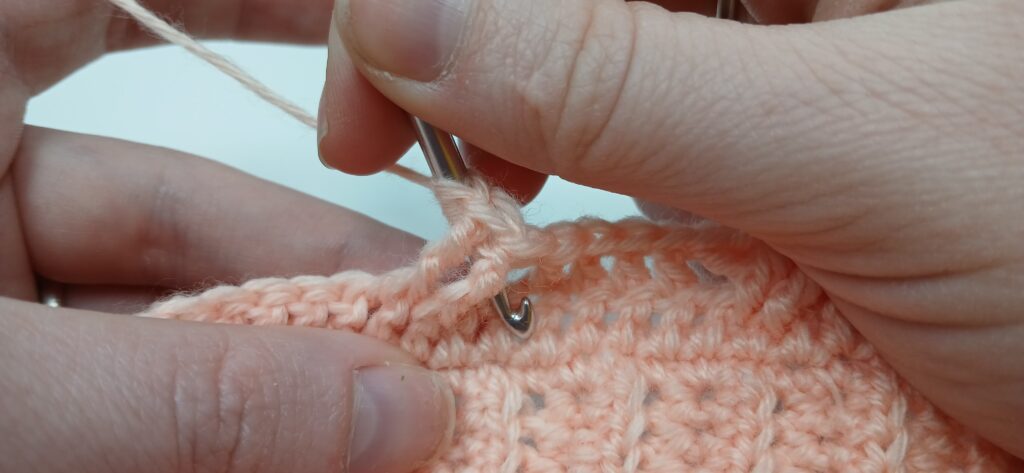
R2 – Ch 1, sc the number of stitches your results gave (mine is 21), then sc your braids to your collar (reference picture below). Once all braids are attached, continue sc until the last 3, ch 2, sk 2, sc in the last stitch. This creates your button hole. Sew your button on the other side of the collar.

Corset Edging
Attach your yarn to the side of your project at the top, ch 1, sc 1, *ch 2, sk 2, sc 8*. Continue repeating until you work your way down the side, make sure you end with a ch 2 space, even if its a tad bit closer or further apart than the others. Tie off and repeat on the other side.
Once you have completed your edging, crochet a chain that is long enough to tie your corset. I did 350 chains.
And that is it! All you have left is to weave in all your ends and wear it somewhere fun!
I hope you guys enjoyed making this pattern! Please tag me on any social post! I would love to see your finished item!
See you in the next post! <3