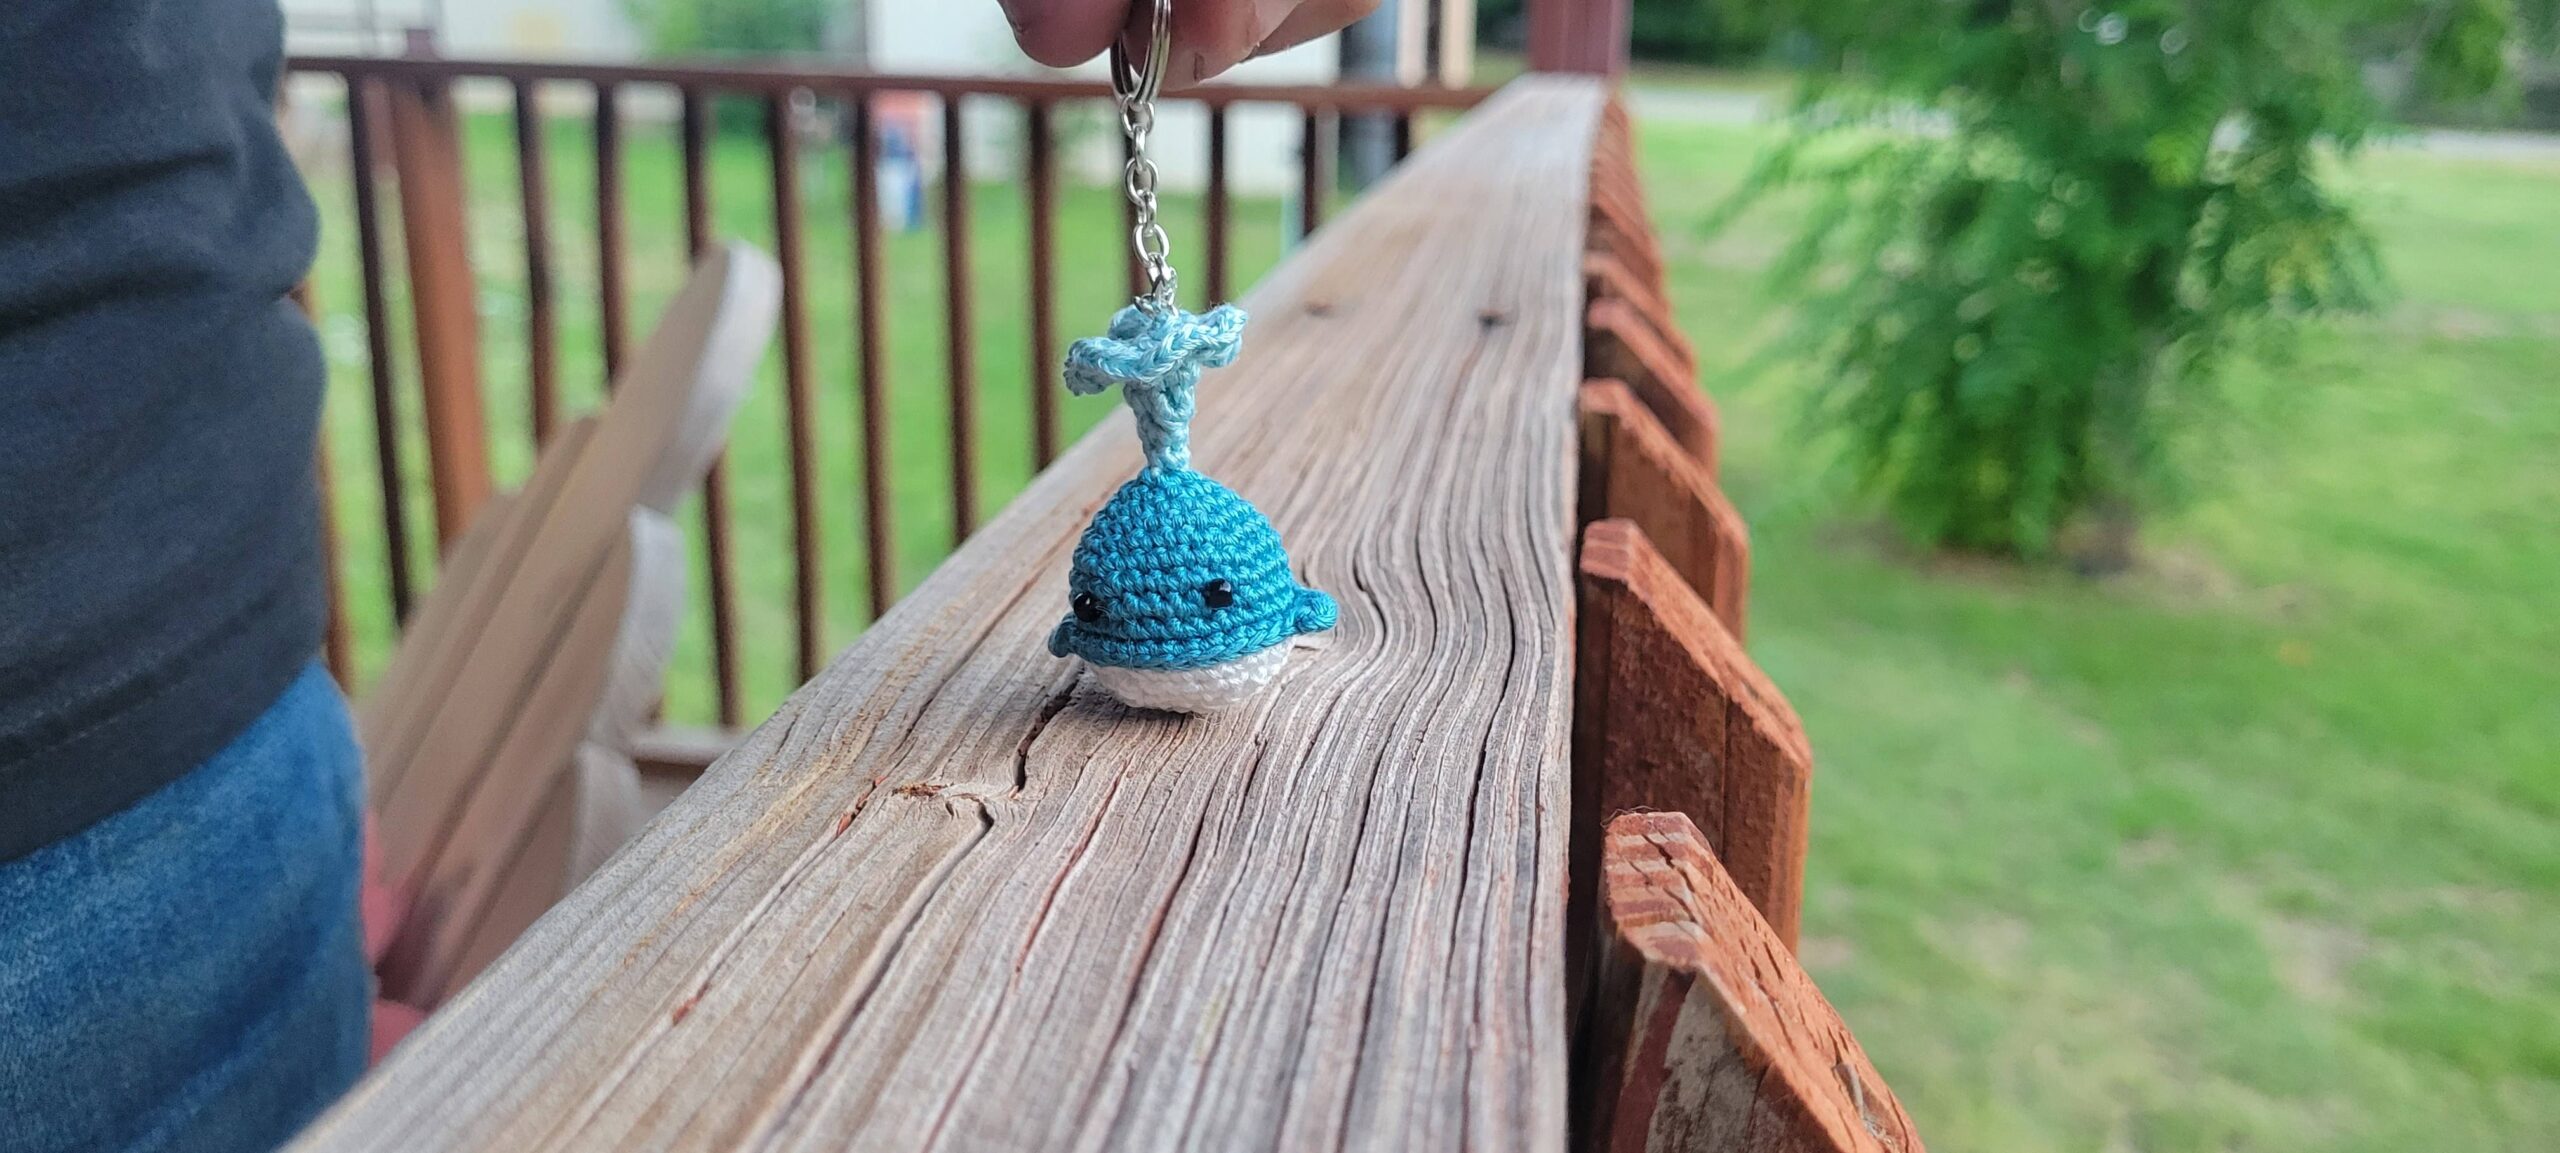
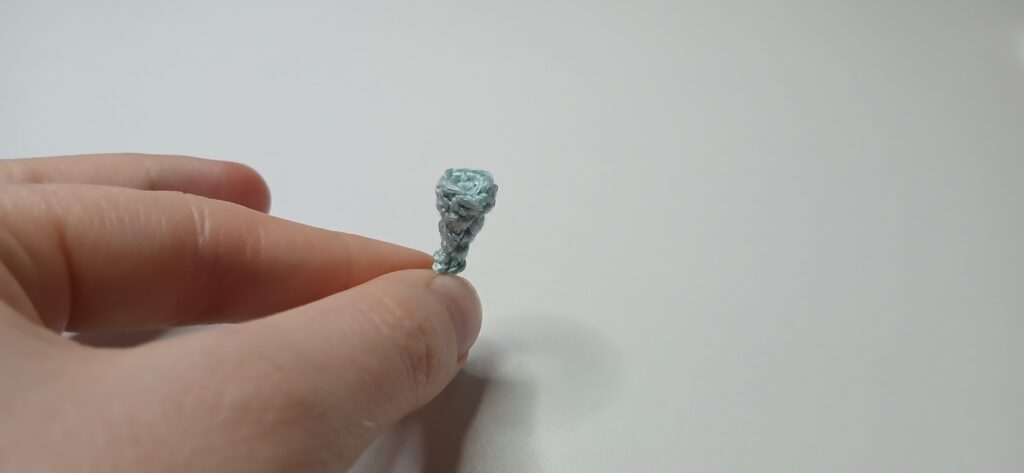
Make a splash with this adorable Micro Crochet Whale Pattern – the perfect tiny sea creature for your next whimsical project! This Micro Crochet Pattern features a sweet little whale with a playful water spout, making it a fun and unique design for amigurumi lovers, ocean-themed gifts, or miniature crochet collections. This pattern is best suited for beginner to intermediate crocheters comfortable working with fine thread and small hooks.

***This post may contains affiliate links. That means that if you make a purchase after clicking on a link I may earn a small commission at no extra cost to you.***
If you prefer downloading a PDF you can find it here on my Esty and Raverly:’
Etsy: https://shorturl.at/h7qDu
Ravelry: https://www.ravelry.com/patterns/library/micro-crochet-whale
Supplies:
- 1.5mm hook
- 3 different colors of embroidery thread
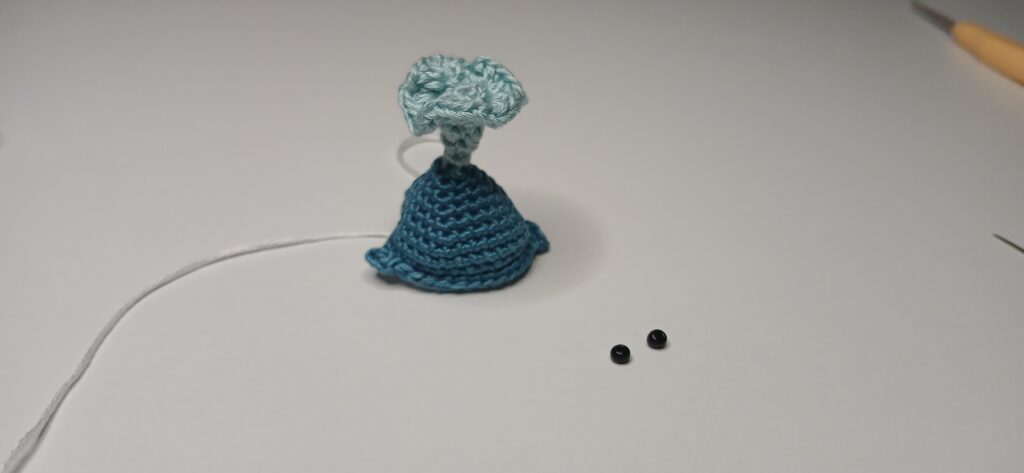
- 2 black seed beads
- Sewing needle
- Sewing thread
- Stitch marker
- Small amount of poly-fil
Stitches used (US terms):
- Ch – Chain
- Sc – Single crochet
- Slst – Slip stitch
- Hdc – Half double crochet
- Dc – Double crochet
- inc – Increase
- dec – Decrease
- flo – Front loop
- blo – Back loop
Let’s begin!
This project will be worked in rounds, so make sure you use stitch markers.
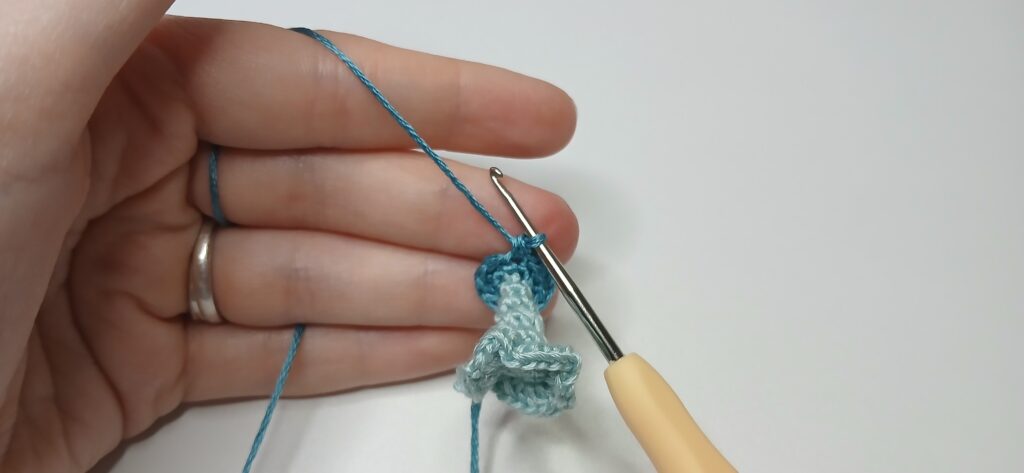
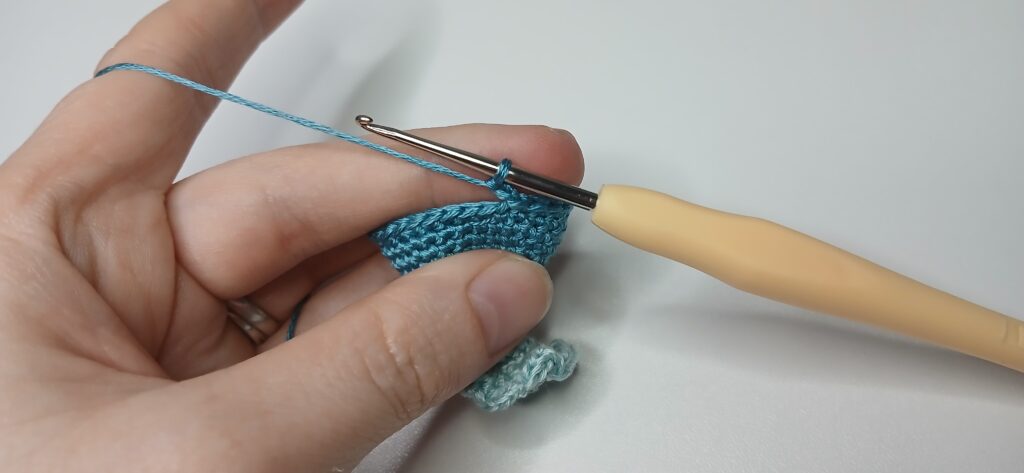
Water spout:
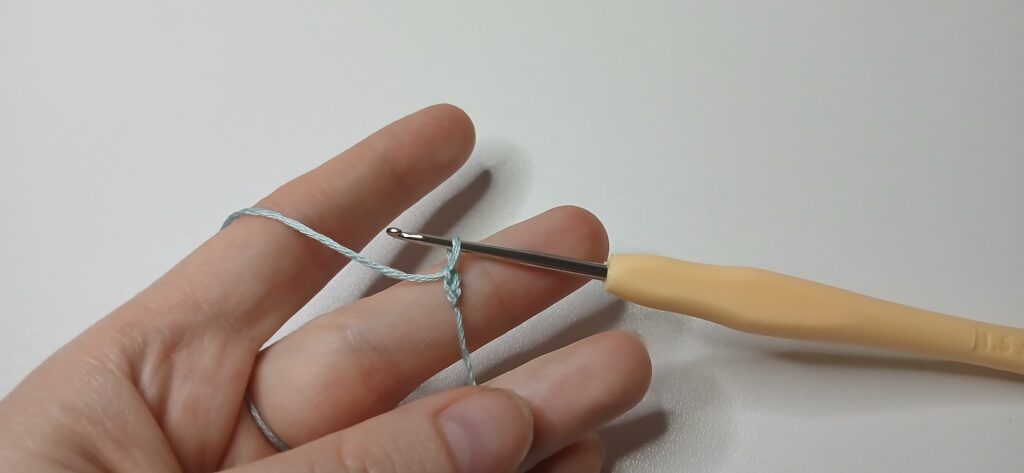
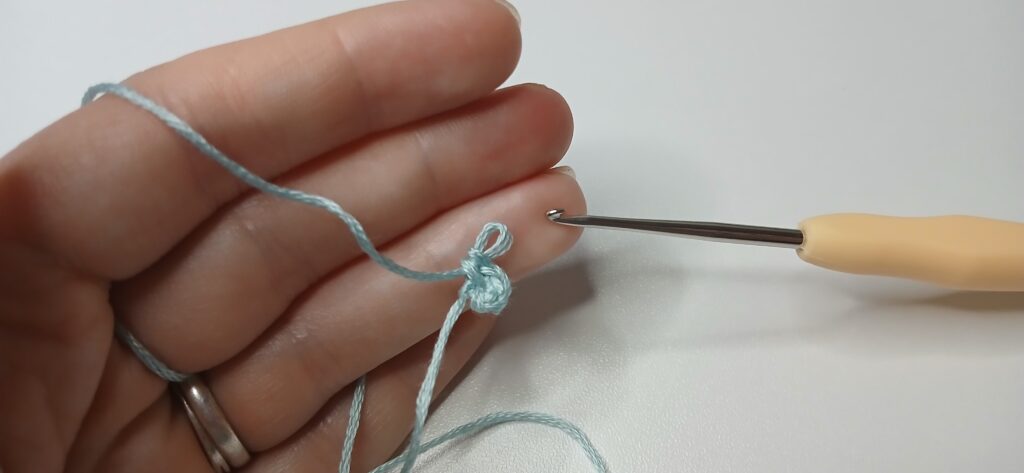
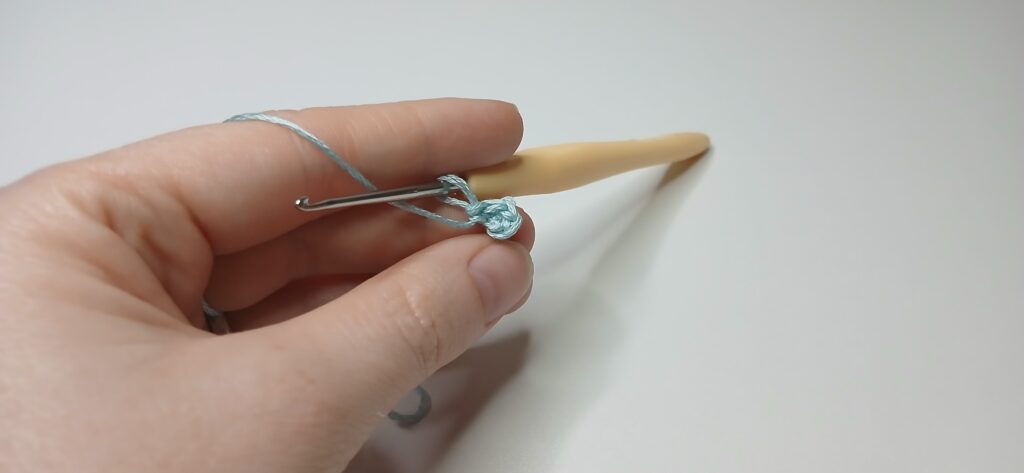
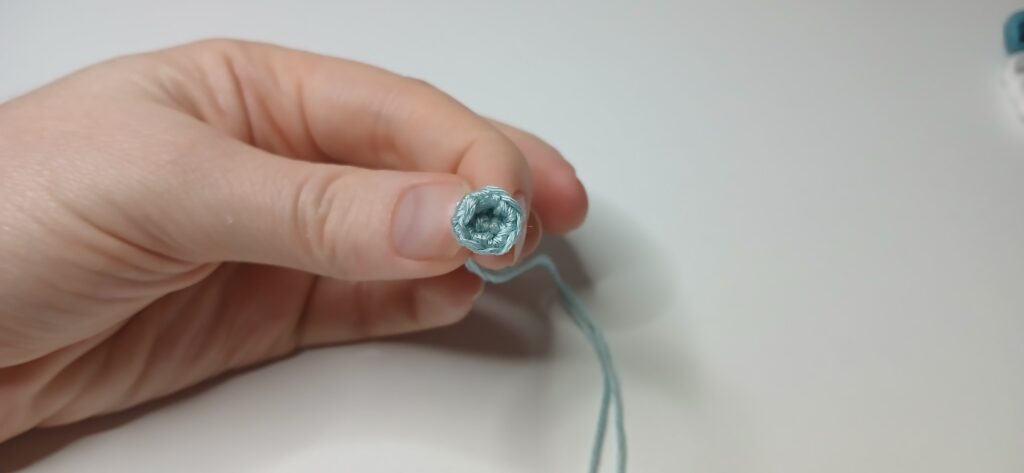
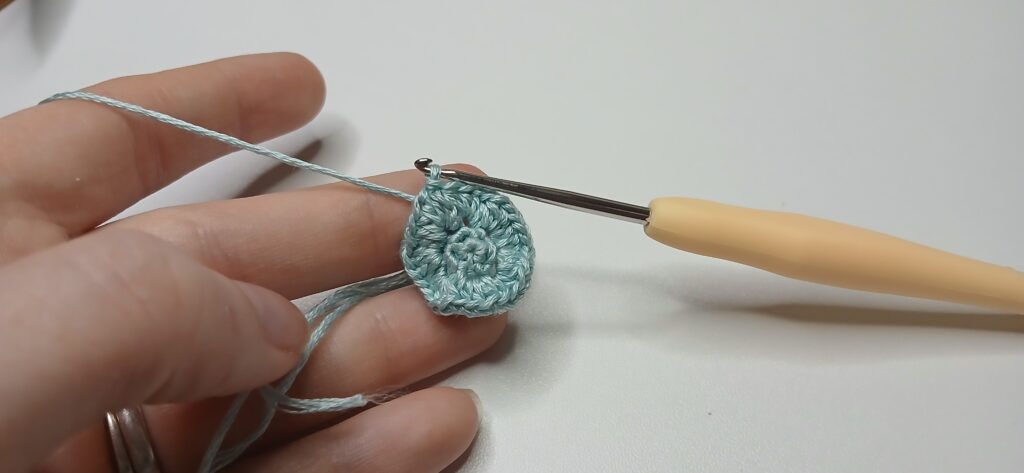
R1: We’ll begin with a Ch 2, sc 4 in the 2nd ch from hook (4)
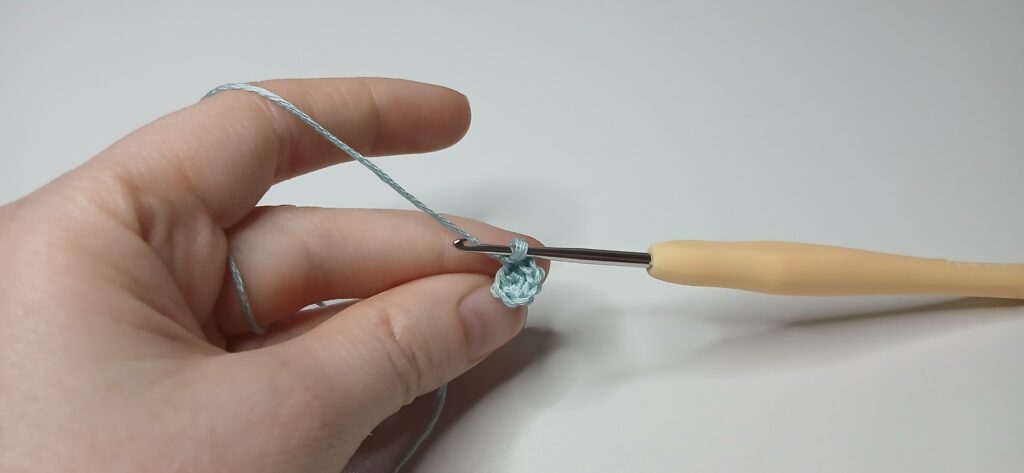
R2: Now find the front loop of your stitches and Flo sc inc in each st. (8)
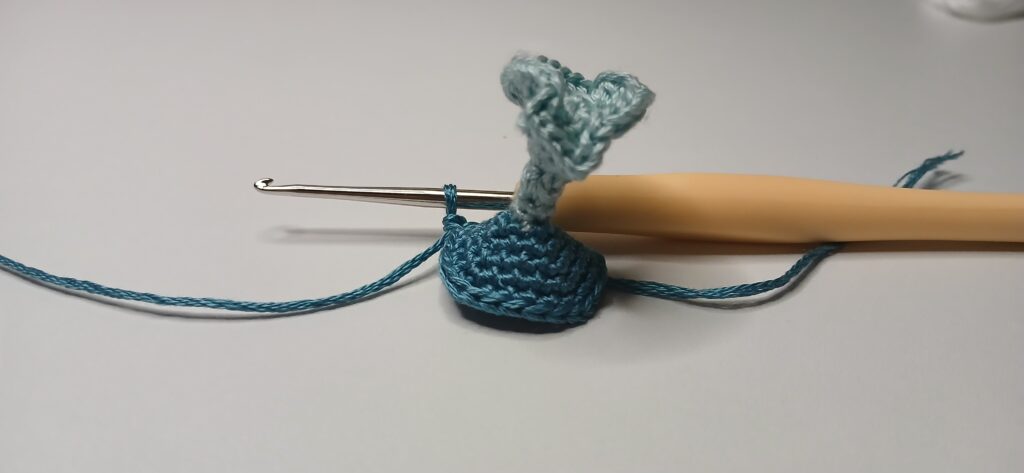
R3: Sc in the blo of each stitch, once you complete this row, use your hook to fold the third row over the second, this will form a small tunnel. (8)
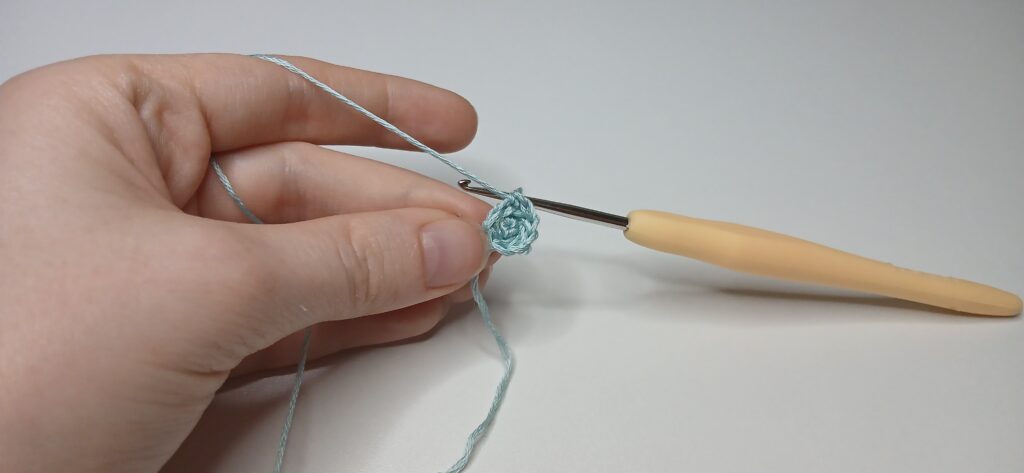
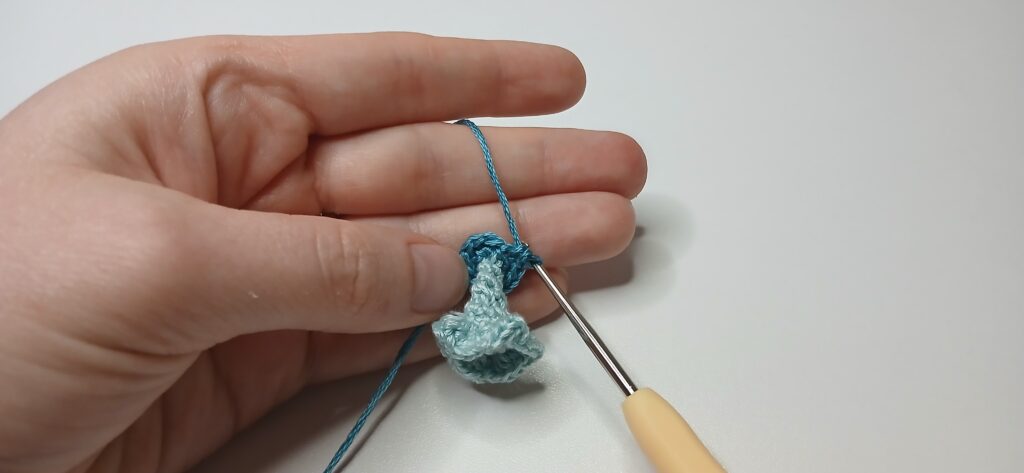
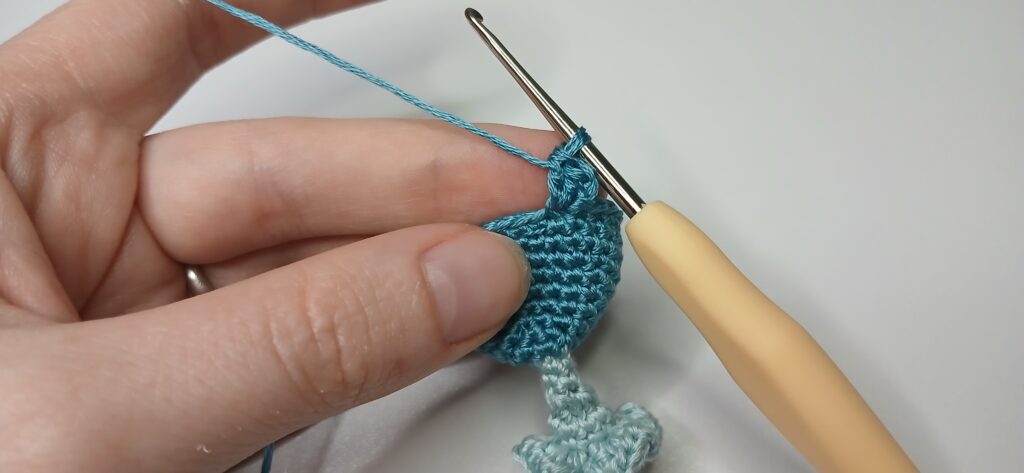
R4: Sc in each st. (8)

R5: Dec in each st. (4)
R6-7: Sc in each st. (4)
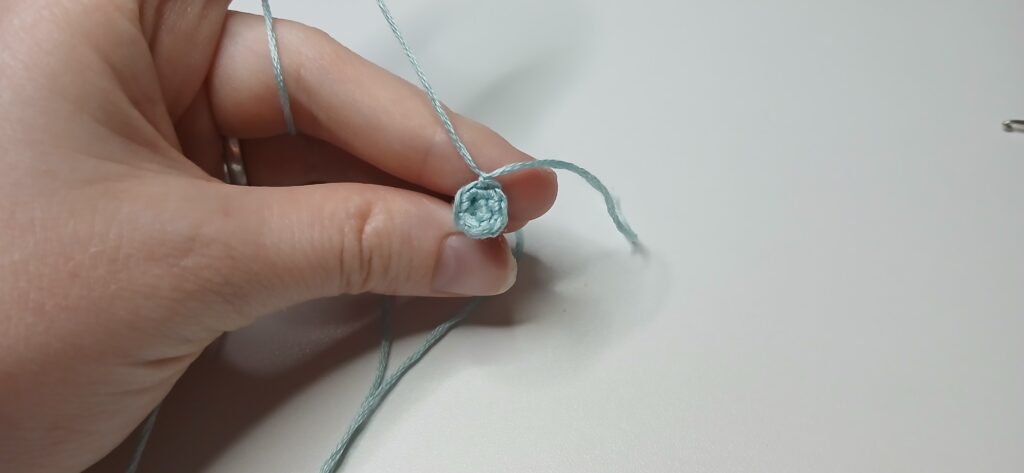
Tie off and weave your ends in.
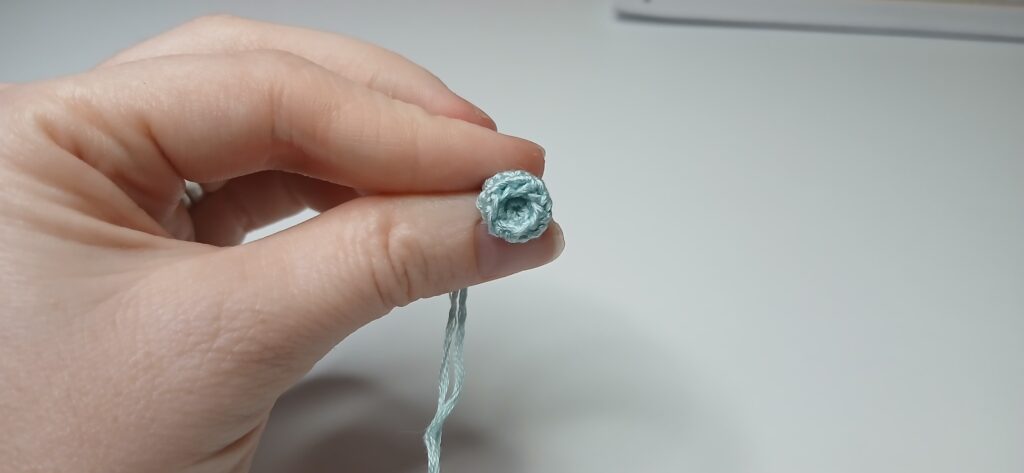
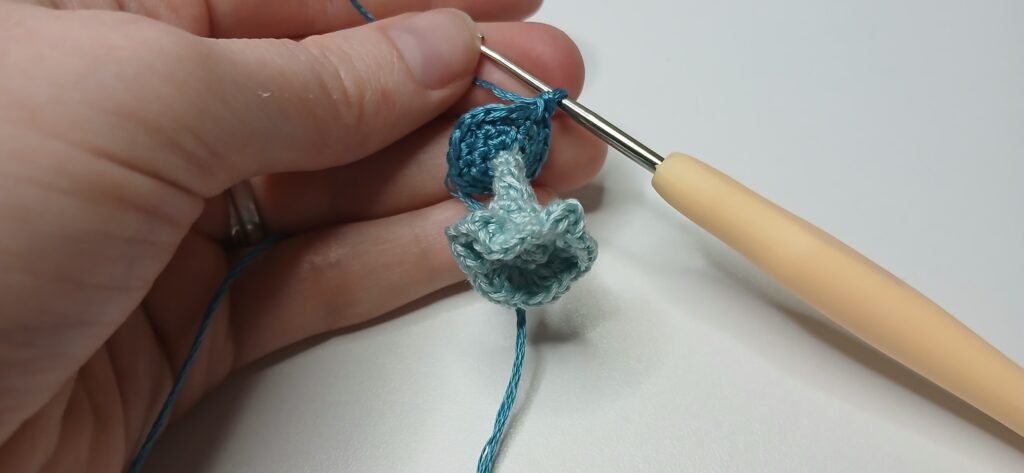
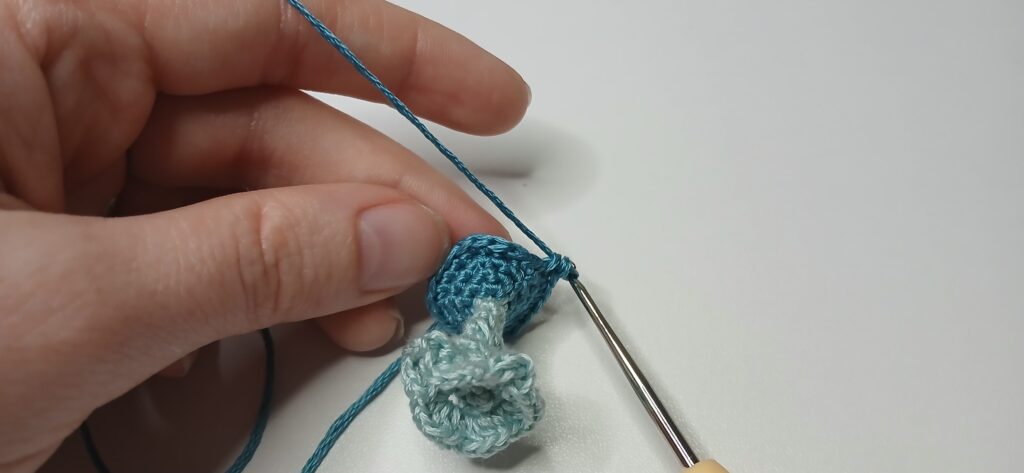
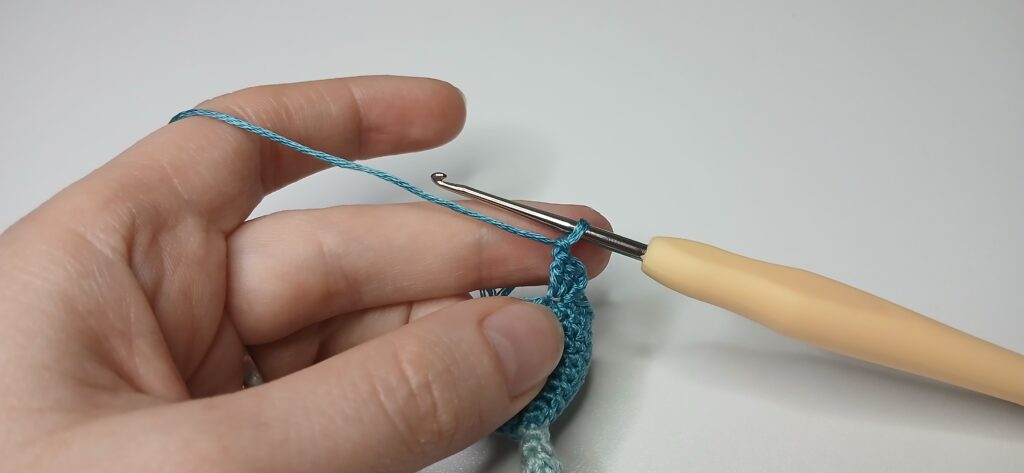
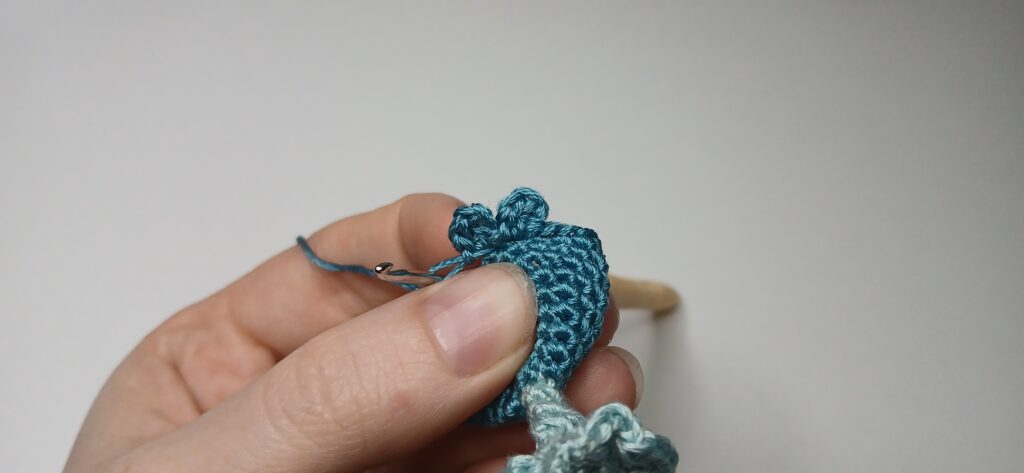
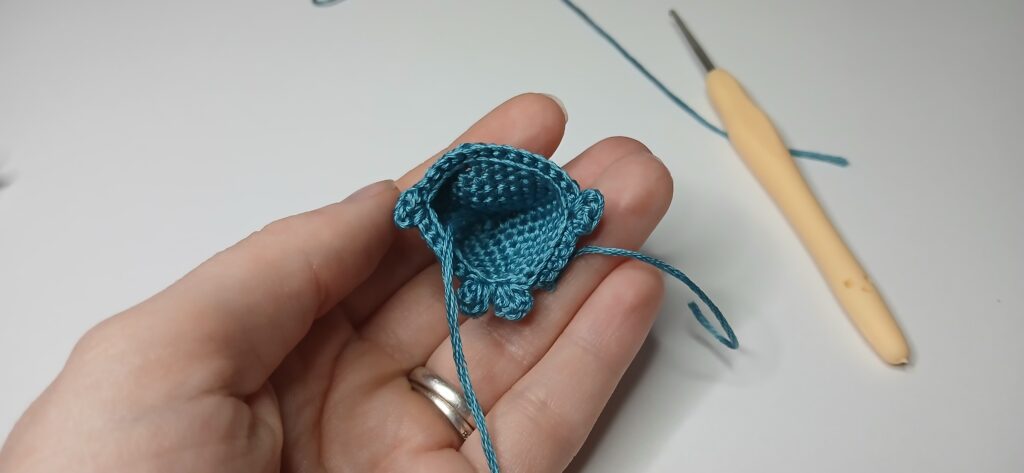
Now that you have finished the base of your water spout, find the unworked loops at the top and attach your yarn.
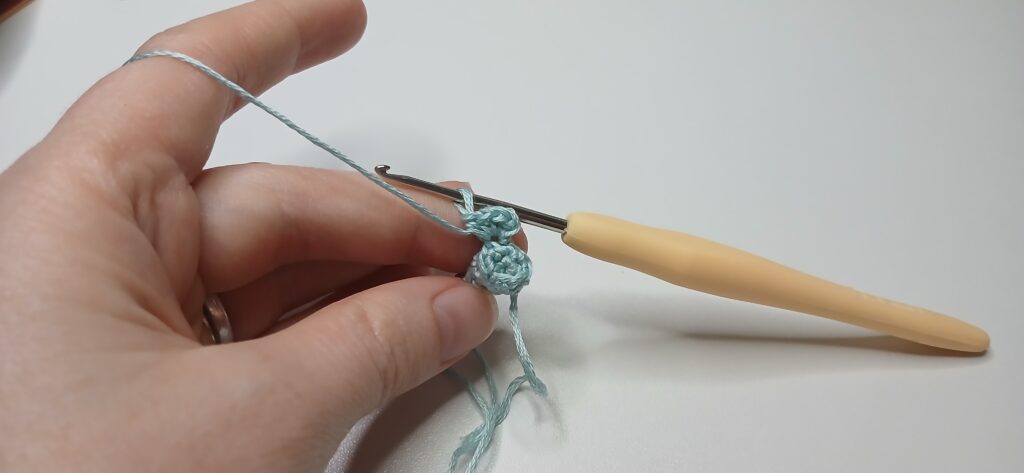
To make the ruffles of water, you’re going to place 4 hdc in each available loop; you should end with 32 hdc’s. (32) Upon completing your hdc, slst into the first hdc you made and tie off.
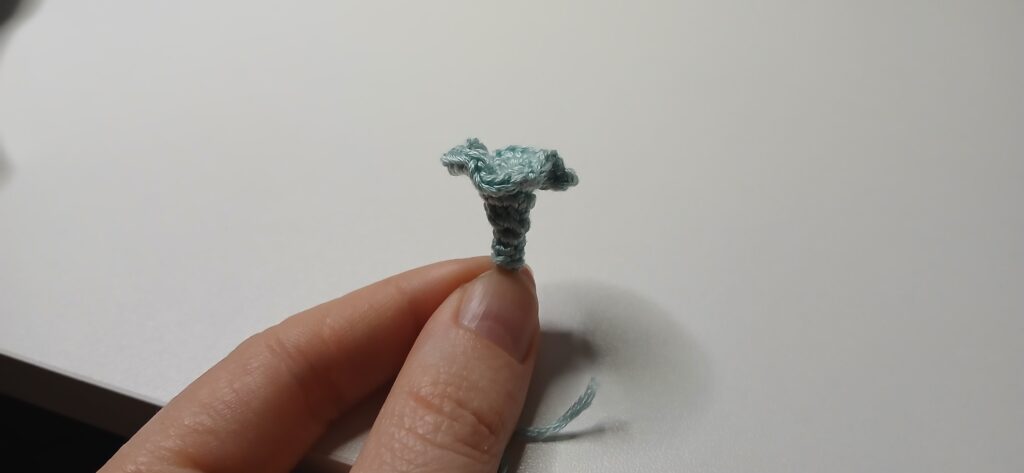
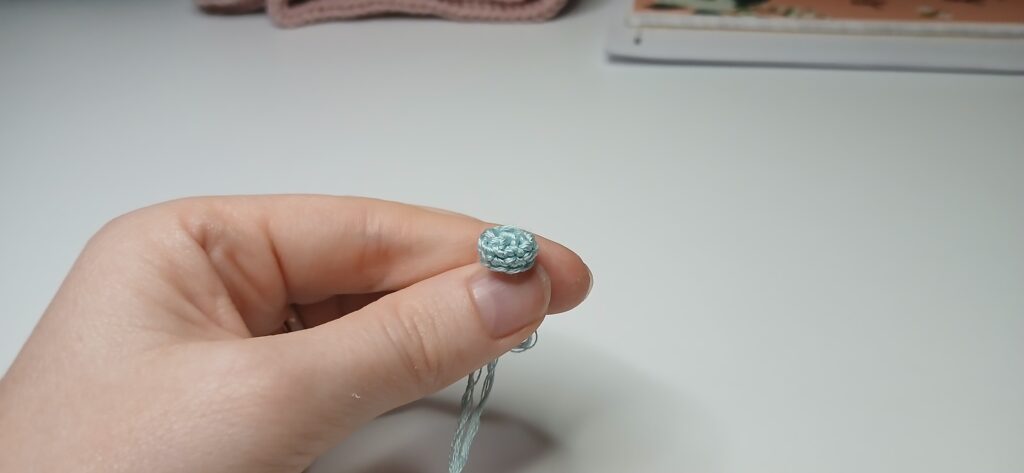
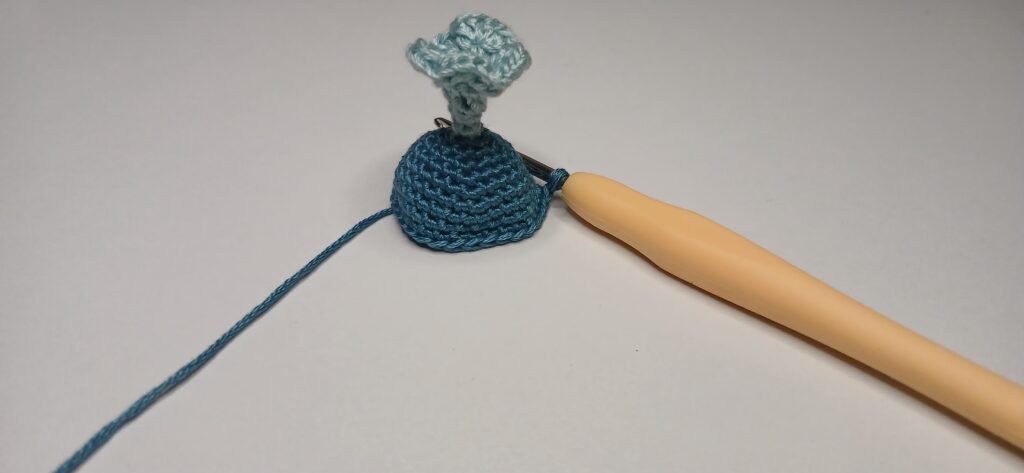
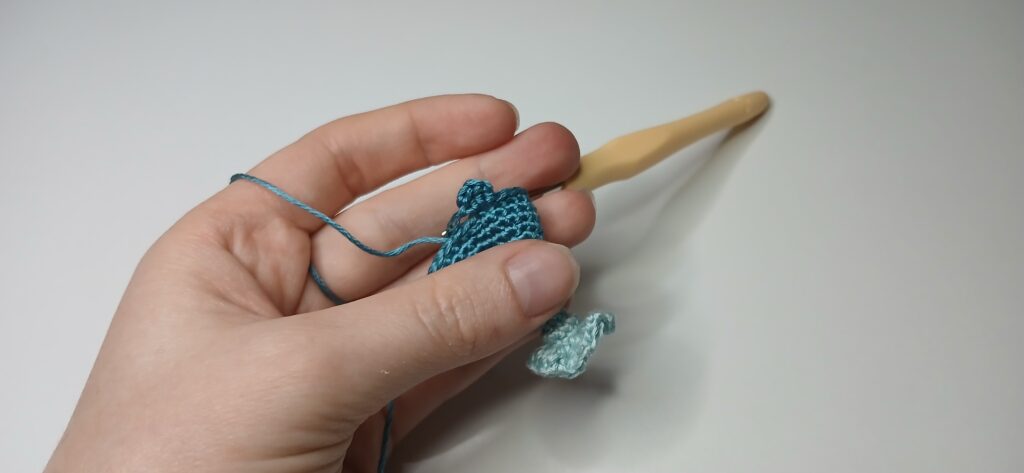
Congrats, your water spout is complete. Let’s move on to the whale!
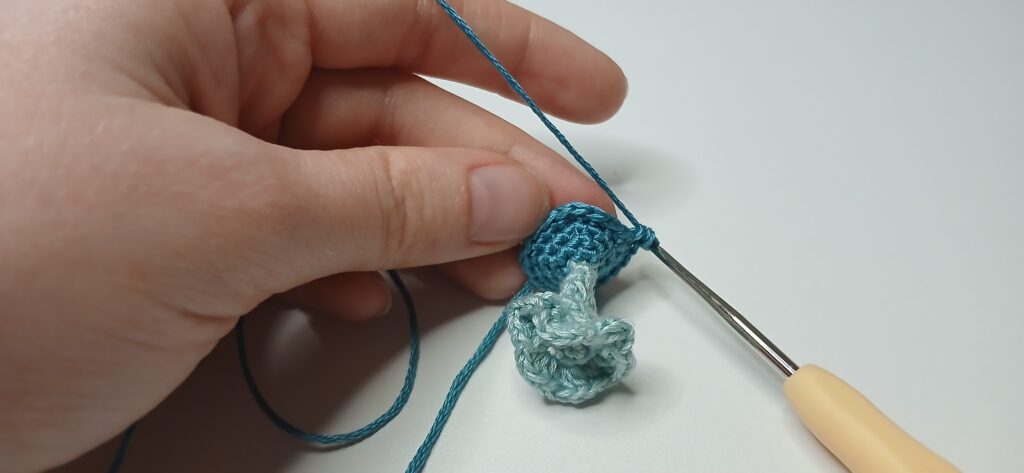
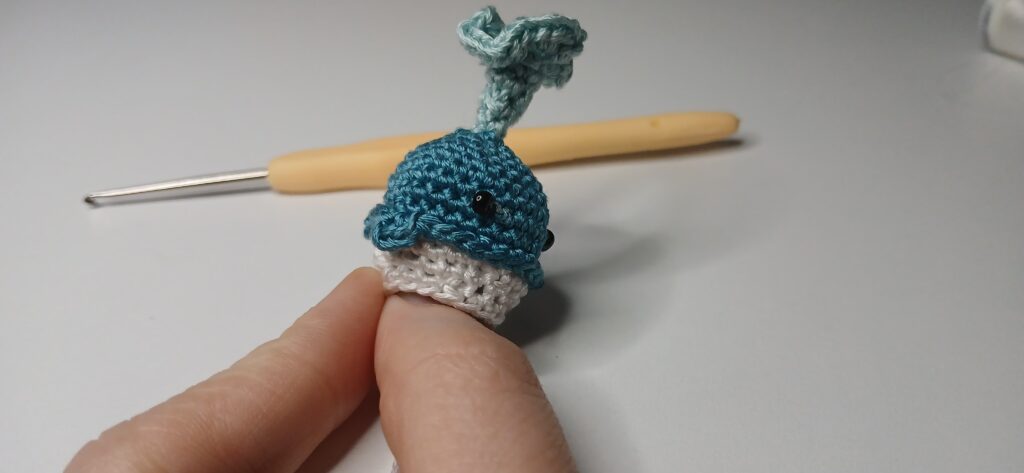
Whale
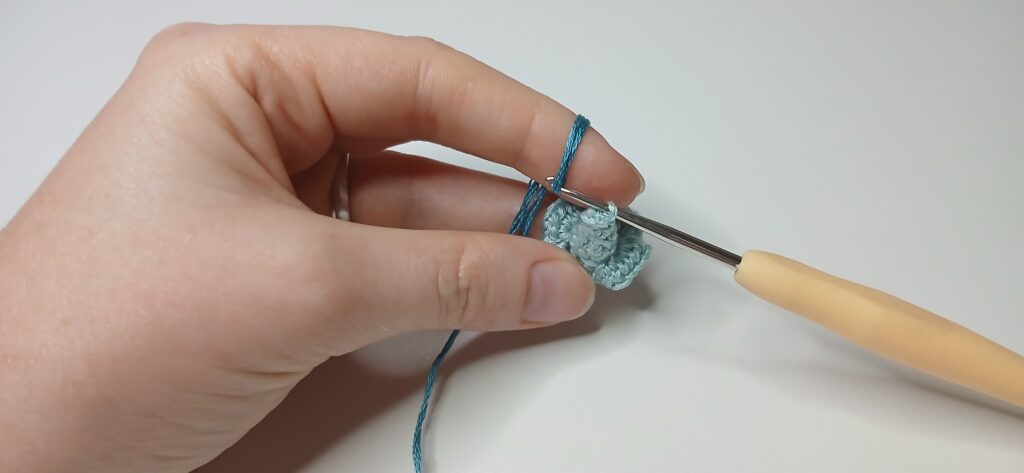
To begin the whale, grab your dark blue thread (or whatever you want the head’s color to be) and attach it to the bottom of your spout of water.
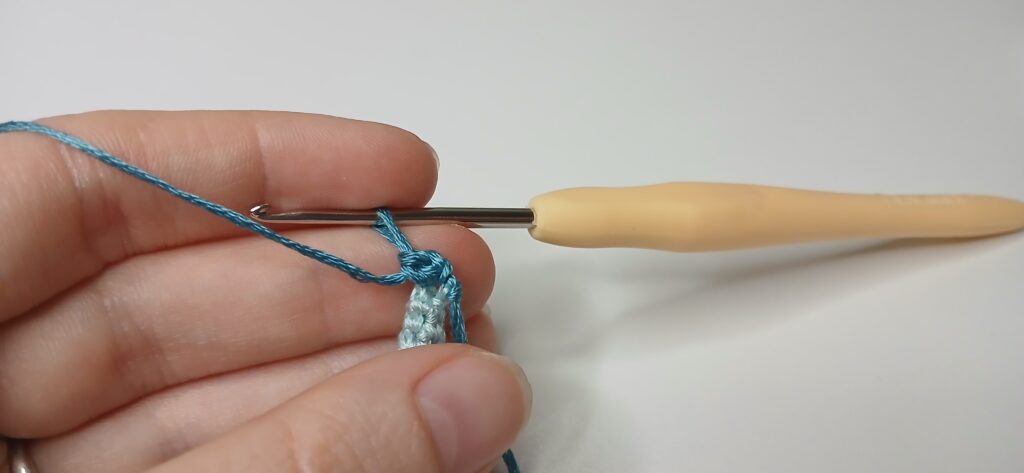
R1 – *Sc inc in the flo of each st* Repeat ** 3 more times (8)


R2 – *Sc, inc* Repeat ** 3 more times (12)
R3 – *Sc 2, inc* Repeat ** 3 more times (16)
R4 – *Sc 3, inc* Repeat ** 3 more times (20)
R5 – *Sc 4, inc* Repeat ** 3 more times (24)
R6 – *Sc 5, inc* Repeat ** 3 more times (28)
R7-9 – Sc in each st for a total of 3 rounds (28)
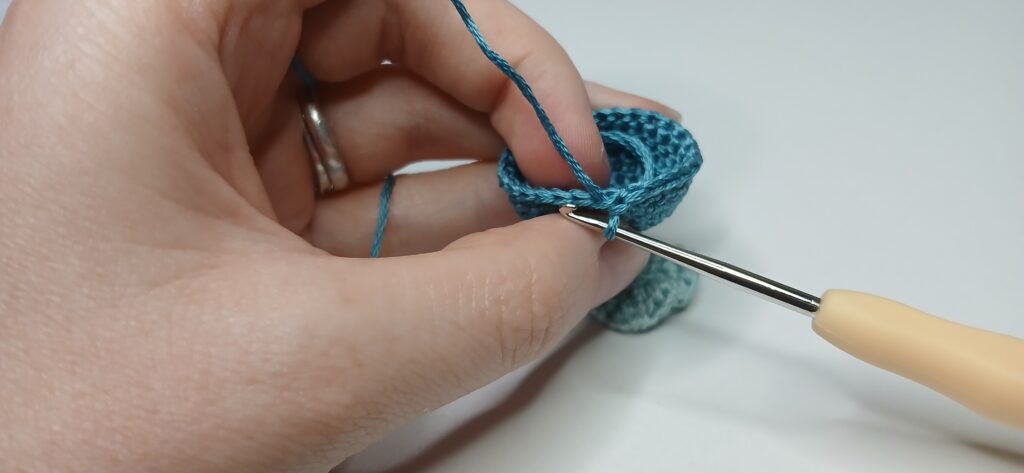
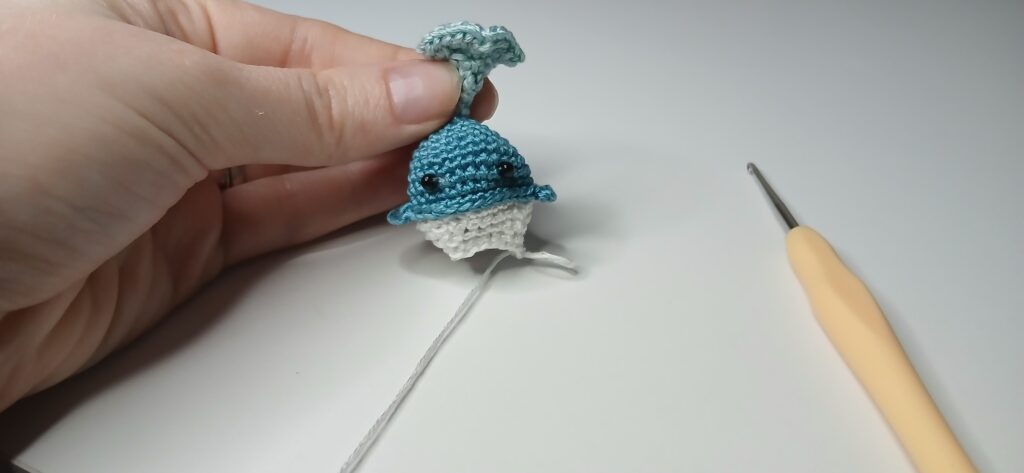
R10 – This round will be worked in the Front Loops! *Slst in next st, ch 2, dc 2 in the same flo you slst into, ch 2 and slst in same stitch.* Repeat ** in next st. This made your whale’s tail
(Now to make the fin) Sc 5, Slst in next st, ch 1, hdc 2 in the same flo you slst into, ch 1 and slst into same stitch.
Sc 13,
(Now to make the 2nd fin) Slst in next st, ch 1, hdc 2 in the same flo you slst into, ch 1 and slst into same stitch.
Sc 5 and tie off.
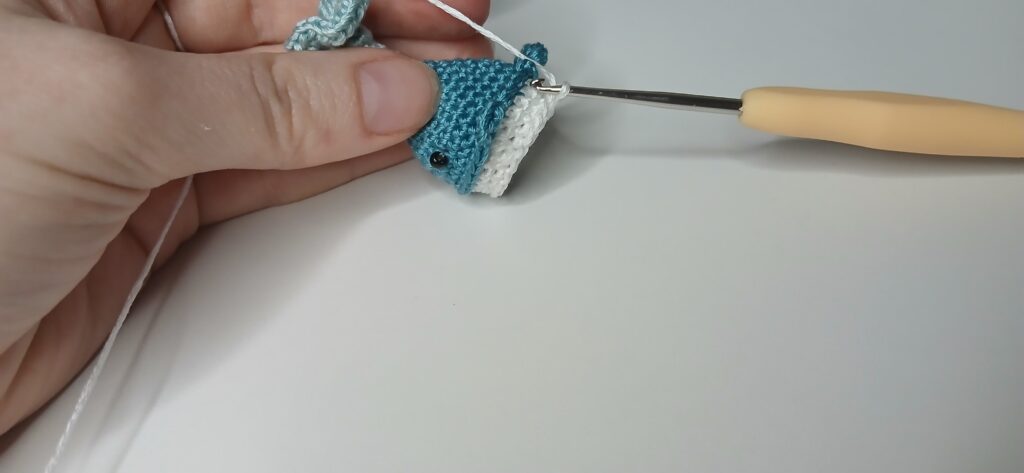
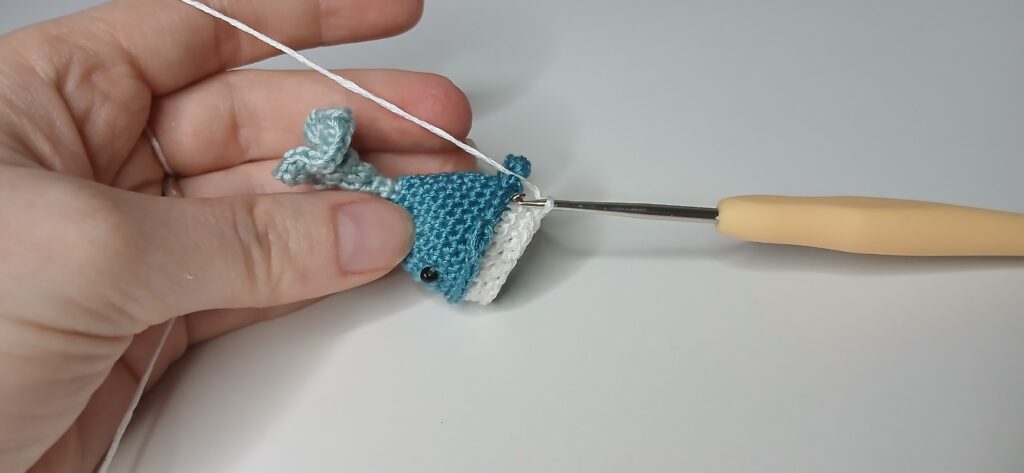
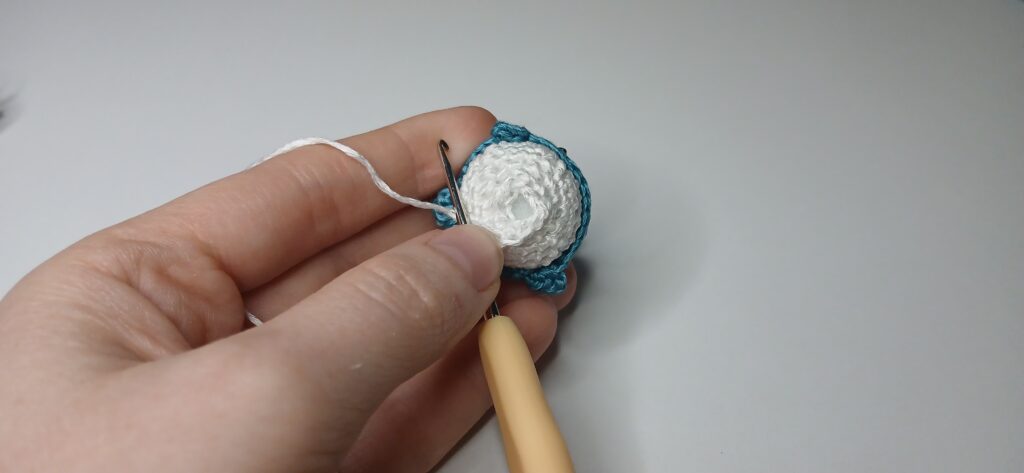
R11 – To begin the bottom of your whale, grab your next color and attach it to the unworked blo sts, place a sc in each st. (28)
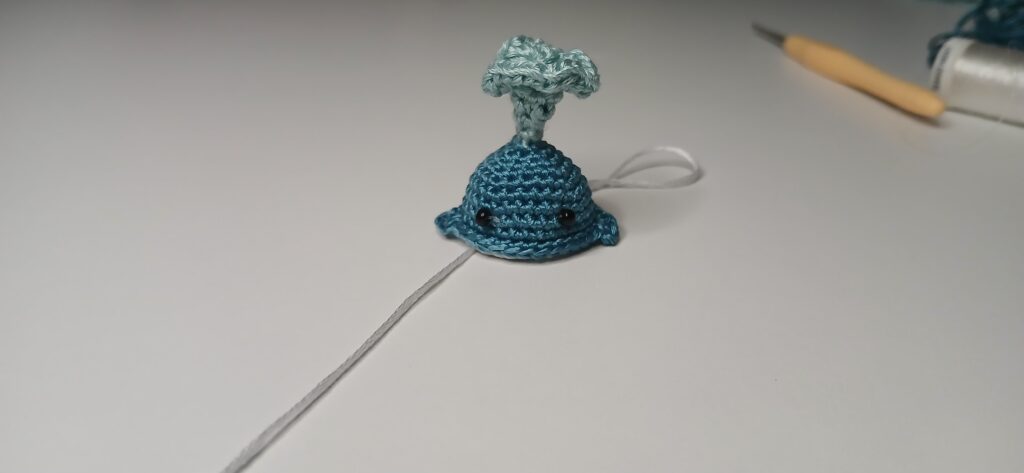
At this point, it would be a good idea to sew on your eyes. I placed mine in row 8, with 5 sts between the eyes.
R12 – *sc 5, dec* Repeat ** 3 more times. (24)
R13 – *sc 4, dec* Repeat ** 3 more times. (20)
R14 – *sc 3, dec* Repeat ** 3 more times. (16) I would start stuffing your whale here; I used regular poly-fil.
R15 – *sc 2, dec* Repeat ** 3 more times. (12)
R16 – *sc 1, dec* Repeat ** 3 more times, tie off and sew your hole closed. (8)
Now that you have completed your whale, you could make a chain for a keychain loop or attach a metal chain with a keyring like I did in the beginning image.
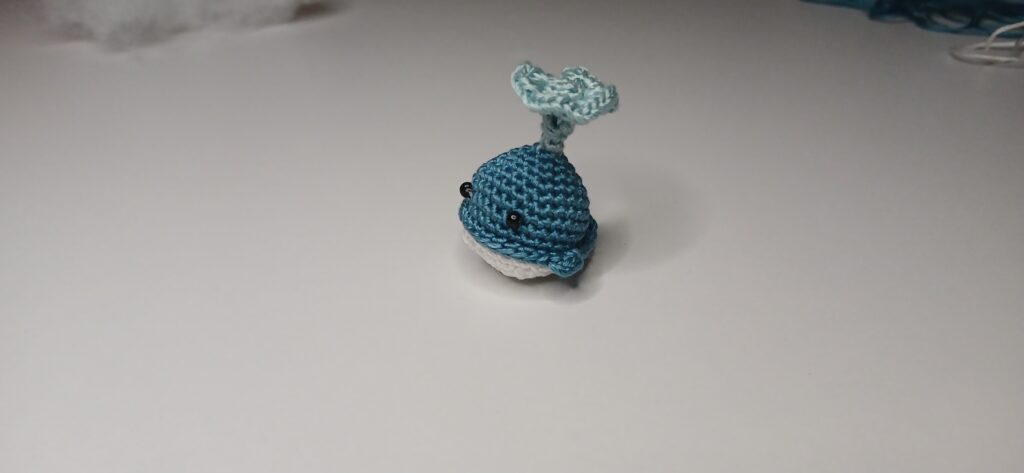
Your whale is finished! I hope you enjoyed making this as much as I did! I’ll see you guys in the next one.