Learn how to crochet a half-double crochet stitch in the back loop with this easy beginner’s guide. Includes photos, video and clear instructions for first-time crocheters! I will teach you how to do the half double crochet in the back loop, as I prefer the look.

***This post contains affiliate links. That means that if you make a purchase after clicking on a link I may earn a small commission at no extra cost to you.***
Let’s get started! ~
What you’ll need :
- Weight 4 acrylic yarn (I use ‘I love this yarn’ from hobby lobby)
- 6mm crochet hook
- Scissors
- Tapestry needle
- Tape measure
For those of you who already know how to do this stitch but want to make this square –
- Ch 25
- Half double crochet in the 3rd ch from hook and across (23) Ch 2 and turn.
- Place a half double crochet in the back loop of each stitch for a total of 14 rows.
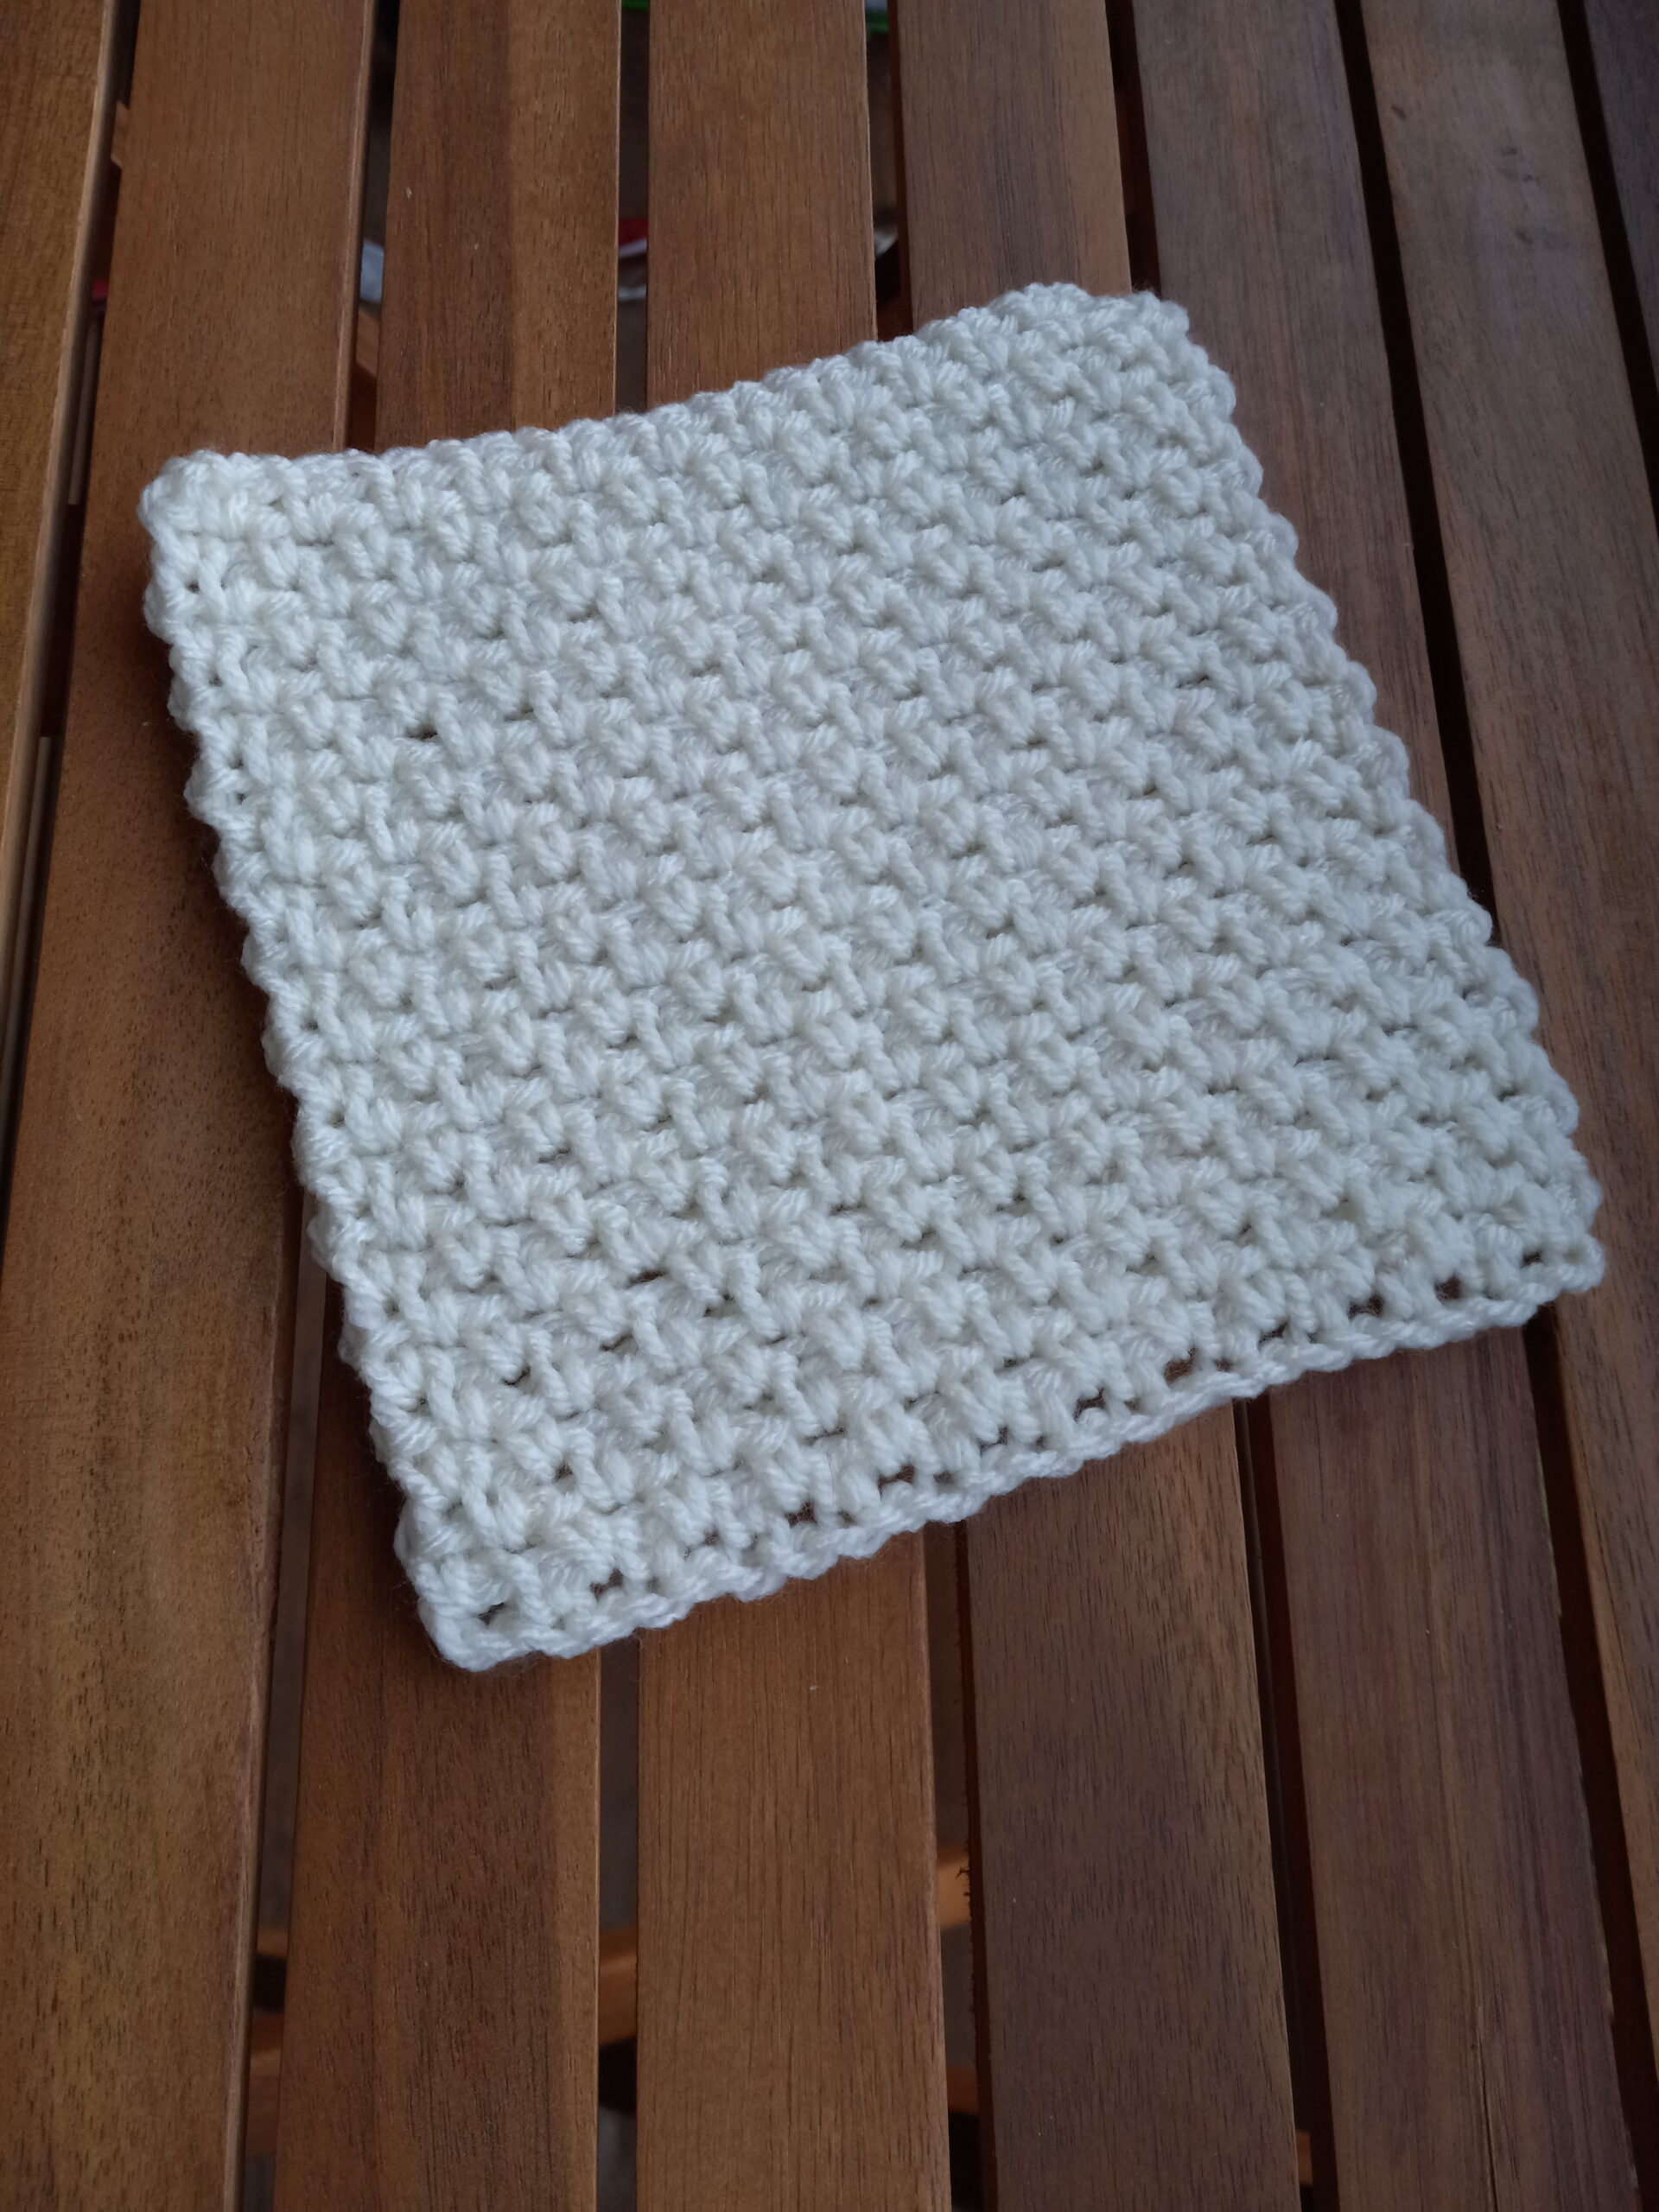
Once you have finished your square, tuck your ends and you’re finished!
Now for my beginners!
If you prefer to follow a video tutorial, you can check out mine on my YouTube page!
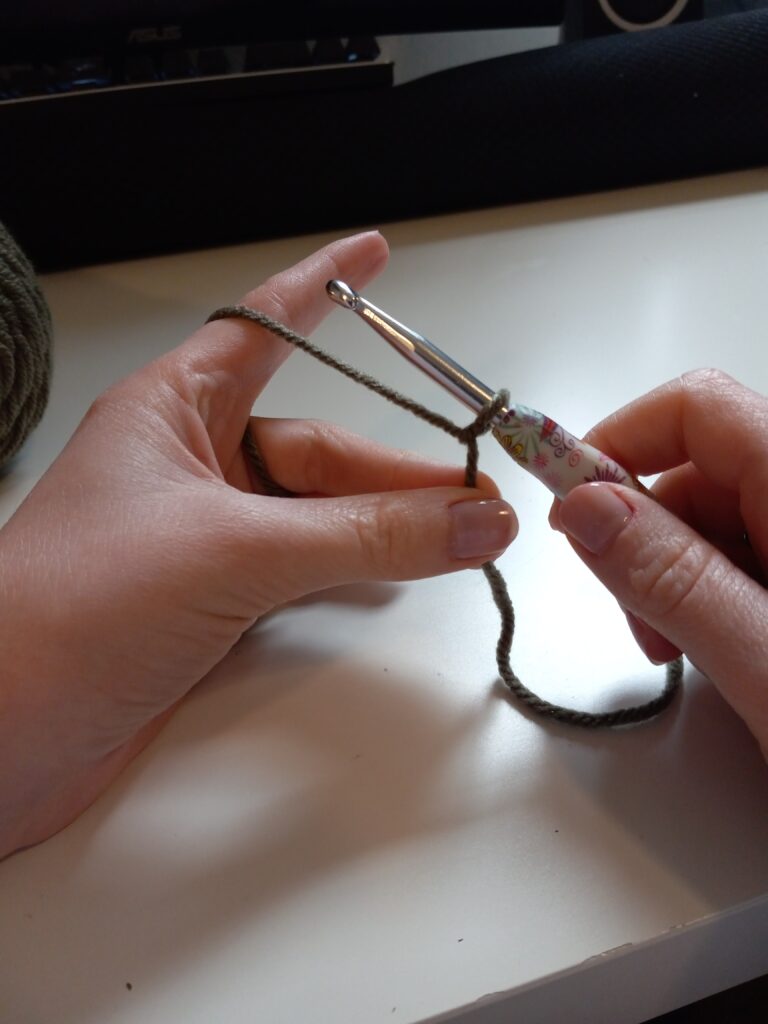
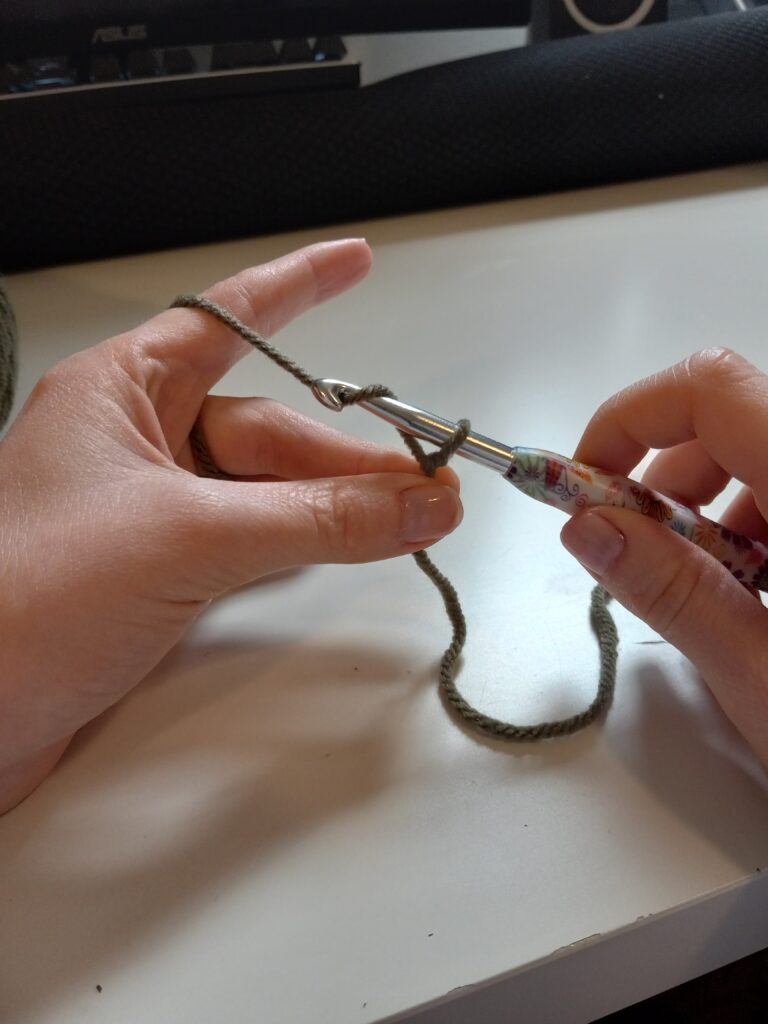
You will start with a Chain of 25!


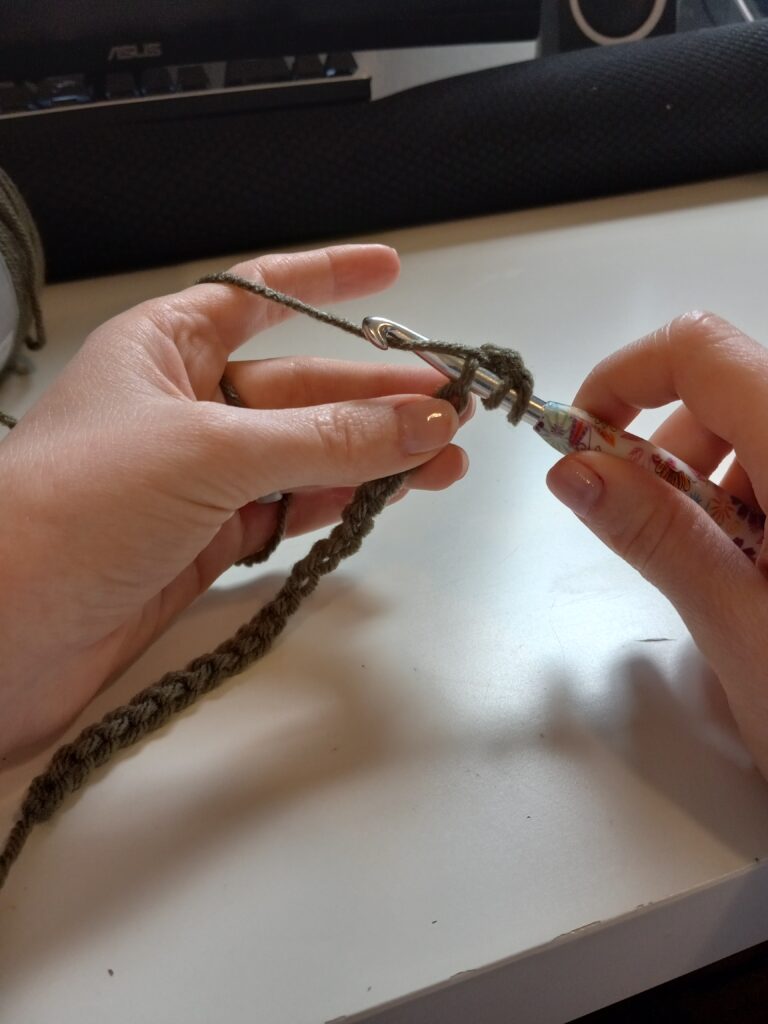
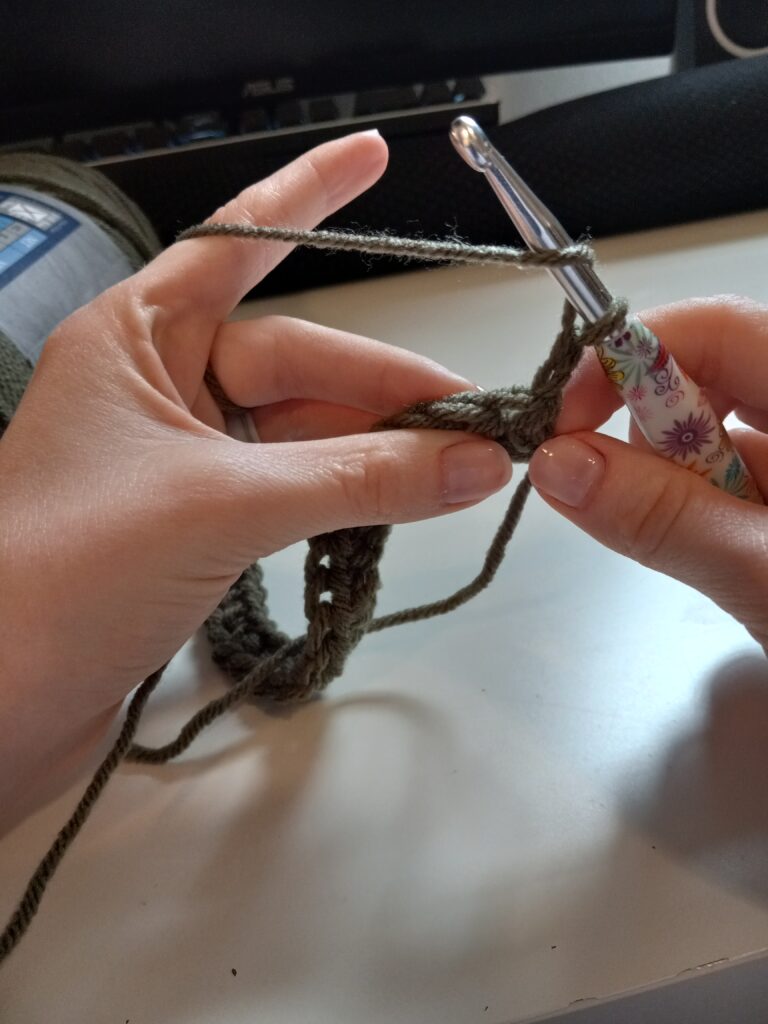
First you will find the 3rd chain from your hook, (the loop on your hook does not count as a chain) push your hook into the 3rd chain and wrap your hook with your working yarn. Pull through the first loop, wrap your hook once again and pull through all three loops. You’ve completed your first half double crochet!
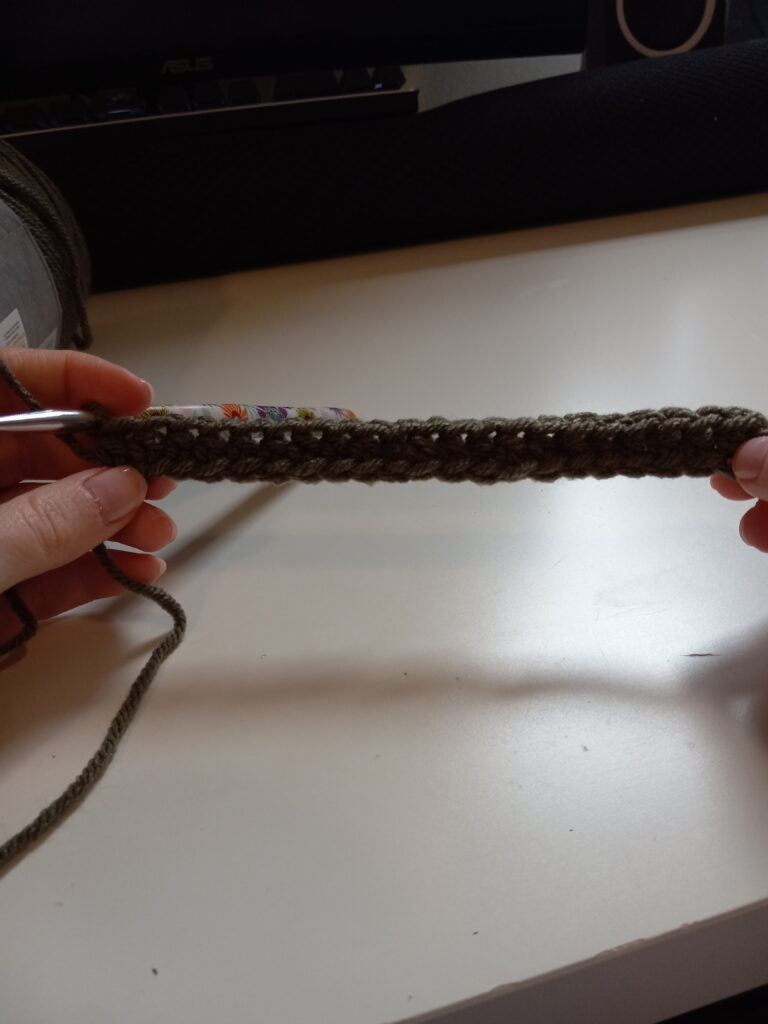
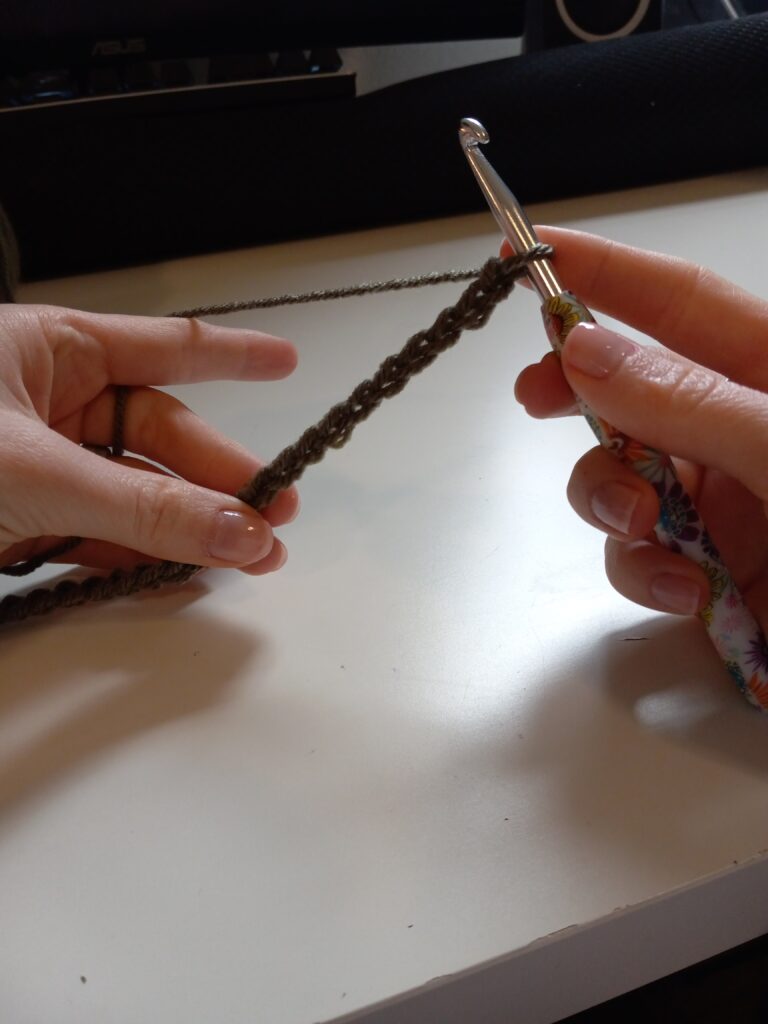
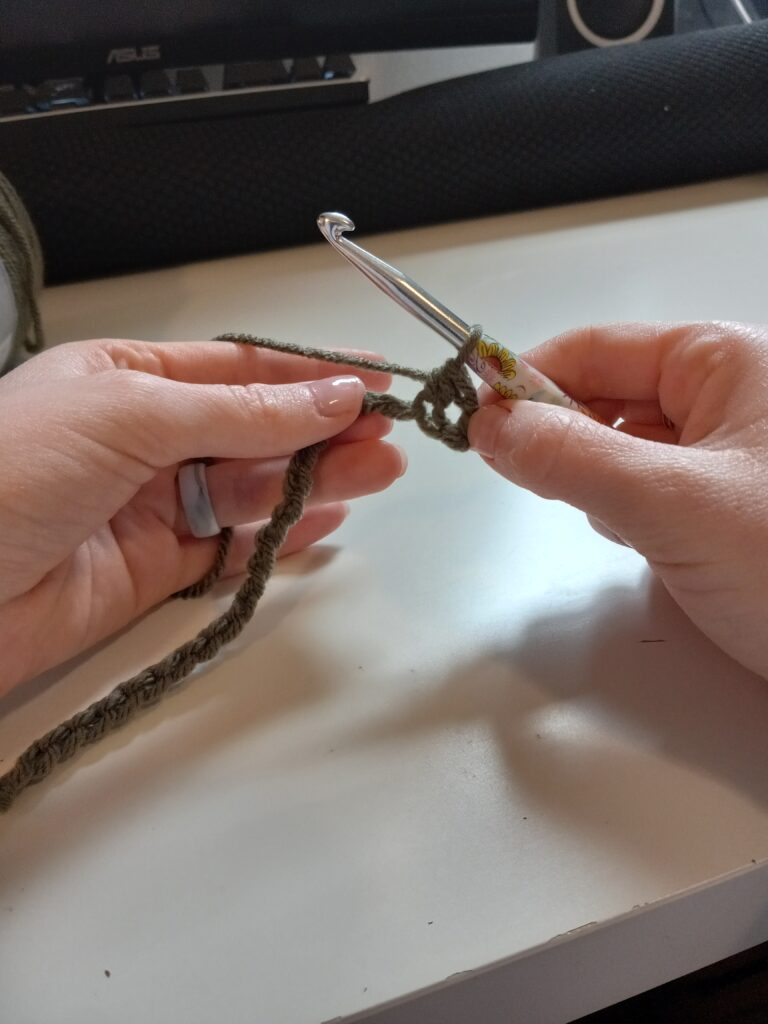
Now you will continue repeating that process until you have a total of 23 half double crochets.
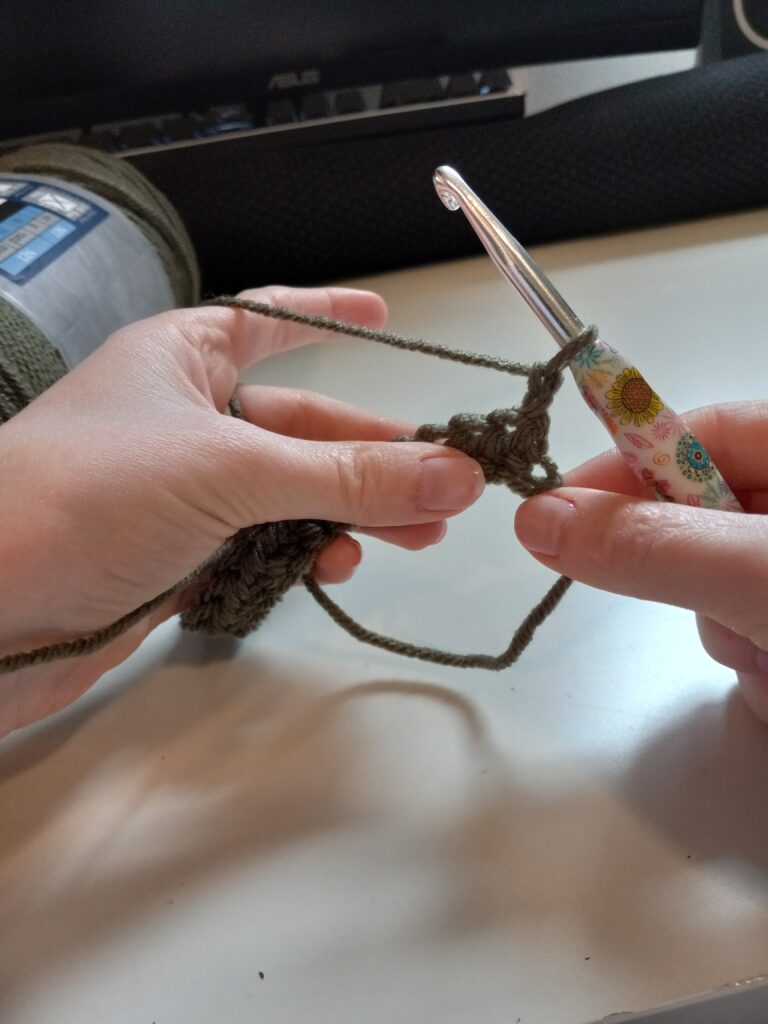
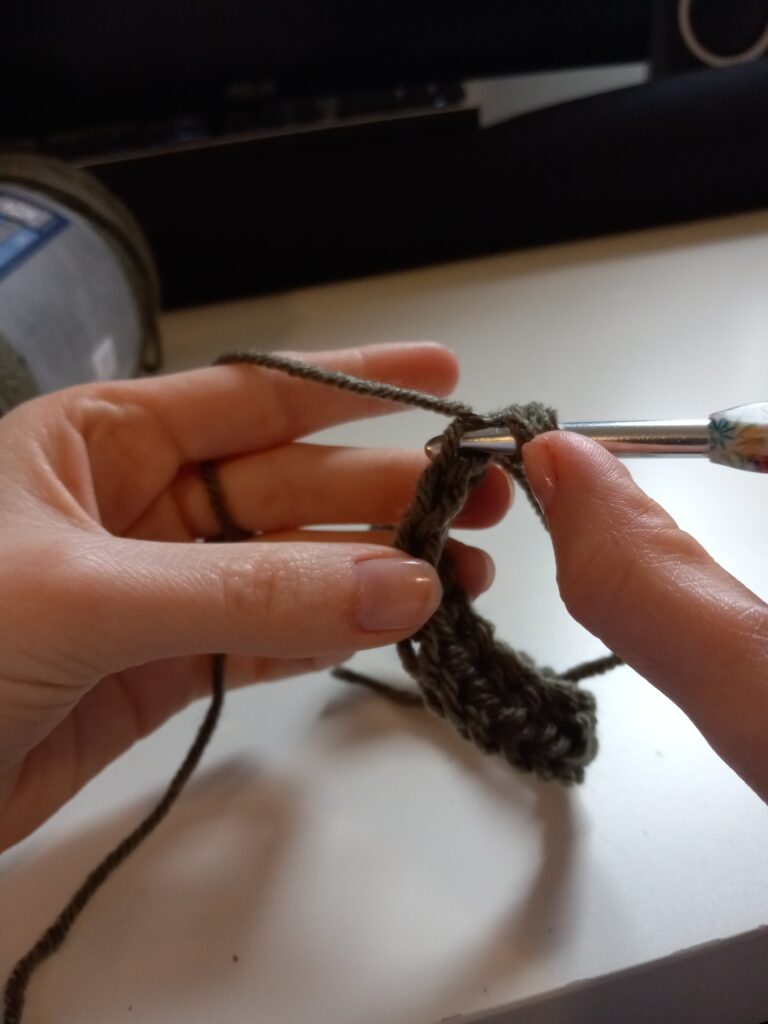
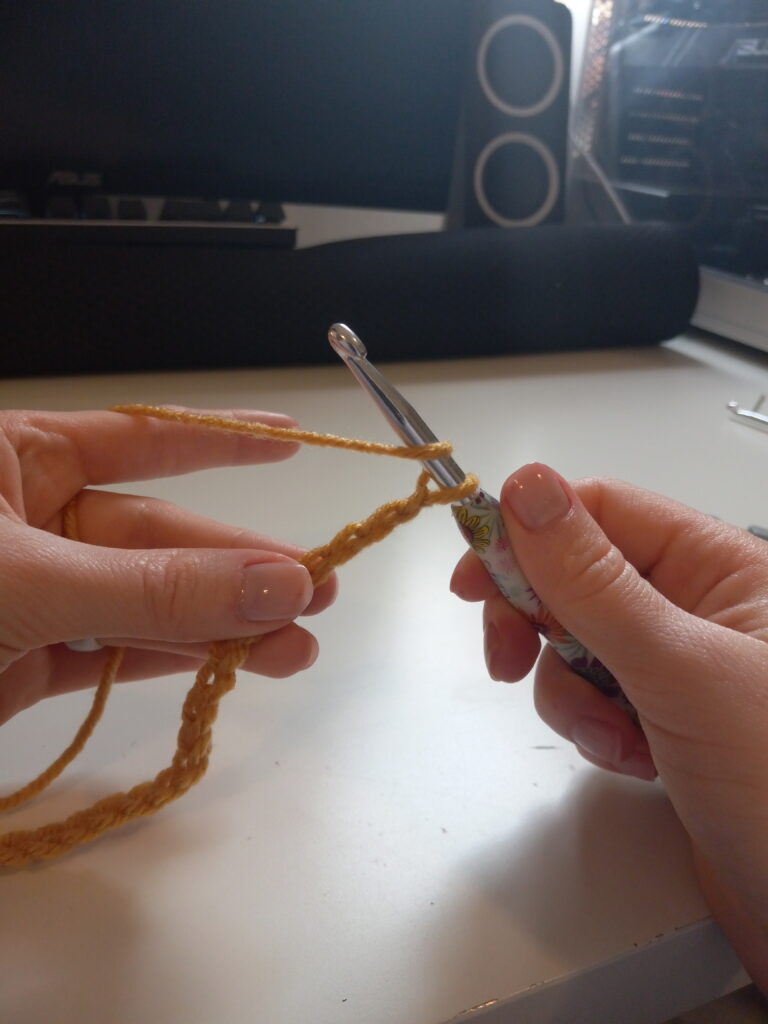
You will now chain two and turn, wrap your hook and insert in the back loop of your first stitch. (your chain 2 doesn’t count as a stitch)
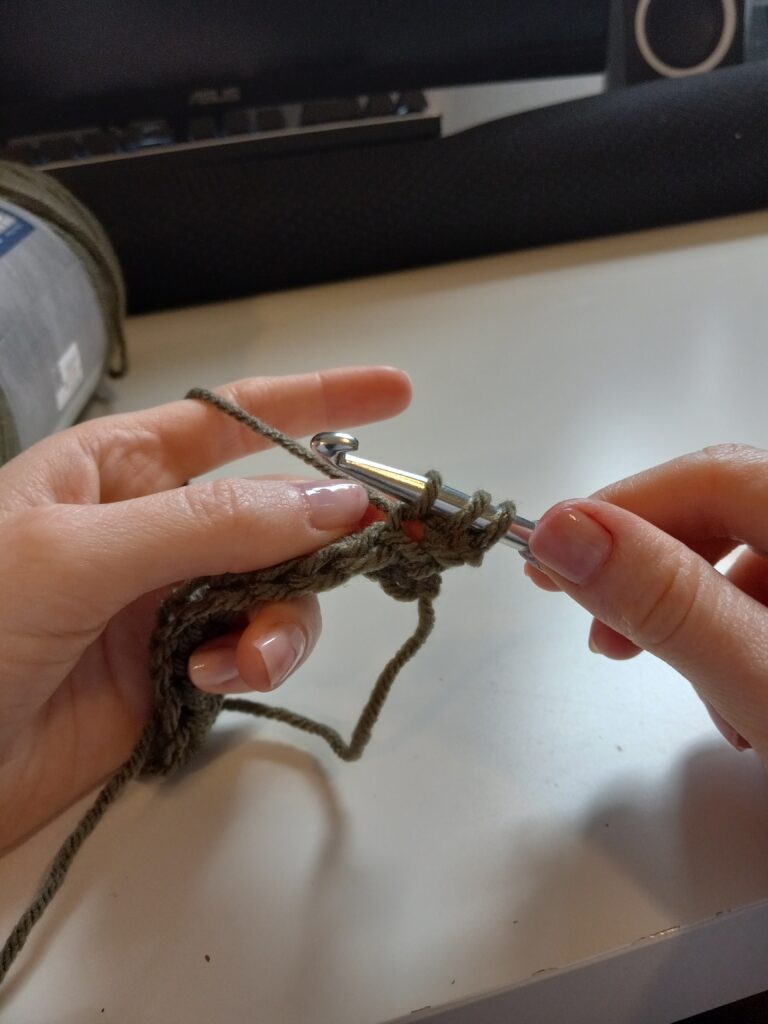

Wrap your hook and pull through the first loop, then wrap once more and pull through all three loops. Continue that down your row.
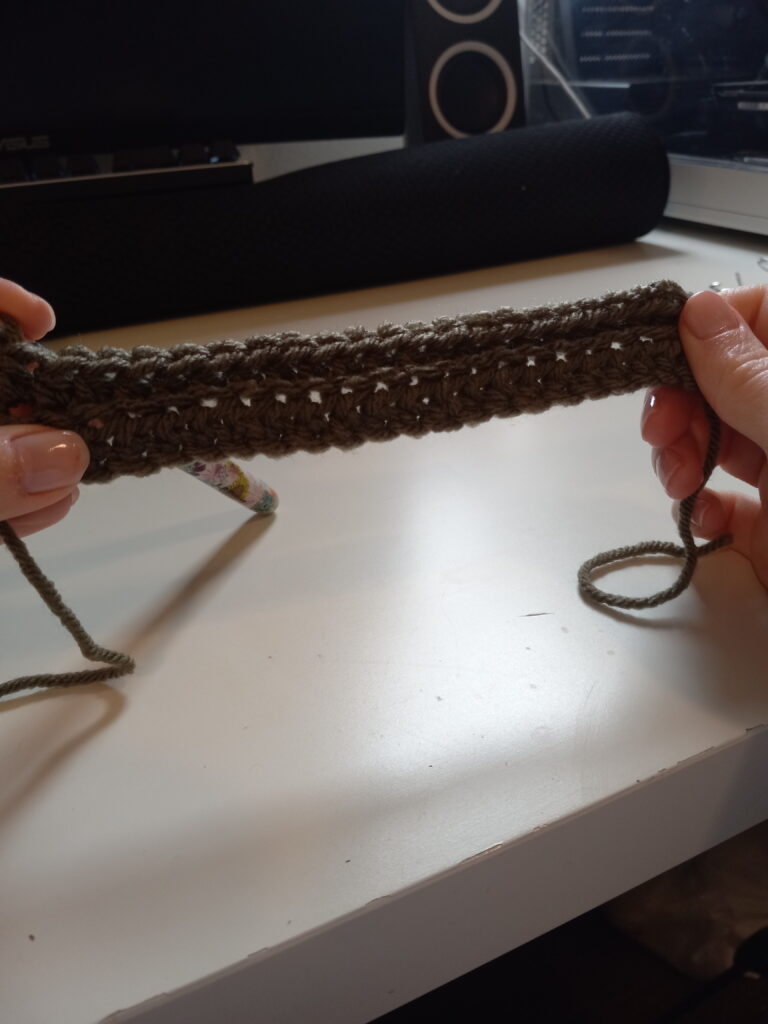
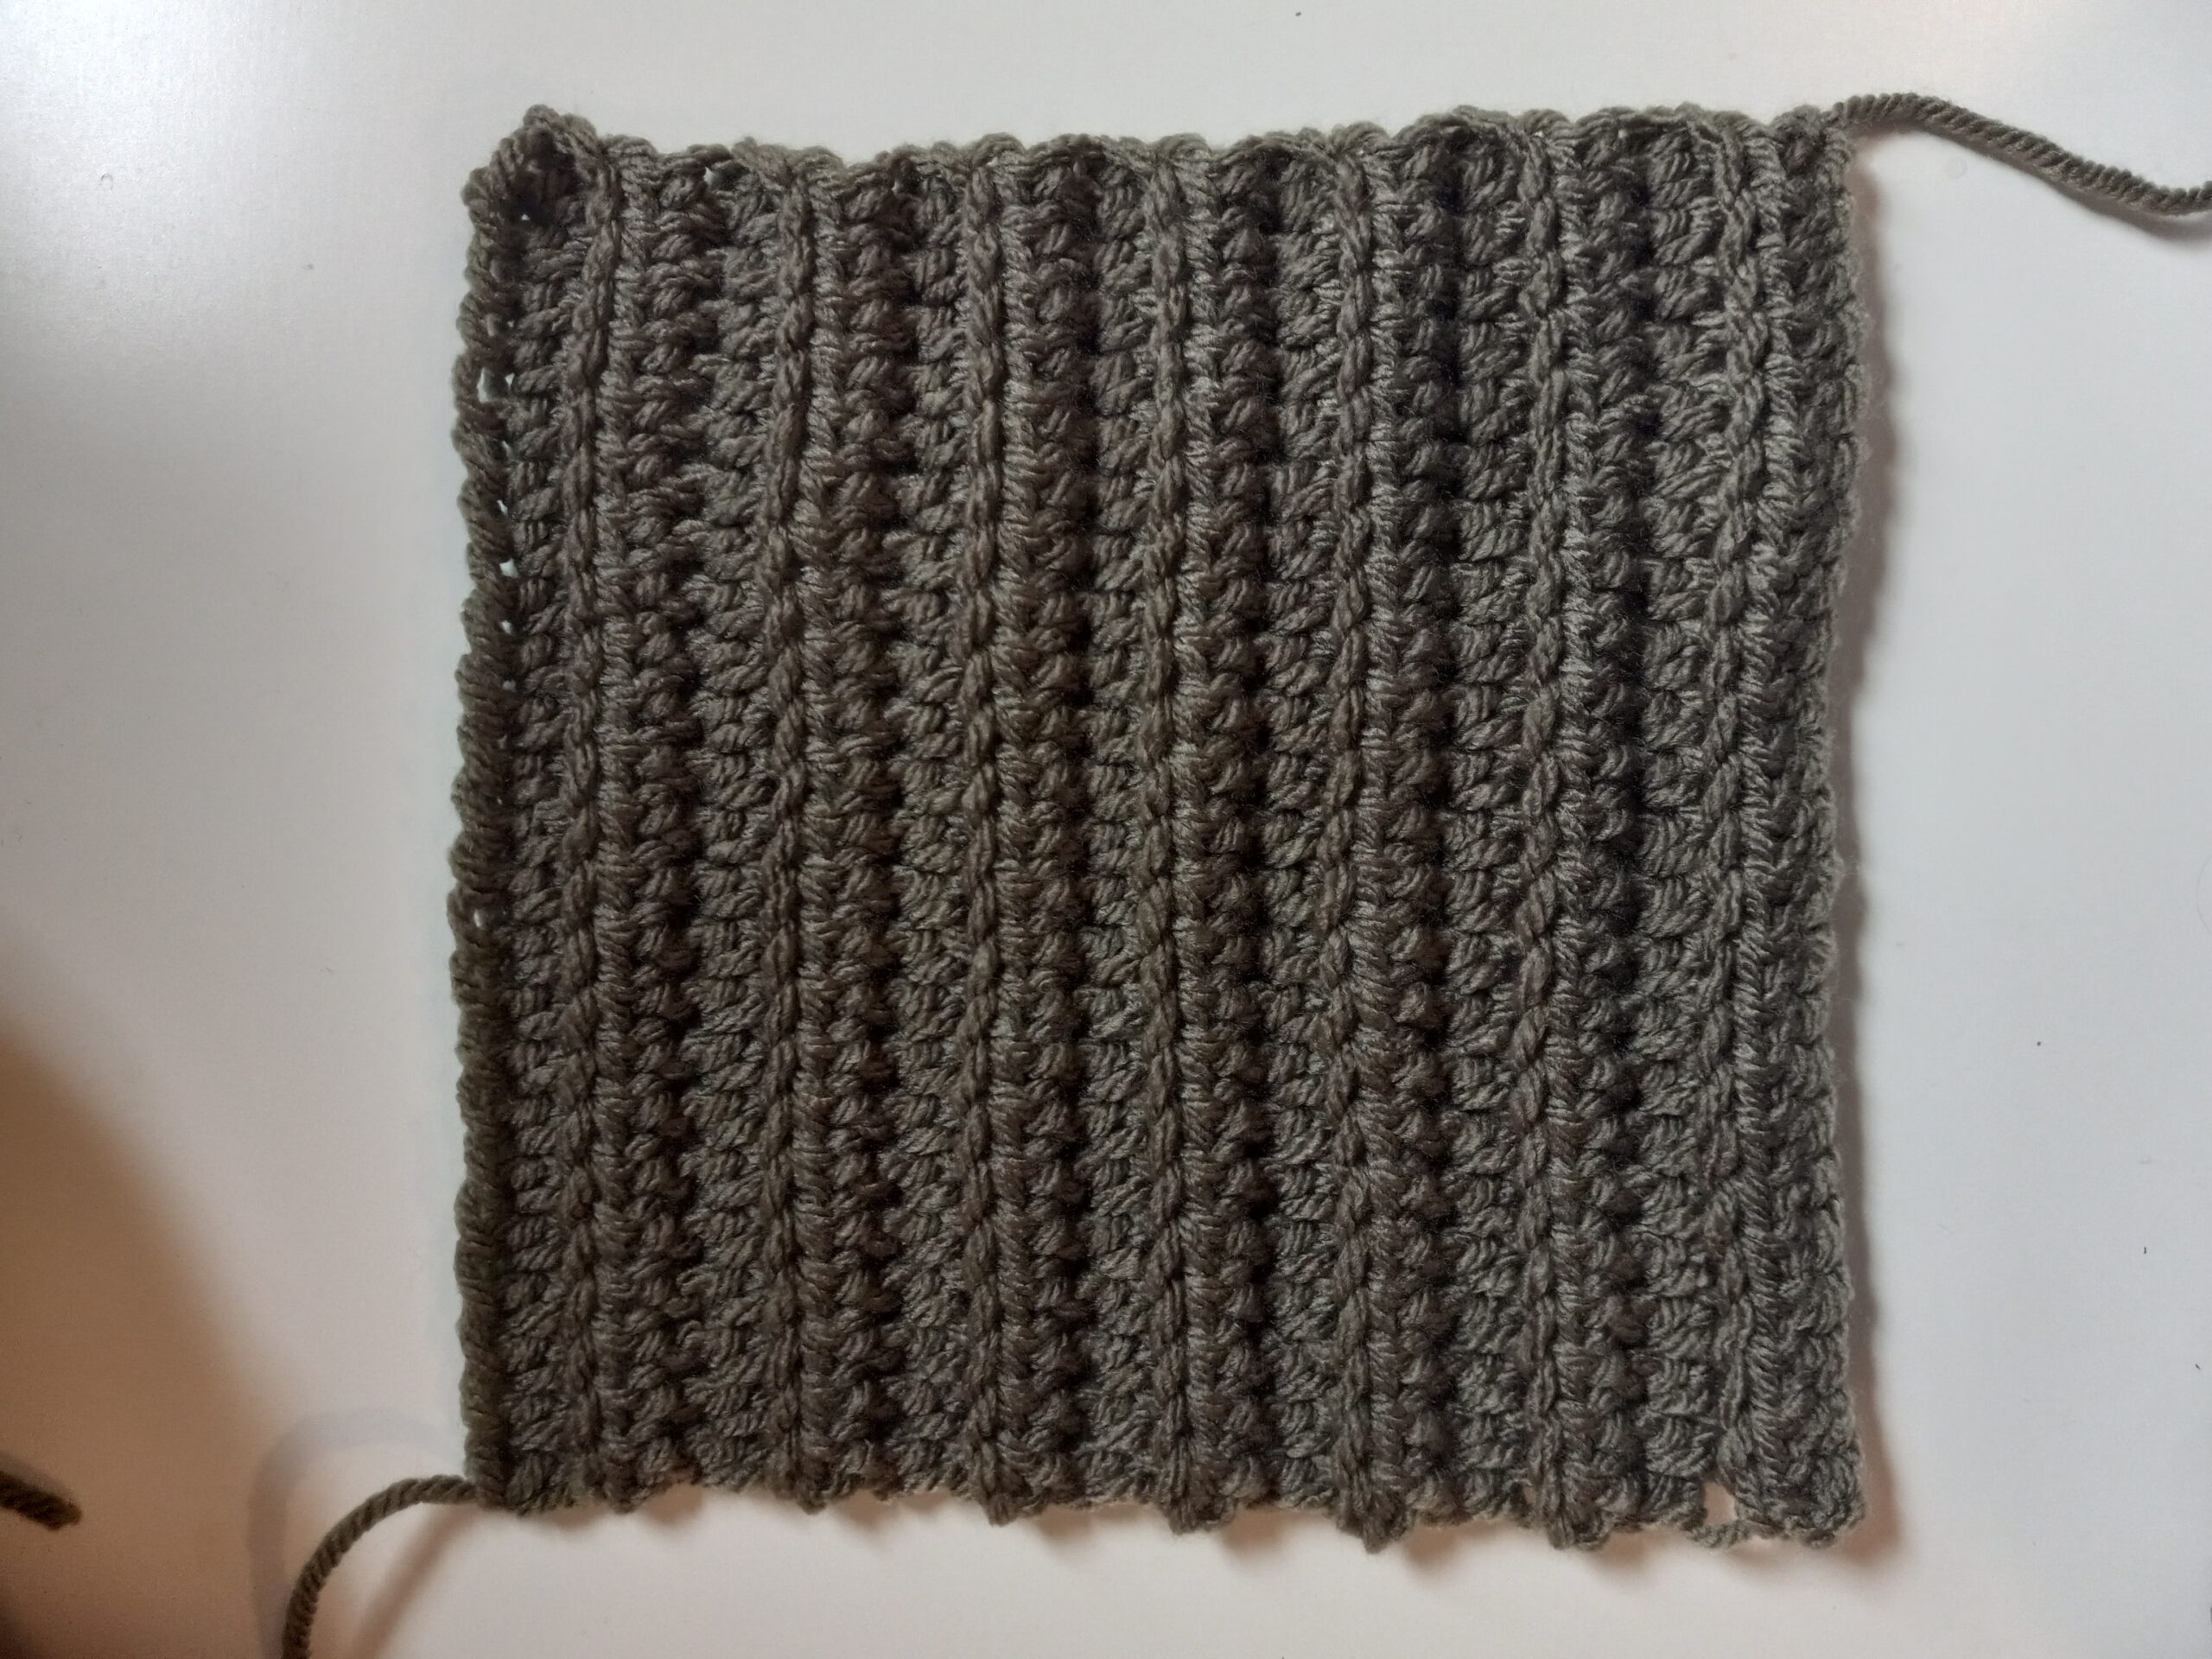
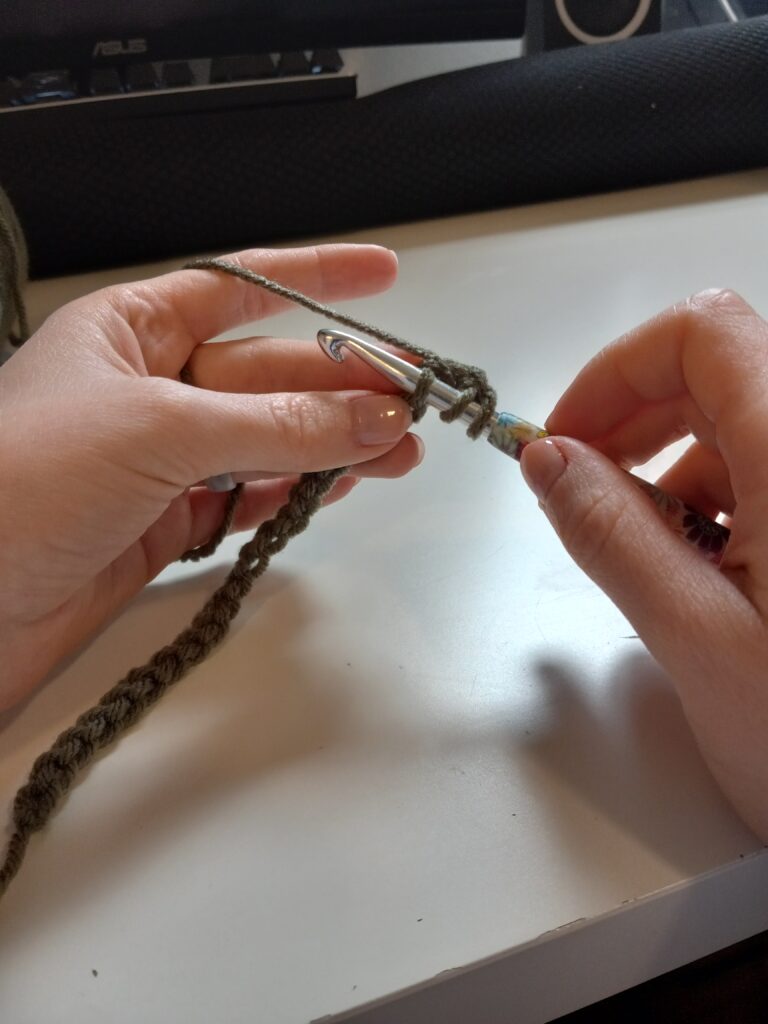
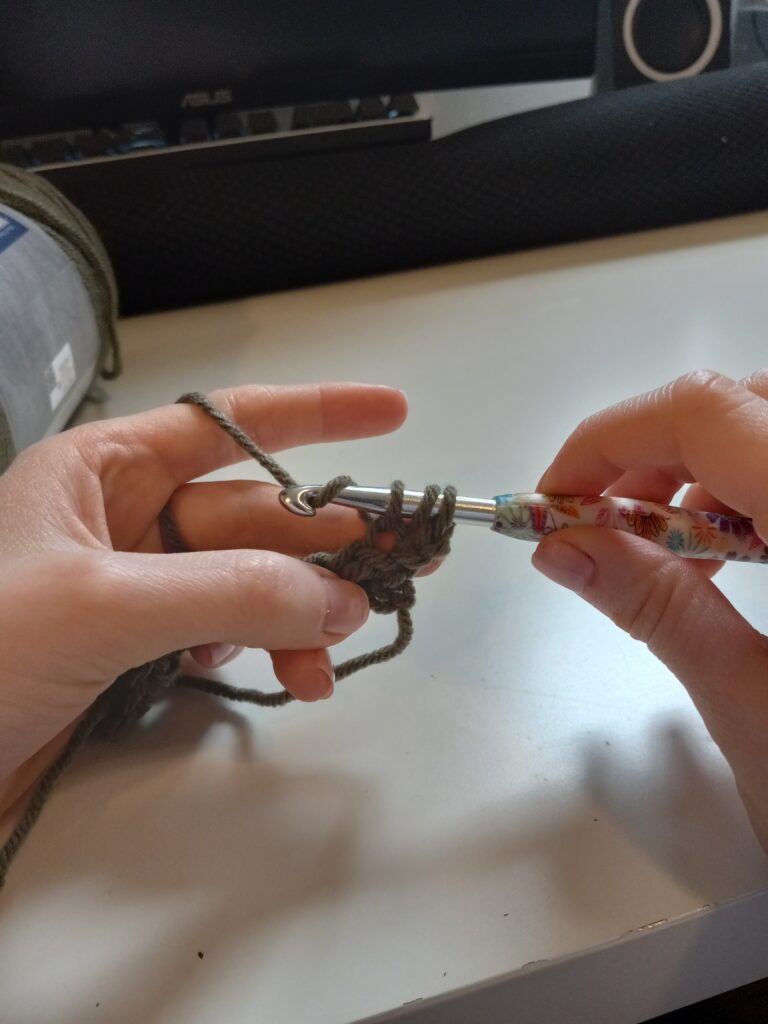
You should now be able to see your first ridge starting!
Continue repeating the second row until you have a total of 14 rows.

Awesome job creating your square. All you have to do is tie off and tuck your ends.
I hope you guys enjoyed making this square with me and I can’t wait to see y’all on the next one!